今天这篇教程我们开始在腾讯云服务器上搭建wordpress环境并安装wordpress,开始涉及到搭建代码了,对于代码不熟悉的小伙伴也不要着急,我会在教程中对于每条命令执行了什么操作作出说明,只要按照步骤操作即可完成wordpress的搭建。
本来woody已经写过一个一键安装的脚本(更适合国外建站),但是考虑到国内建站域名可能在备案中,且可以申请免费1年https证书,woody的一键脚本使用acme.sh申请3个月续签一次的证书,再加上有小伙伴要学习一下步骤,所以这里暂时不采用一键脚本方式。
补充:教程写了一大半,感觉很累,好像还没有一键脚本省心,文章太长了。等有机会再出一个一键脚本版本的教程。
关于本篇教程的说明及前置条件
- 教程使用纯净的CentOS7系统(初始化的系统,未安装其他软件应用),请勿在其他系统中使用本教程命令。
- 已购买服务器并能SSH成功连接服务器,如未操作,可查看前面章节教程wordpress零基础建站(2)-购买腾讯云服务器并登录
- 已购买域名并解析到服务器IP地址,前几章教程中我们已解析主域名和www域名到服务器IP地址,如未操作,请查看教程wordpress零基础建站(3)-购买腾讯云域名及解析设置,https证书申请及域名备案
- 已为主域名和www二级域名申请https证书,前几章教程中我们介绍了腾讯云可以免费申请1年https证书的教程,如未操作,请查看wordpress零基础建站(3)-购买腾讯云域名及解析设置,https证书申请及域名备案
- 本篇教程较长,请一定在心情好/无干扰时进行,耐心一点啦。
wordpress搭建教程
注意:如果你的域名还在备案中,访问网站80/443端口可能会被阻断,不过不影响我们完成wordpress环境的安装,但wordpress本身的安装以及网站想要正常使用还必须等待域名备案完成。
一、使用xshell连接云服务器
前面章节我们已经有xshell连接服务器的教程,如果还未完成,请返回去查看前面教程。
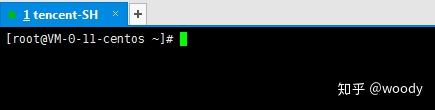
本教程中所有命令的执行方法:复制命令,粘贴到xshell中,按回车键执行。
二、安装PHP7
安装php7我们使用remi源,remi源已经为我们编译好稳定版的各类软件,方便我们使用yum安装。因为remi源依赖epel源,所以我们会先安装epel再安装remi源。
1、安装epel源
wget https://dl.fedoraproject.org/pub/epel/epel-release-latest-7.noarch.rpm &&
rpm -Uvh epel-release-latest-7.noarch.rpm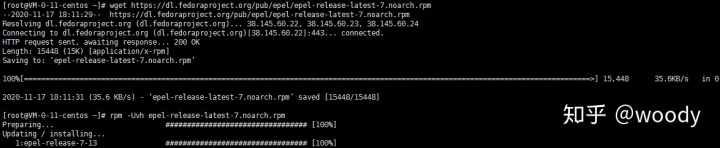
2、安装remi源
wget https://rpms.remirepo.net/enterprise/remi-release-7.rpm && rpm -Uvh
remi-release-7.rpm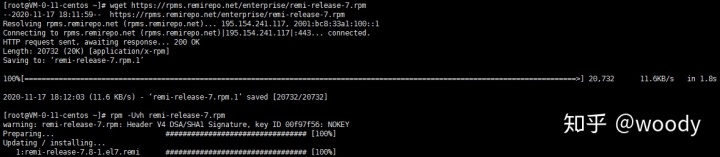
3、安装PHP74及各类扩展,各类扩展的作用,请直接在搜索引擎搜索其名称。
yum -y install php74 php74-php-gd php74-php-opcache php74-php-pdo php74-php-redis php74-php-zip php74-php-imagick php74-php-mbstring php74-php-cli php74-php-fpm php74-php-mysqlnd php74-php-xml安装完成后,需要注意的是php安装了opcache和redis扩展,前者用来缓存php预编译脚本文件,加速php执行速度;后者用来缓存mysql数据,加速数据库查询。
4、启动php-fpm,fpm是用来管理php进程池,接收nginx转发的请求。
systemctl start php74-php-fpm && systemctl enable php74-php-fpm三、安装nginx
1、安装nginx前,我们需要先获取我们在腾讯云申请的1年免费https证书,
1.1、在腾讯云控制台搜索“SSL证书”,进入SSL证书页面,或直接从这个地址进入https://console.cloud.tencent.com/ssl
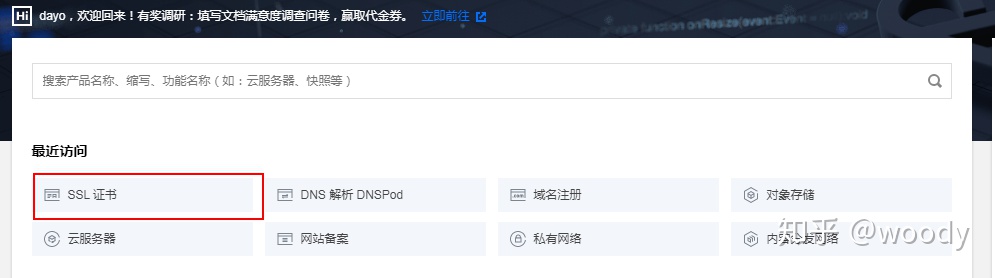
1.2、下载主域名证书和www域名证书
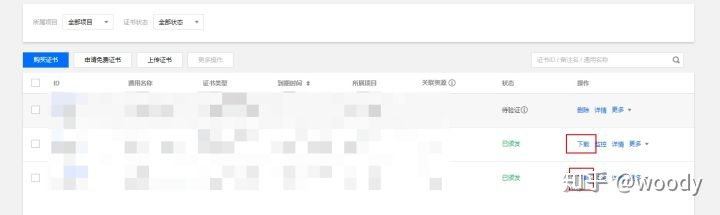
1.3、并分别命名为主域名.crt,主域名.key;www.域名.crt,www.域名.key,例如我的域名为http://zhihuwoody.com,则我的域名证书如下:
- 主域名证书:zhihuwoody.com.crt zhihuwoody.com.key
- www域名证书:www.zhihuwoody.com.crt www.zhihuwoody.com.key
2、安装nginx源
wget http://nginx.org/packages/centos/7/noarch/RPMS/nginx-release-
centos-7-0.el7.ngx.noarch.rpm && rpm -Uvh nginx-release-centos-7-0.
el7.ngx.noarch.rpm
3、安装nginx
yum install -y nginx4、新建ssl目录,存放主域名和www域名证书。
mkdir /etc/nginx/ssl5、使用xftp将步骤1中的证书文件上传到/etc/nginx/ssl/目录下。
5.1、在xshell工具栏中点击xftp图标,打开xftp
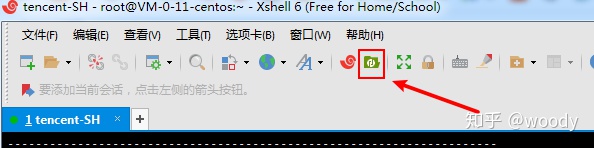
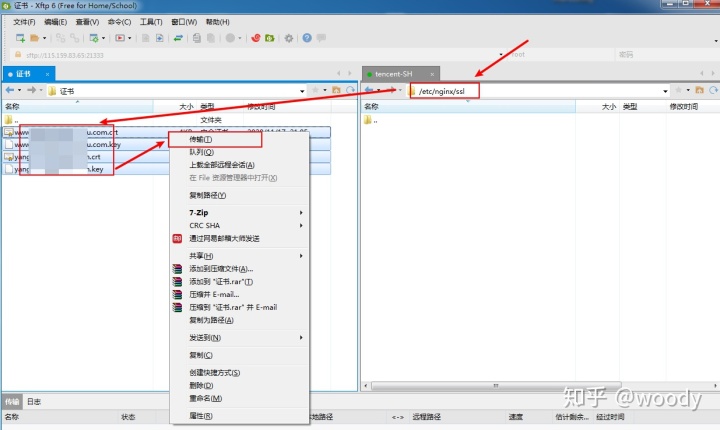
5.2、在右侧输入/etc/nginx/ssl,然后回车,在左侧全选证书文件,点击鼠标右键选择传输,将证书文件上传到/etc/nginx/ssl目录中。传输完成后关闭xftp即可。
6、覆盖nginx.conf配置文件,主要是开启了gzip压缩html文件,上传文件改为20M限制。
cat > /etc/nginx/nginx.conf <<-EOF
user  nginx;
worker_processes  1;
error_log  /var/log/nginx/error.log warn;
pid        /var/run/nginx.pid;
events {worker_connections  1024;
}
http {include       /etc/nginx/mime.types;default_type  application/octet-stream;log_format  main  '$remote_addr - $remote_user [$time_local] "$request" ''$status $body_bytes_sent "$http_referer" ''"$http_user_agent" "$http_x_forwarded_for"';access_log /var/log/nginx/access.log main;sendfile        on;#tcp_nopush     on;keepalive_timeout  120;client_max_body_size 20m;gzip  on;include /etc/nginx/conf.d/*.conf;
}
EOF7、首先我们将我们的主域名复制给变量your_domain,将http://zhihuwoody.com修改为你的主域名,不要带www或任何前缀。注意,一定要改成自己的域名!!!
your_domain=zhihuwoody.com8、覆盖nginx的default.conf配置文件,开启主域名和www域名https访问,并将www域名全部跳转主域名,如果你想要主域名跳转www,需要把相关配置反过来,如果不熟的话不建议修改。
cat > /etc/nginx/conf.d/default.conf<<-EOF
server {listen 80 default_server;server_name _;return 404;
}
server {listen 443 ssl default_server;server_name _;ssl_certificate /etc/nginx/ssl/$your_domain.crt; ssl_certificate_key /etc/nginx/ssl/$your_domain.key;return 404;
}
server { listen       80;server_name  $your_domain www.$your_domain;rewrite ^(.*)$  https://$your_domain$1 permanent;
}
server {listen 443 ssl http2;server_name www.$your_domain;ssl_certificate /etc/nginx/ssl/www.$your_domain.crt; ssl_certificate_key /etc/nginx/ssl/www.$your_domain.key;rewrite ^(.*)$  https://$your_domain$1 permanent;
}
server {listen 443 ssl http2;server_name $your_domain;root /usr/share/nginx/html;index index.php index.html;ssl_certificate /etc/nginx/ssl/$your_domain.crt; ssl_certificate_key /etc/nginx/ssl/$your_domain.key;ssl_stapling on;ssl_stapling_verify on;add_header Strict-Transport-Security "max-age=31536000";access_log /var/log/nginx/$your_domain.log combined;location ~ .php$ {fastcgi_pass 127.0.0.1:9000;fastcgi_param SCRIPT_FILENAME $document_root$fastcgi_script_name;include fastcgi_params;}location / {try_files $uri $uri/ /index.php?$args;}
}
EOF
9、启动nginx,并设置开机自启动
systemctl start nginx && systemctl enable nginx四、安装mysql
1、安装mysql国内源
cat > /etc/yum.repos.d/mysql-community.repo<<-EOF
[mysql-connectors-community]
name=MySQL Connectors Community
baseurl=https://mirrors.tuna.tsinghua.edu.cn/mysql/yum/mysql-connectors-community-el7-$basearch/
enabled=1
gpgcheck=1
gpgkey=https://repo.mysql.com/RPM-GPG-KEY-mysql[mysql-tools-community]
name=MySQL Tools Community
baseurl=https://mirrors.tuna.tsinghua.edu.cn/mysql/yum/mysql-tools-community-el7-$basearch/
enabled=1
gpgcheck=1
gpgkey=https://repo.mysql.com/RPM-GPG-KEY-mysql[mysql-8.0-community]
name=MySQL 8.0 Community Server
baseurl=https://mirrors.tuna.tsinghua.edu.cn/mysql/yum/mysql-8.0-community-el7-$basearch/
enabled=1
gpgcheck=1
gpgkey=https://repo.mysql.com/RPM-GPG-KEY-mysql
EOF
2、安装mysql
yum -y install mysql-community-server3、启动mysql并配置mysql开机自启动
systemctl start mysqld.service && systemctl enable mysqld.service4、为mysql重新设置一个密码,在mysql默认密码基础上加2020后缀
origin=$(cat /var/log/mysqld.log | grep password | head -1 | rev | cut -
d ' ' -f 1 | rev) && newpasswd=$(echo ${origin}2020 | sed $'s/['/;":.?&]//g')
5、将密码写入本地文件,因为mysql8不支持明文密码命令
cat > ~/.my.cnf <<-EOF
[mysql]
user=root
password="$origin"
EOF
6、修改mysql密码
mysql --connect-expired-password -e
"alter user 'root'@'localhost' identified by '$newpasswd';"
7、更新本地文件密码
cat > ~/.my.cnf <<-EOF
[mysql]
user=root
password="$newpasswd"
EOF
8、新建wordpress数据库,命名为wordpress_db
mysql --connect-expired-password -e "create database wordpress_db;"五、安装redis
安装redis对于wordpress的加速作用还是比较明显的,降低mysql的开销。
redis需要配合wordpress插件使用,后续教程中我们会讲到并使用redis插件。
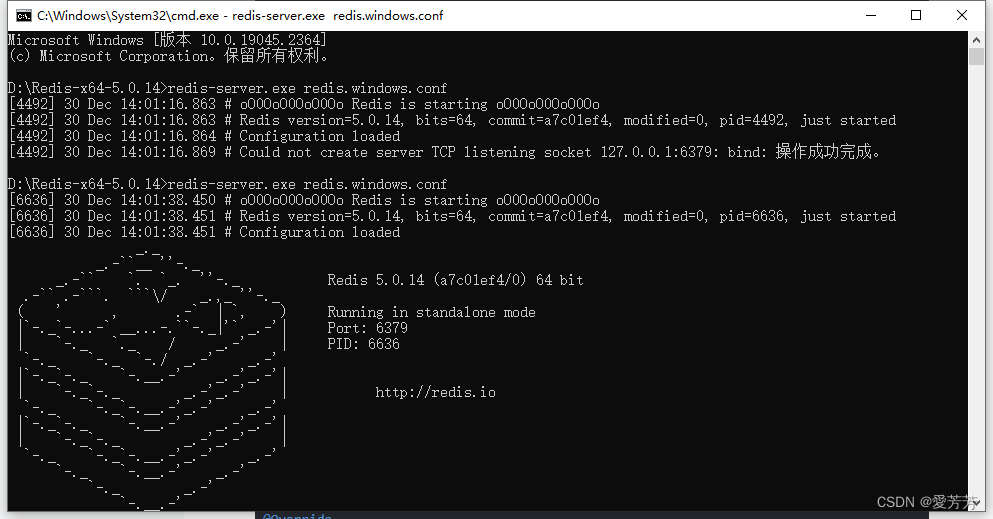
1、安装redis
yum install -y redis2、启动redis并开启自启动
systemctl start redis && systemctl enable redis六、安装wordpress
1、首先我们进入nginx root目录并删除当前目录所有文件
cd /usr/share/nginx/html && rm -rf ./*2、下载最新版wordpress中文版并解压,如果下载很慢,可以先访问https://cn.wordpress.org/latest-zh_CN.zip将文件下载到本地,然后上传到/usr/share/nginx/html目录下,记得重命名为latest-zh_CN.zip
wget https://cn.wordpress.org/latest-zh_CN.zip && unzip latest-zh_CN.zip3、移动wordpress到根目录,复制一份配置文件
mv wordpress/* ./ && cp wp-config-sample.php wp-config.php4、修改配置文件中的数据库信息
sed -i "s/database_name_here/wordpress_db/;s/username_here/root/;s?
password_here?$newpasswd?;" /usr/share/nginx/html/wp-config.php
5、配置wordpress config文件,配置web目录归属用户和权限
echo "define('FS_METHOD', "direct");" >> /usr/share/nginx/html/wp-config.php
chown -R apache:apache /usr/share/nginx/html/
chmod -R 755 /usr/share/nginx/html/wp-content
6、使用浏览器访问https://主域名.com,初始化wordpress信息,并配置后台登陆用户名和密码。
wordpress后台地址:https://主域名.com/wp-admin
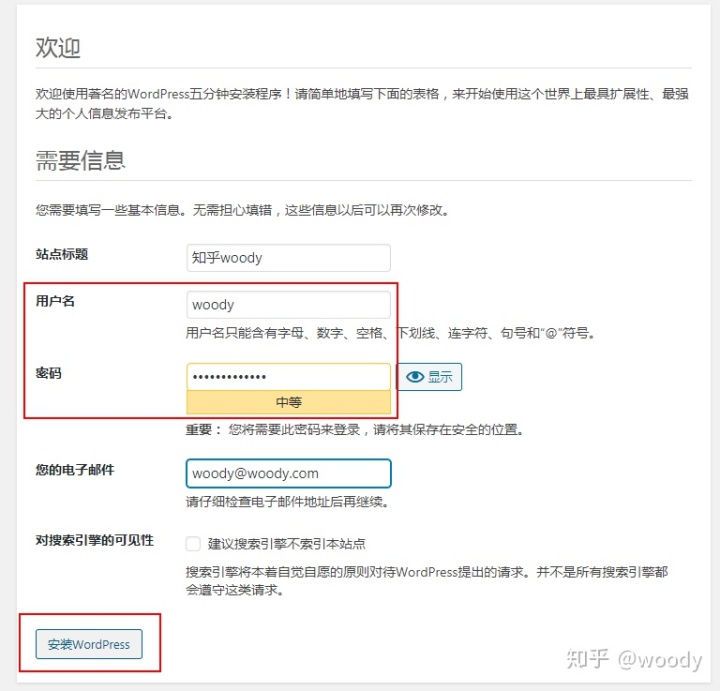
注意:如果你的域名还没有备案成功,是无法进入后台配置页面的,需要等到备案成功,80/443端口不再被封堵后再进行安装。
总结
整个过程看似复杂,其实一步步来,就能完成搭建。
特别注意:安装过程中不要重启服务器,因为mysql安装过程中在内存中存放了密码,重启密码会丢失。
沟通交流
参考本系列教程中遇到问题和指正错误都可以添加woody微信沟通:anotherdayo
一来沟通交流共同进步,二来让教程内容更完善丰富,如果文章有幸让您有一些收获,欢迎点赞喜欢留言,加个关注更好啦!