实验准备
一台阿里云服务器
二个域名(IP与域名已经建立解析关系)
Linux关于web架构的知识
实验步骤
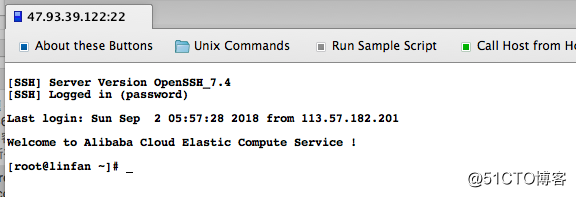
1.用crt远程登录阿里云服务器
2.安装nginx,mysql,php
建议使用lnmp一键安装包安装,方便快捷
获取lnmp一键安装包链接
lnpm官网链接
找到下载页面选择最新的复制其链接。
写此文时最新版本信息如下:
LNMP 1.4 测试版
http://soft.vpser.net/lnmp/lnmp1.4beta.tar.gz  (131KB)
安装 163源
[root@linfan ~]# cd /etc/yum.repos.d/
[root@linfan yum.repos.d]# mv * /tmp/
[root@linfan yum.repos.d]# curl -o 163.repo   http://mirrors.163.com/.help/CentOS7-Base-163.repo% Total    % Received % Xferd  Average Speed   Time    Time     Time  CurrentDload  Upload   Total   Spent    Left  Speed
100  1572  100  1572    0     0  13343      0 --:--:-- --:--:-- --:--:-- 13435
[root@linfan yum.repos.d]# sed -i 's/\$releasever/7/g' 163.repo
[root@linfan yum.repos.d]# sed -i 's/^enabled=.*/enabled=1/g' 163.repo
[root@linfan yum.repos.d]# yum clean all
Loaded plugins: fastestmirror
Cleaning repos: base centosplus extras updates
Cleaning up everything
Maybe you want: rm -rf /var/cache/yum, to also free up space taken by orphaned data from disabled or removed repos
[root@linfan yum.repos.d]# yum -y install epel-release
Loaded plugins: fastestmirror
base                                                                                               | 3.6 kB  00:00:00
centosplus                                                                                         | 3.4 kB  00:00:00
extras                                                                                             | 3.4 kB  00:00:00
updates                                                                                            | 3.4 kB  00:00:00
(1/5): base/x86_64/group_gz                                                                        | 166 kB  00:00:00
(2/5): extras/x86_64/primary_db                                                                    | 187 kB  00:00:00
(3/5): centosplus/x86_64/primary_db                                                                | 2.9 MB  00:00:01
(4/5): updates/x86_64/primary_db                                                                   | 5.2 MB  00:00:02
(5/5): base/x86_64/primary_db                                                                      | 5.9 MB  00:00:02
Determining fastest mirrors
Resolving Dependencies
--> Running transaction check
---> Package epel-release.noarch 0:7-11 will be installed
--> Finished Dependency ResolutionDependencies Resolved==========================================================================================================================Package                          Arch                       Version                     Repository                  Size
==========================================================================================================================
Installing:epel-release                     noarch                     7-11                        extras                      15 kTransaction Summary
==========================================================================================================================
Install  1 PackageTotal download size: 15 k
Installed size: 24 k
Downloading packages:
warning: /var/cache/yum/x86_64/7/extras/packages/epel-release-7-11.noarch.rpm: Header V3 RSA/SHA256 Signature, key ID f4a80eb5: NOKEY
Public key for epel-release-7-11.noarch.rpm is not installed
epel-release-7-11.noarch.rpm                                                                       |  15 kB  00:00:00
Retrieving key from http://mirrors.163.com/centos/RPM-GPG-KEY-CentOS-7
Importing GPG key 0xF4A80EB5:Userid     : "CentOS-7 Key (CentOS 7 Official Signing Key) <security@centos.org>"Fingerprint: 6341 ab27 53d7 8a78 a7c2 7bb1 24c6 a8a7 f4a8 0eb5From       : http://mirrors.163.com/centos/RPM-GPG-KEY-CentOS-7
Running transaction check
Running transaction test
Transaction test succeeded
Running transactionInstalling : epel-release-7-11.noarch                                                                               1/1Verifying  : epel-release-7-11.noarch                                                                               1/1Installed:epel-release.noarch 0:7-11Complete!
[root@linfan ~]# yum -y install wget
上传脚本并执行
// 脚本执行过程中 有需要选择的直接敲回车键即可 有选择版本的需要根据自己的需求来选择即可
[root@linfan ~]# wget http://soft.vpser.net/lnmp/lnmp1.4beta.tar.gz [root@linfan ~]# tar -zxvf lnmp1.4beta.tar.gz
[root@linfan ~]# cd lnmp1.4
[root@linfan lnmp1.4]# ./install.sh   +------------------------------------------------------------------------+
|          LNMP V1.4 for CentOS Linux Server, Written by Licess          |
+------------------------------------------------------------------------+
|        A tool to auto-compile & install LNMP/LNMPA/LAMP on Linux       |
+------------------------------------------------------------------------+
|           For more information please visit https://lnmp.org           |
+------------------------------------------------------------------------+
You have 5 options for your DataBase install.
1: Install MySQL 5.1.73
2: Install MySQL 5.5.56 (Default)
3: Install MySQL 5.6.36
4: Install MySQL 5.7.18
5: Install MariaDB 5.5.56
6: Install MariaDB 10.0.30
7: Install MariaDB 10.1.23
0: DO NOT Install MySQL/MariaDB
Enter your choice (1, 2, 3, 4, 5, 6, 7 or 0):
Enter your choice (1, 2, 3, 4, 5, 6, 7 or 0):
No input,You will install MySQL 5.5.56
===========================
Please setup root password of MySQL.(Default password: root)
Please enter:
MySQL root password: root
===========================
Do you want to enable or disable the InnoDB Storage Engine?
Default enable,Enter your choice [Y/n]:
No input,The InnoDB Storage Engine will enable.
===========================
You have 6 options for your PHP install.
1: Install PHP 5.2.17
2: Install PHP 5.3.29
3: Install PHP 5.4.45
4: Install PHP 5.5.38 (Default)
5: Install PHP 5.6.31
6: Install PHP 7.0.21
7: Install PHP 7.1.7
Enter your choice (1, 2, 3, 4, 5, 6 or 7):
No input,You will install PHP 5.5.38
===========================
You have 3 options for your Memory Allocator install.
1: Don't install Memory Allocator. (Default)
2: Install Jemalloc
3: Install TCMalloc
Enter your choice (1, 2 or 3):
No input,You will not install Memory Allocator.Press any key to install...or Press Ctrl+c to cancel
//后续执行的过程有些漫长大概三十到四十分钟左右,可以先看看电视听听音乐放松下 哈哈
看到这个界面说明脚本执行成功了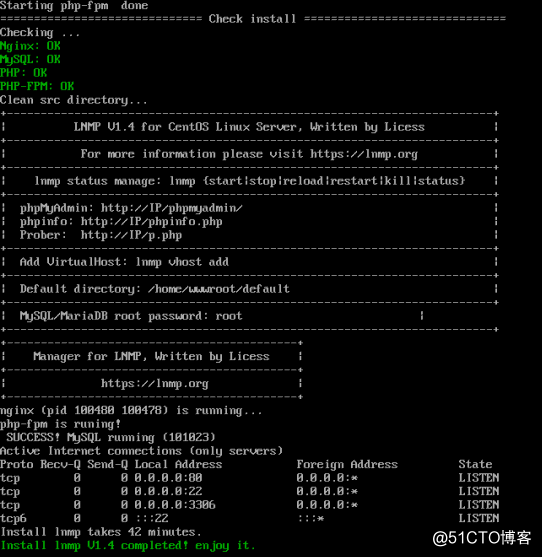
简单说明一下,此安装过程安装完成便也启动了nginx,mysql,php-fpm并加入了开机启动项。如果重启服务器,不需要再单独手动开启相关的服务了。总的来说相当方便的。
此时 在浏览器输入IP即可访问到如下页面
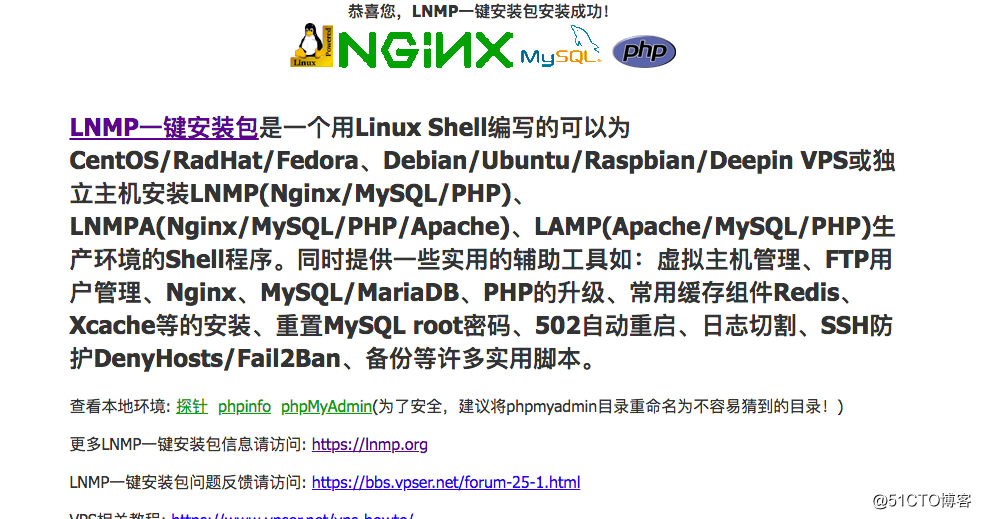
网站根目录路径/home/wwwroot/default,如果只用来放一些静态页面,那么,现在就足够了,直接将你的html,js,css等文件丢进去即可。
退出使用ctrl+c
IP与网站的映射关系
[root@linfan ~]# vi /usr/local/nginx/conf/nginx.conf......server{listen 80 default_server;#listen [::]:80 default_server ipv6only=on;server_name lin.kjsc366.com; //编辑此处index index.html index.htm index.php;root /home/wwwroot/default;
检测nginx配置文件语法并重新加载nginx
[root@linfan ~]# nginx -t
nginx: the configuration file /usr/local/nginx/conf/nginx.conf syntax is ok
nginx: configuration file /usr/local/nginx/conf/nginx.conf test is successful
[root@linfan ~]# nginx -s reload
安装WordPress
中文官方站点 英文官方站点具体的根据自己的需求选择。下面以中文版为例。当前最新版本是4.7.2
为了方便,我们还是在用站点默认的路径
[root@linfan ~]# cd /home/wwwroot/  //进入网站根目录上一级目录
[root@linfan wwwroot]# mv default old  //将default重命名为old
[root@linfan wwwroot]# wget https://cn.wordpress.org/wordpress-4.7.2-zh_CN.tar.gz  //下载WordPress包中文版
[root@linfan wwwroot]# tar -zxvf wordpress-4.7.2-zh_CN.tar.gz  //解压WordPress包
[root@linfan wwwroot]# ls
old  wordpress  wordpress-4.7.2-zh_CN.tar.gz
[root@linfan wwwroot]# mv wordpress default  //将wordpress重命名为default
[root@linfan wwwroot]# ls
default  old  wordpress-4.7.2-zh_CN.tar.gz
给予相应权限
[root@linfan default]# chown -R 755 /home/wwwroot //目录以及目录下的文件授权
chown: changing ownership of ‘/home/wwwroot/old/.user.ini’: Operation not permitted
[root@linfan default]#  chown -R www:www /home/wwwroot/ //将目录的所有者分给www组下的www用户。
chown: changing ownership of ‘/home/wwwroot/old/.user.ini’: Operation not permitted
出现的提示大概是说有一个文件无法更改用户分组和权限。不会影响你的wordpress,忽略就好
创建一个数据库wordpress
[root@linfan default]# mysql -u root -p
Enter password:  密码默认是root
Welcome to the MySQL monitor.  Commands end with ; or \g.
Your MySQL connection id is 24
Server version: 5.5.56-log Source distributionCopyright (c) 2000, 2017, Oracle and/or its affiliates. All rights reserved.Oracle is a registered trademark of Oracle Corporation and/or its
affiliates. Other names may be trademarks of their respective
owners.Type 'help;' or '\h' for help. Type '\c' to clear the current input statement.mysql> create database wordpress;
Query OK, 1 row affected (0.00 sec)mysql> show databases;
+--------------------+
| Database           |
+--------------------+
| information_schema |
| mysql              |
| performance_schema |
| wordpress          |
+--------------------+
4 rows in set (0.00 sec)mysql> quit
配置WordPress
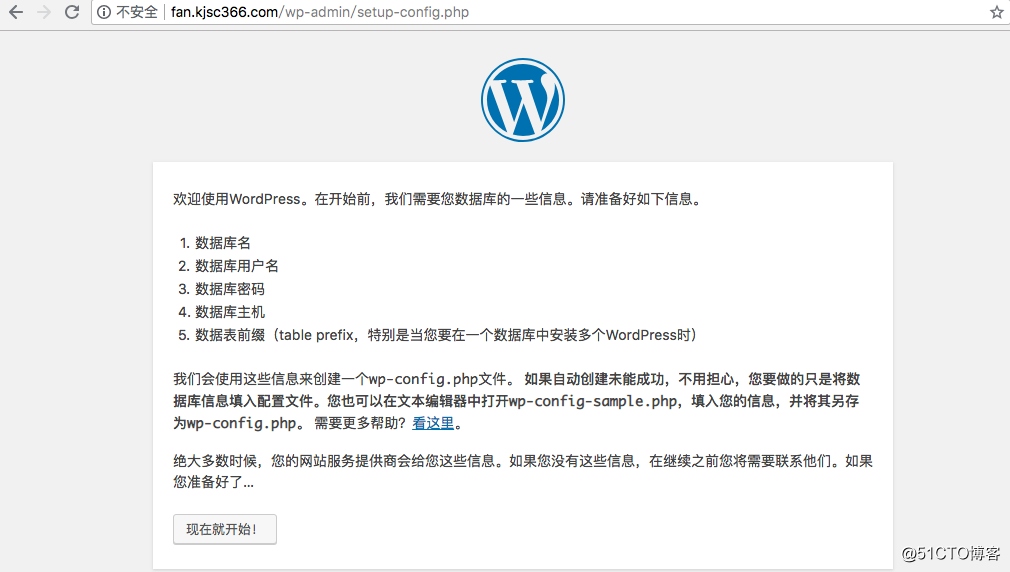
在浏览器输入域名地址进行访问
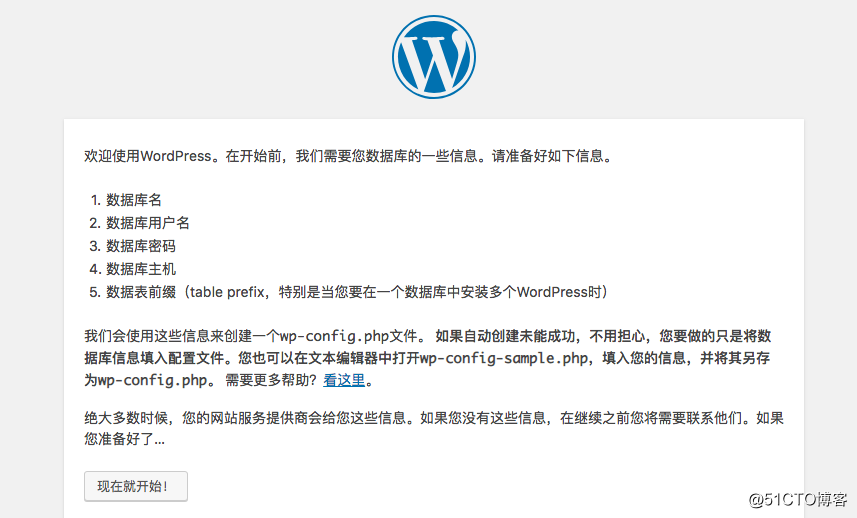
点击现在就开始。这时候我们看到如下页面:
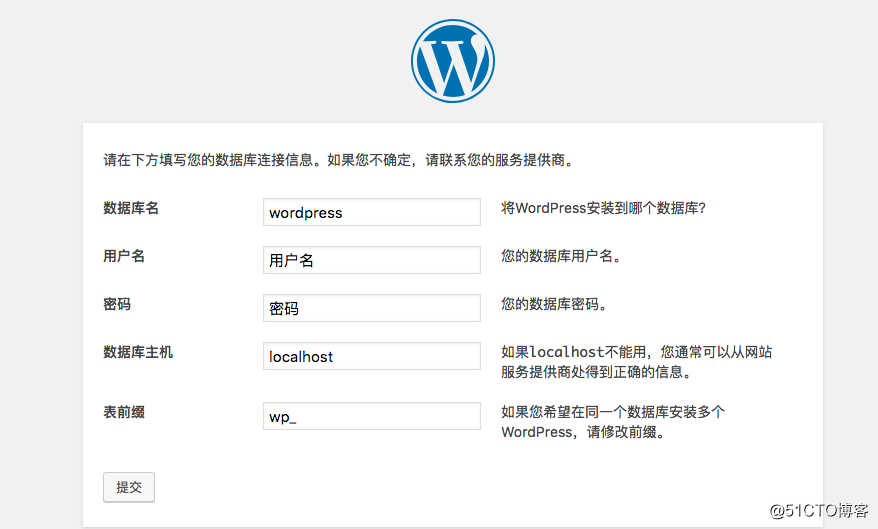
按照之前设置的,输入如下信息:
数据库名:wordpress
用户名:root
密码:root
数据库主机:localhost
表前缀:wp_
点击提交
到这一步,基本上就意味着大功告成了,因为后边基本不会出错啦。
点击进行安装按钮。出现下图: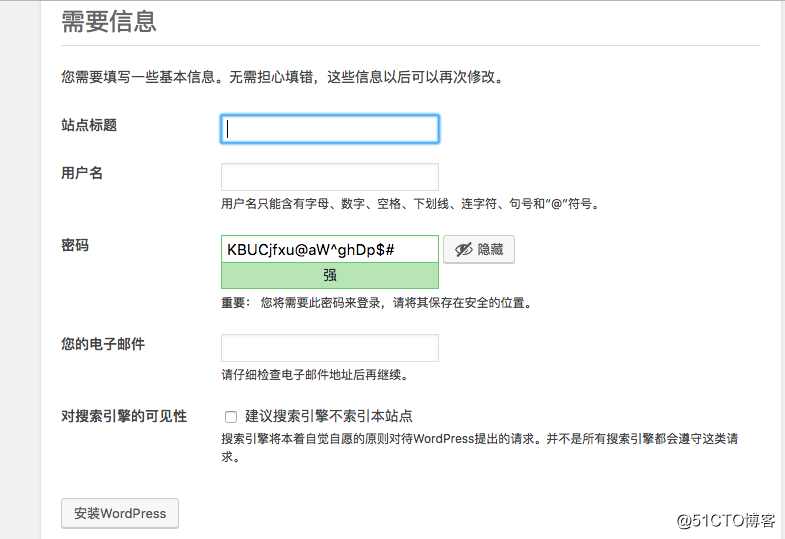
按照自己的需求填写,比如我这里填写如下: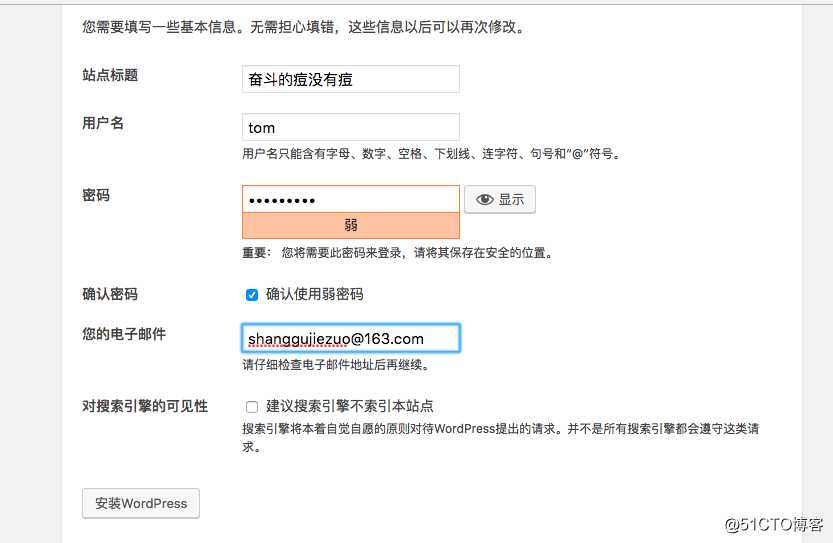
点击安装WordPress按钮,然后登录设置啥的纯页面操作就不在这里过多介绍
再建一个WordPress
在网站根网页目录下创建一个新的目录/home/wwwroot/default/doudou
[root@linfan wwwroot]# tar xf wordpress-4.7.2-zh_CN.tar.gz
[root@linfan wwwroot]# ls
default  old  wordpress  wordpress-4.7.2-zh_CN.tar.gz
[root@linfan wwwroot]# mv wordpress default/doudou
[root@linfan wwwroot]# cd default/doudou
[root@linfan doudou]# ls
index.php    wp-activate.php     wp-comments-post.php  wp-cron.php        wp-load.php   wp-settings.php   xmlrpc.php
license.txt  wp-admin            wp-config-sample.php  wp-includes        wp-login.php  wp-signup.php
readme.html  wp-blog-header.php  wp-content            wp-links-opml.php  wp-mail.php   wp-trackback.php
复制配置文件里面的server内容 在后面添加复制的内容
[root@linfan ~]# vi /usr/local/nginx/conf/nginx.conf
...
...server{listen 80 default_server;#listen [::]:80 default_server ipv6only=on;server_name fan.kjsc366.com; //编辑此处index index.html index.htm index.php;root /home/wwwroot/default/doudou; //编辑此处添加上一步创建的目录doudou#error_page 404 /404.html;# Deny access to PHP files in specific directory#location ~ /(wp-content|uploads|wp-includes|images)/.*\.php$ { deny all; }include enable-php.conf;location /nginx_status{stub_status on;access_log off;}location ~ .*\.(gif|jpg|jpeg|png|bmp|swf)${expires 30d; location ~ .*\.(js|css)?${expires 12h;}location ~ /.well-known {allow all;}location ~ /\.{deny all;}access_log /home/wwwlogs/access.log;} include vhost/*.conf; } 新建一个同名的vhost/doudou.conf与include vhost/*.conf建立对应关系
[root@linfan ~]mkdir -p /vhost/doudou.conf
再建立一个数据库doudou
[root@linfan ~]# mysql -uroot -p
Enter password:
Welcome to the MySQL monitor.  Commands end with ; or \g.
Your MySQL connection id is 37
Server version: 5.5.56-log Source distributionCopyright (c) 2000, 2017, Oracle and/or its affiliates. All rights reserved.Oracle is a registered trademark of Oracle Corporation and/or its
affiliates. Other names may be trademarks of their respective
owners.Type 'help;' or '\h' for help. Type '\c' to clear the current input statement.mysql> create database doudou;
Query OK, 1 row affected (0.00 sec)mysql> show databases;
+--------------------+
| Database           |
+--------------------+
| information_schema |
| doudou             |
| mysql              |
| performance_schema |
| wordpress          |
+--------------------+
5 rows in set (0.00 sec)mysql> quit
Bye
输入fan.kjsc366.com
重新出来一个wordpress页面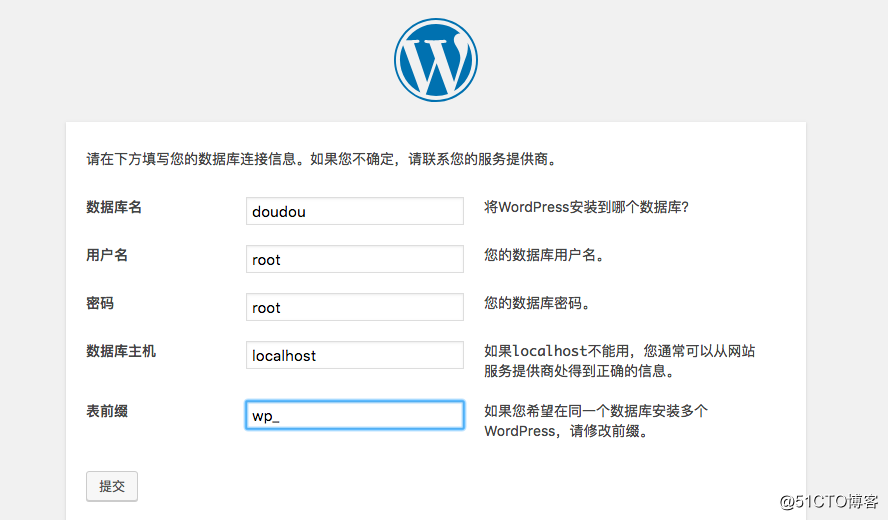
此时 我使用新建的数据库doudou 进行配置WordPress
上面有详细配置过程,在此不再赘述
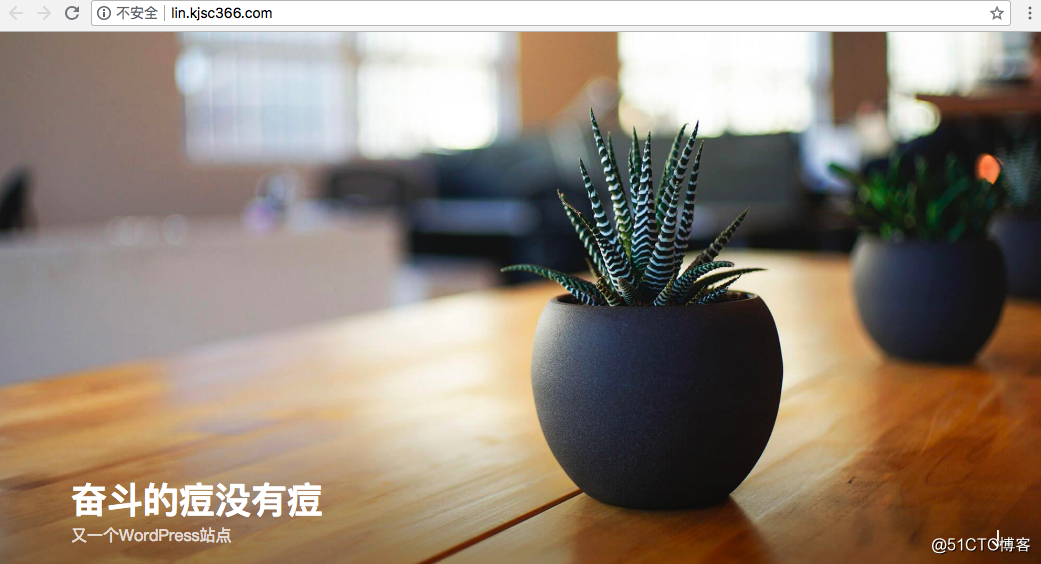
我们来直接看效果:
输入域名lin.kjsc366.com 效果如下:
输入域名fan.kjsc366.com 效果如下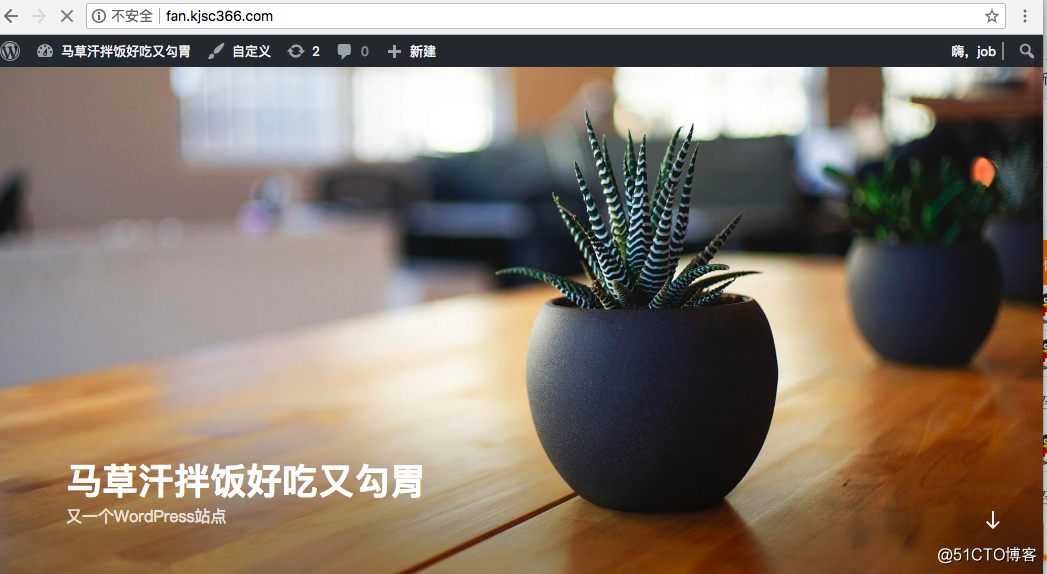
PS:
后期如果需要配置WordPress 则需要在浏览器输入域名/wp-admin/setup-config.php
例如我的是
lin.kjsc366.com/wp-admin/setup-config.php后期问题解决
有问题的反馈在此,我会进行补充。
转载于:https://blog.51cto.com/13858192/2169046