大家好,我是若川。持续组织了6个月源码共读活动,感兴趣的可以点此加我微信 ruochuan12 参与,每周大家一起学习200行左右的源码,共同进步。同时极力推荐订阅我写的《学习源码整体架构系列》 包含20余篇源码文章。
今天,你将为自己创建一个最重要的应用程序——你的作品集。
每个 React 开发者或者 Web 开发者通常需要向潜在的客户或者雇主展示自己能做什么。
在这篇文章里,我们将使用 React、Tailwind CSS、Netlify 等等行业标准工具创建一个作品集网站。
开始吧!
作品集是怎样的
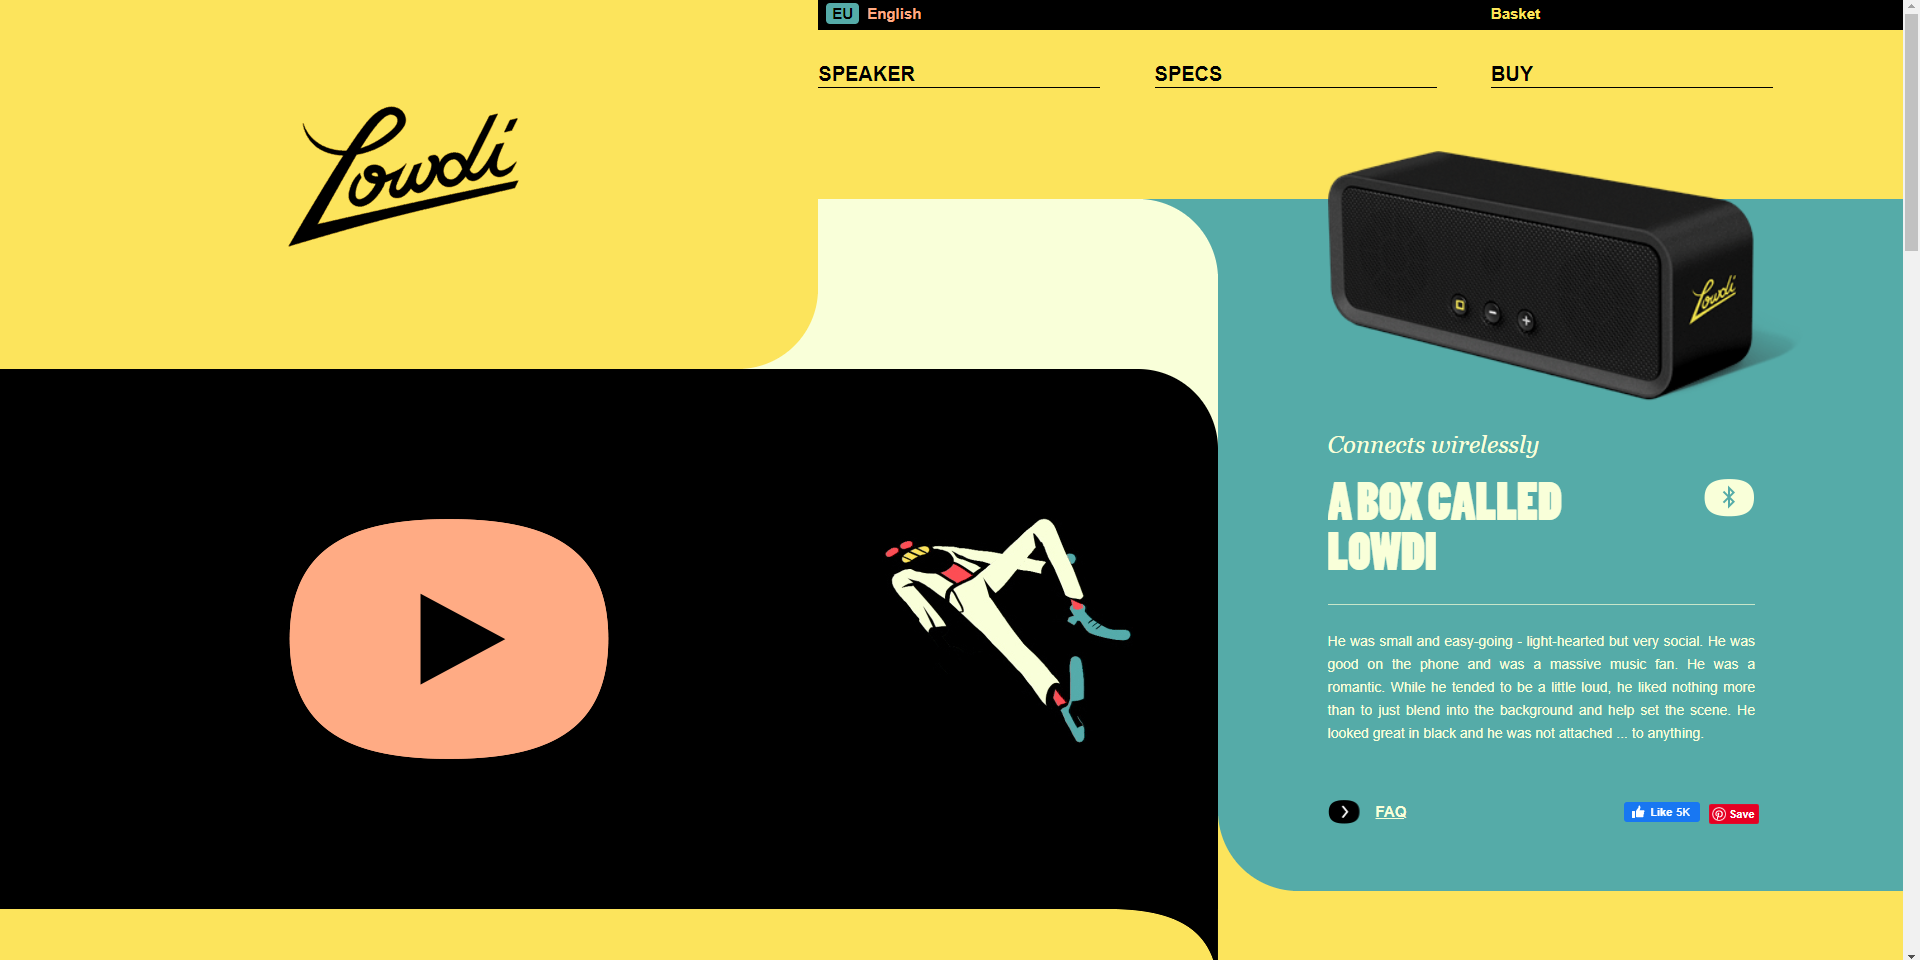
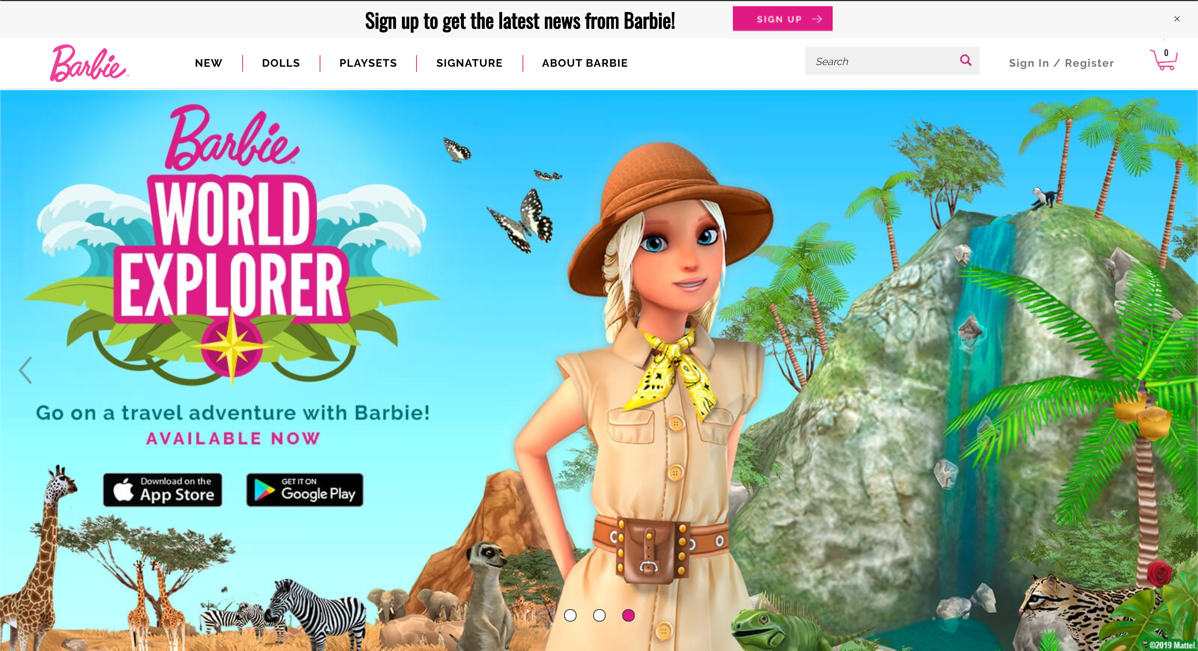
这是你将要建立的最终版本。
它的作用是展示你自己、你做过什么项目、你在做这些项目时用了什么技能,还有一个联系表单,以便客户或者雇主联系上你。
我们将使用什么工具
- 我们将用 React 来创建应用程序的用户界面。它将允许我们通过可重复使用的组件来组成登录页面的每一部分,以及添加我们想要的功能,例如博客。
- 为了设计我们的应用程序,我们将使用 Tailwind CSS。Tailwind 允许我们通过组合类名(classnames)将多种样式轻松应用到 React 项目上,给应用程序一个专业的外观。
- 为了把我们的应用程序部署到网络上,我们将使用免费的 Netlify。通过 CDN 的帮助下,用户可以通过我们自己的的域名快速访问到我们的项目。
如何开始
你可以在这里下载我们项目的启动文件:https://reedbarger.ck.page/react-portfolio-2021。
当你获取到代码,你要做的是把(解压好的)项目文件夹拖到代码编辑器中,然后在终端运行命令。
npm install然后可以开始了!
我需要使用什么工具来构建作品集
从创建到部署应用程序,需要:
- 你的电脑安装 Node.js,你可以在 nodejs.org 下载安装程序。
- 在你的电脑安装 Git,你可以在 git-scm.com 下载。
- 我建议使用 VS Code 作为你的代码编辑器。你可以在 code.visualstudio.com 下载它。
- 一个在 Netlify.com 上的免费的 Netlify 账户。
- 一个免费的 GitHub 账号。
如何建立作品集的结构
使用 React 的好处是,我们可以将我们的应用程序扩展到任意多的页面,并添加大量的内容,这是非常容易的。
但是,由于我们只处理一个页面,所以可以在应用程序组件中非常快速地找到需要的不同组件。我们将在顶部放一个导航栏,通过上面的链接可以跳转到作品集的不同部分。
然后,我们将有一个“关于”部分,这里包含我们的项目介绍、客户推荐以及联系表单。
这种快速的规划使我们能够弄清楚组件怎样命名,以什么顺序命名。下一步,把它们全部添加到我们的 App.js 文件夹中(在 src 文件夹):
// src/App.jsimport React from "react";export default function App() {return (<main><Navbar /><About /><Projects /><Skills /><Testimonials /><Contact /></main>);
}
如何创建组件
现在我们已经列出了所有这些组件,我们需要继续创建它们。
在源代码(src)文件夹中,我们将创建一个 components 文件夹,里面有我们需要的所有文件。
my-portfolio
├── README.md
├── node_modules
├── package.json
├── .gitignore
├── public
│   ├── favicon.ico
│   ├── index.html
│   └── manifest.json
└── src├── App.js├── data.js├── index.css├── index.js└── components├── About.js├── Contact.js├── Navbar.js├── Projects.js├── Skills.js└── Testimonials.js
然后我们将创建每个 React 组件的基本结构,并使用 export default 从该文件导出:
// src/components/About.jsexport default function About() {}// repeat the same basic structure for all 6 components(在所有的 6 个组件中重复相同的结构)最后在 App.js 中导入它:
// src/App.jsimport React from "react";
import About from "./components/About";
import Contact from "./components/Contact";
import Navbar from "./components/Navbar";
import Projects from "./components/Projects";
import Skills from "./components/Skills";
import Testimonials from "./components/Testimonials";export default function App() {return (<main><Navbar /><About /><Projects /><Skills /><Testimonials /><Contact /></main>);
}
请注意,总共应该有 6 个组件
Tailwind CSS 介绍
做完上面的,我们可以开始使用 Tailwind CSS 给我们的应用程序一个基本的外观。
使用 Tailwind CSS 的好处是,我们不必在 CSS 中手动编写任何样式,而是组合多个类(class)来创建我们想要的外观。
// src/App.jsimport React from "react";
import About from "./components/About";
import Contact from "./components/Contact";
import Navbar from "./components/Navbar";
import Projects from "./components/Projects";
import Skills from "./components/Skills";
import Testimonials from "./components/Testimonials";export default function App() {return (<main className="text-gray-400 bg-gray-900 body-font"><Navbar /><About /><Projects /><Skills /><Testimonials /><Contact /></main>);
}
如何构建 About 组件
现在开始第一部分,即 about 部分,介绍我们的基本情况和擅长的技能。
它还将包含联系表单的链接,以及我们过去的项目。由于这些链接将指向同一页面的不同部分,我们能使用 "/#projects" 和 "/#contact"。
为了使这些链接能跳转到每个部分,我们把项目部分 id 的属性设置为 projects,把联系部分的 id 属性设置为 contact。
// src/components/About.jsimport React from "react";export default function About() {return (<section id="about"><div className="container mx-auto flex px-10 py-20 md:flex-row flex-col items-center"><div className="lg:flex-grow md:w-1/2 lg:pr-24 md:pr-16 flex flex-col md:items-start md:text-left mb-16 md:mb-0 items-center text-center"><h1 className="title-font sm:text-4xl text-3xl mb-4 font-medium text-white">Hi, I'm Reed.<br className="hidden lg:inline-block" />I love to build amazingapps.</h1><p className="mb-8 leading-relaxed">Lorem ipsum dolor sit amet, consectetur adipisicing elit. Quilaborum quasi, incidunt dolore iste nostrum cupiditate voluptas?Laborum, voluptas natus?</p><div className="flex justify-center"><ahref="#contact"className="inline-flex text-white bg-green-500 border-0 py-2 px-6 focus:outline-none hover:bg-green-600 rounded text-lg">Work With Me</a><ahref="#projects"className="ml-4 inline-flex text-gray-400 bg-gray-800 border-0 py-2 px-6 focus:outline-none hover:bg-gray-700 hover:text-white rounded text-lg">See My Past Work</a></div></div><div className="lg:max-w-lg lg:w-full md:w-1/2 w-5/6"><imgclassName="object-cover object-center rounded"alt="hero"src="./coding.svg"/></div></div></section>);
}
对于本部分右侧的图片,我使用的 public 文件夹中的一个 svg 文件(coding.svg)。
这个图片只是作为一个临时的占位符,我强烈建议你使用你自己的图片。
如何构建 Projects 组件
我们的项目部分是由一个 section 元素组成,id为 prpjects。这将是包含所有项目的图片集。
// src/components/Projects.jsimport { CodeIcon } from "@heroicons/react/solid";
import React from "react";
import { projects } from "../data";export default function Projects() {return (<section id="projects" className="text-gray-400 bg-gray-900 body-font"><div className="container px-5 py-10 mx-auto text-center lg:px-40"><div className="flex flex-col w-full mb-20"><CodeIcon className="mx-auto inline-block w-10 mb-4" /><h1 className="sm:text-4xl text-3xl font-medium title-font mb-4 text-white">Apps I've Built</h1><p className="lg:w-2/3 mx-auto leading-relaxed text-base">Lorem ipsum, dolor sit amet consectetur adipisicing elit. Explicabofacilis repellat ab cupiditate alias vero aliquid obcaecati quisquamfuga dolore.</p></div><div className="flex flex-wrap -m-4">{projects.map((project) => (<ahref={project.link}key={project.image}className="sm:w-1/2 w-100 p-4"><div className="flex relative"><imgalt="gallery"className="absolute inset-0 w-full h-full object-cover object-center"src={project.image}/><div className="px-8 py-10 relative z-10 w-full border-4 border-gray-800 bg-gray-900 opacity-0 hover:opacity-100"><h2 className="tracking-widest text-sm title-font font-medium text-green-400 mb-1">{project.subtitle}</h2><h1 className="title-font text-lg font-medium text-white mb-3">{project.title}</h1><p className="leading-relaxed">{project.description}</p></div></div></a>))}</div></div></section>);
}
注意,我们还将使用库 @heroicons/react,以便将 SVG 图标写成 React 组件。
我们从同一个文件夹中的 data.js 文件导入一个项目数组。在那里,我们导出一个对象数组,每个对象包含项目的数据。
// src/data.jsexport const projects = [{title: "React Reserve",subtitle: "MERN Stack",description:"Lorem ipsum dolor sit amet consectetur adipisicing elit. Praesentium dolore rerum laborum iure enim sint nemo omnis voluptate exercitationem eius?",image: "./project-1.gif",link: "https://reactbootcamp.com",},{title: "React Tracks",subtitle: "React and Python",description:"Lorem ipsum dolor sit amet consectetur adipisicing elit. Praesentium dolore rerum laborum iure enim sint nemo omnis voluptate exercitationem eius?",image: "./project-2.gif",link: "https://reedbarger.com",},{title: "DevChat",subtitle: "React and Firebase",description:"Lorem ipsum dolor sit amet consectetur adipisicing elit. Praesentium dolore rerum laborum iure enim sint nemo omnis voluptate exercitationem eius?",image: "./project-3.gif",link: "https://jsbootcamp.com",},{title: "Epic Todo App",subtitle: "React Hooks",description:"Lorem ipsum dolor sit amet consectetur adipisicing elit. Praesentium dolore rerum laborum iure enim sint nemo omnis voluptate exercitationem eius?",image: "./project-4.gif",link: "https://pythonbootcamp.com",},
];
如何构建 Skills 组件
我们在这部分填写自己会的技能和技术。
这将包含一个简单的清单,列出在我们熟悉的主要工具,可用于雇主或客户的项目中。
再一次,我们将从 data 文件夹导入一个数组。但是这个数组是由字符串组成,是我们所知道的技能,如 JavaScript、React 和 Node。
// src/components/Skills.jsimport { BadgeCheckIcon, ChipIcon } from "@heroicons/react/solid";
import React from "react";
import { skills } from "../data";export default function Skills() {return (<section id="skills"><div className="container px-5 py-10 mx-auto"><div className="text-center mb-20"><ChipIcon className="w-10 inline-block mb-4" /><h1 className="sm:text-4xl text-3xl font-medium title-font text-white mb-4">Skills & Technologies</h1><p className="text-base leading-relaxed xl:w-2/4 lg:w-3/4 mx-auto">Lorem ipsum dolor sit amet consectetur, adipisicing elit. Nisi sitipsa delectus eum quo voluptas aspernatur accusantium distinctiopossimus est.</p></div><div className="flex flex-wrap lg:w-4/5 sm:mx-auto sm:mb-2 -mx-2">{skills.map((skill) => (<div key={skill} className="p-2 sm:w-1/2 w-full"><div className="bg-gray-800 rounded flex p-4 h-full items-center"><BadgeCheckIcon className="text-green-400 w-6 h-6 flex-shrink-0 mr-4" /><span className="title-font font-medium text-white">{skill}</span></div></div>))}</div></div></section>);
}如何构建 Testimonials 组件
在 Testimonials 组件中,我们将列出一些过去的比较熟悉的客户的推荐信。
这些将由几个卡片组成,里面有推荐人和推荐人所在的公司。
我们将导入一个包含推荐信息的数组,里面的对象包含了评价、图片和公司。
// src/components/Testimonialsimport React from "react";
import { TerminalIcon, UsersIcon } from "@heroicons/react/solid";
import { testimonials } from "../data";export default function Testimonials() {return (<section id="testimonials"><div className="container px-5 py-10 mx-auto text-center"><UsersIcon className="w-10 inline-block mb-4" /><h1 className="sm:text-4xl text-3xl font-medium title-font text-white mb-12">Client Testimonials</h1><div className="flex flex-wrap m-4">{testimonials.map((testimonial) => (<div className="p-4 md:w-1/2 w-full"><div className="h-full bg-gray-800 bg-opacity-40 p-8 rounded"><TerminalIcon className="block w-8 text-gray-500 mb-4" /><p className="leading-relaxed mb-6">{testimonial.quote}</p><div className="inline-flex items-center"><imgalt="testimonial"src={testimonial.image}className="w-12 rounded-full flex-shrink-0 object-cover object-center"/><span className="flex-grow flex flex-col pl-4"><span className="title-font font-medium text-white">{testimonial.name}</span><span className="text-gray-500 text-sm uppercase">{testimonial.company}</span></span></div></div></div>))}</div></div></section>);
}
如何构建 Contact 组件
在登录页的尾部,我们将加入联系表单,以便潜在的雇主能联系到我们。
这个表格包含 3 个输入:姓名、电子邮件和输入信息。
为了接收这些表格所提交的信息,我们将使用 Netlify 表格工具以轻松保存这些信息。
// src/components/Contact.jsimport React from "react";export default function Contact() {return (<section id="contact" className="relative"><div className="container px-5 py-10 mx-auto flex sm:flex-nowrap flex-wrap"><div className="lg:w-2/3 md:w-1/2 bg-gray-900 rounded-lg overflow-hidden sm:mr-10 p-10 flex items-end justify-start relative"><iframewidth="100%"height="100%"title="map"className="absolute inset-0"frameBorder={0}marginHeight={0}marginWidth={0}style={{ filter: "opacity(0.7)" }}src="https://www.google.com/maps/embed/v1/place?q=97+warren+st+new+york+city&key=AIzaSyBFw0Qbyq9zTFTd-tUY6dZWTgaQzuU17R8"/><div className="bg-gray-900 relative flex flex-wrap py-6 rounded shadow-md"><div className="lg:w-1/2 px-6"><h2 className="title-font font-semibold text-white tracking-widest text-xs">ADDRESS</h2><p className="mt-1">97 Warren St. <br />New York, NY 10007</p></div><div className="lg:w-1/2 px-6 mt-4 lg:mt-0"><h2 className="title-font font-semibold text-white tracking-widest text-xs">EMAIL</h2><a className="text-indigo-400 leading-relaxed">reedbarger@email.com</a><h2 className="title-font font-semibold text-white tracking-widest text-xs mt-4">PHONE</h2><p className="leading-relaxed">123-456-7890</p></div></div></div><formnetlifyname="contact"className="lg:w-1/3 md:w-1/2 flex flex-col md:ml-auto w-full md:py-8 mt-8 md:mt-0"><h2 className="text-white sm:text-4xl text-3xl mb-1 font-medium title-font">Hire Me</h2><p className="leading-relaxed mb-5">Lorem ipsum dolor sit amet consectetur, adipisicing elit. Illumsuscipit officia aspernatur veritatis. Asperiores, aliquid?</p><div className="relative mb-4"><label htmlFor="name" className="leading-7 text-sm text-gray-400">Name</label><inputtype="text"id="name"name="name"className="w-full bg-gray-800 rounded border border-gray-700 focus:border-indigo-500 focus:ring-2 focus:ring-indigo-900 text-base outline-none text-gray-100 py-1 px-3 leading-8 transition-colors duration-200 ease-in-out"/></div><div className="relative mb-4"><label htmlFor="email" className="leading-7 text-sm text-gray-400">Email</label><inputtype="email"id="email"name="email"className="w-full bg-gray-800 rounded border border-gray-700 focus:border-indigo-500 focus:ring-2 focus:ring-indigo-900 text-base outline-none text-gray-100 py-1 px-3 leading-8 transition-colors duration-200 ease-in-out"/></div><div className="relative mb-4"><labelhtmlFor="message"className="leading-7 text-sm text-gray-400">Message</label><textareaid="message"name="message"className="w-full bg-gray-800 rounded border border-gray-700 focus:border-indigo-500 focus:ring-2 focus:ring-indigo-900 h-32 text-base outline-none text-gray-100 py-1 px-3 resize-none leading-6 transition-colors duration-200 ease-in-out"/></div><buttontype="submit"className="text-white bg-indigo-500 border-0 py-2 px-6 focus:outline-none hover:bg-indigo-600 rounded text-lg">Submit</button></form></div></section>);
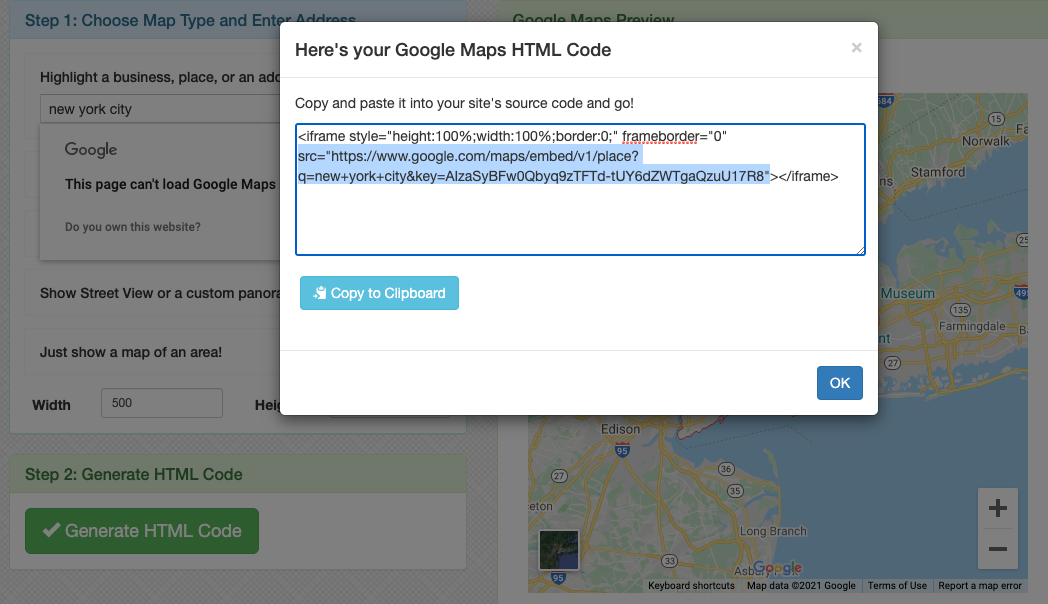
}如何嵌入 Google Maps 位置
在表格的左边,我们将一个 Google Maps 嵌入,显示我们的所在位置。
我们可以在一个在线工具(embed-map.com)的帮助下这样做。你所要做的事只是输入你的位置并点击Generate HTML code。
在给我们生成的代码中,不要复制所有的代码,只要复制 ifame 中的 src 属性,然后替换掉 src 的默认值。
向 Netlify 发送任何提交的表单数据,Netlify Forms 需要将从静态 HTML 中识别表单。因为我们的 React 应用是由 JavaScript 控制的,而不是普通的 HTML 组成,所以我们需要在 public 文件夹下的 index.html 文件中添加一个隐藏的表单。
<!-- public/index.html --><!DOCTYPE html>
<html lang="en"><head><!-- head content skipped --></head><body><form name="contact" netlify netlify-honeypot="bot-field" hidden><input type="text" name="name" /><input type="email" name="email" /><textarea name="message"></textarea></form><noscript>You need to enable JavaScript to run this app.</noscript><div id="root"></div></body>
</html>
我们需要隐藏这个表单,因为它不需要被用户看到,它只需要被Netlify看到。
如何从联系表单提交
完成上面这些,我们将回到 Contact.js。我们将使用 JavaScript 提交这个表单。
const [name, setName] = React.useState("");
const [email, setEmail] = React.useState("");
const [message, setMessage] = React.useState("");
我们将在 onChange 处理程序的帮助下,将用户在每个输入项的信息存储在 state。
// src/components/Contact.jsimport React from "react";export default function Contact() {const [name, setName] = React.useState("");const [email, setEmail] = React.useState("");const [message, setMessage] = React.useState("");function encode(data) {return Object.keys(data).map((key) => encodeURIComponent(key) + "=" + encodeURIComponent(data[key])).join("&");}function handleSubmit(e) {e.preventDefault();fetch("/", {method: "POST",headers: { "Content-Type": "application/x-www-form-urlencoded" },body: encode({ "form-name": "contact", name, email, message }),}).then(() => alert("Message sent!")).catch((error) => alert(error));}return (<section id="contact" className="relative"><div className="container px-5 py-10 mx-auto flex sm:flex-nowrap flex-wrap"><div className="lg:w-2/3 md:w-1/2 bg-gray-900 rounded-lg overflow-hidden sm:mr-10 p-10 flex items-end justify-start relative"><iframewidth="100%"height="100%"title="map"className="absolute inset-0"frameBorder={0}marginHeight={0}marginWidth={0}style={{ filter: "opacity(0.7)" }}src="https://www.google.com/maps/embed/v1/place?q=97+warren+st+new+york+city&key=AIzaSyBFw0Qbyq9zTFTd-tUY6dZWTgaQzuU17R8"/><div className="bg-gray-900 relative flex flex-wrap py-6 rounded shadow-md"><div className="lg:w-1/2 px-6"><h2 className="title-font font-semibold text-white tracking-widest text-xs">ADDRESS</h2><p className="mt-1">97 Warren St. <br />New York, NY 10007</p></div><div className="lg:w-1/2 px-6 mt-4 lg:mt-0"><h2 className="title-font font-semibold text-white tracking-widest text-xs">EMAIL</h2><a className="text-indigo-400 leading-relaxed">reedbarger@email.com</a><h2 className="title-font font-semibold text-white tracking-widest text-xs mt-4">PHONE</h2><p className="leading-relaxed">123-456-7890</p></div></div></div><formnetlifyname="contact"onSubmit={handleSubmit}className="lg:w-1/3 md:w-1/2 flex flex-col md:ml-auto w-full md:py-8 mt-8 md:mt-0"><h2 className="text-white sm:text-4xl text-3xl mb-1 font-medium title-font">Hire Me</h2><p className="leading-relaxed mb-5">Lorem ipsum dolor sit amet consectetur, adipisicing elit. Illumsuscipit officia aspernatur veritatis. Asperiores, aliquid?</p><div className="relative mb-4"><label htmlFor="name" className="leading-7 text-sm text-gray-400">Name</label><inputtype="text"id="name"name="name"className="w-full bg-gray-800 rounded border border-gray-700 focus:border-indigo-500 focus:ring-2 focus:ring-indigo-900 text-base outline-none text-gray-100 py-1 px-3 leading-8 transition-colors duration-200 ease-in-out"onChange={(e) => setName(e.target.value)}/></div><div className="relative mb-4"><label htmlFor="email" className="leading-7 text-sm text-gray-400">Email</label><inputtype="email"id="email"name="email"className="w-full bg-gray-800 rounded border border-gray-700 focus:border-indigo-500 focus:ring-2 focus:ring-indigo-900 text-base outline-none text-gray-100 py-1 px-3 leading-8 transition-colors duration-200 ease-in-out"onChange={(e) => setEmail(e.target.value)}/></div><div className="relative mb-4"><labelhtmlFor="message"className="leading-7 text-sm text-gray-400">Message</label><textareaid="message"name="message"className="w-full bg-gray-800 rounded border border-gray-700 focus:border-indigo-500 focus:ring-2 focus:ring-indigo-900 h-32 text-base outline-none text-gray-100 py-1 px-3 resize-none leading-6 transition-colors duration-200 ease-in-out"onChange={(e) => setMessage(e.target.value)}/></div><buttontype="submit"className="text-white bg-indigo-500 border-0 py-2 px-6 focus:outline-none hover:bg-indigo-600 rounded text-lg">Submit</button></form></div></section>);
}正如你在上面看到的,我们正在用一个特殊的encode(编码)函数对表单数据进行编码。
如何构建 Navbar 组件
最后一步是构建我们的 Navbar 组件。
// src/components/Navbar.jsimport { ArrowRightIcon } from "@heroicons/react/solid";
import React from "react";export default function Navbar() {return (<header className="bg-gray-800 md:sticky top-0 z-10"><div className="container mx-auto flex flex-wrap p-5 flex-col md:flex-row items-center"><a className="title-font font-medium text-white mb-4 md:mb-0"><a href="#about" className="ml-3 text-xl">Reed Barger</a></a><nav className="md:mr-auto md:ml-4 md:py-1 md:pl-4 md:border-l md:border-gray-700 flex flex-wrap items-center text-base justify-center"><a href="#projects" className="mr-5 hover:text-white">Past Work</a><a href="#skills" className="mr-5 hover:text-white">Skills</a><a href="#testimonials" className="mr-5 hover:text-white">Testimonials</a></nav><ahref="#contact"className="inline-flex items-center bg-gray-800 border-0 py-1 px-3 focus:outline-none hover:bg-gray-700 rounded text-base mt-4 md:mt-0">Hire Me<ArrowRightIcon className="w-4 h-4 ml-1" /></a></div></header>);
}
如何在较大的设备上将 Navbar 组件在页面的顶部显示?我们将使用 md:sticky 类添加到 header 元素。
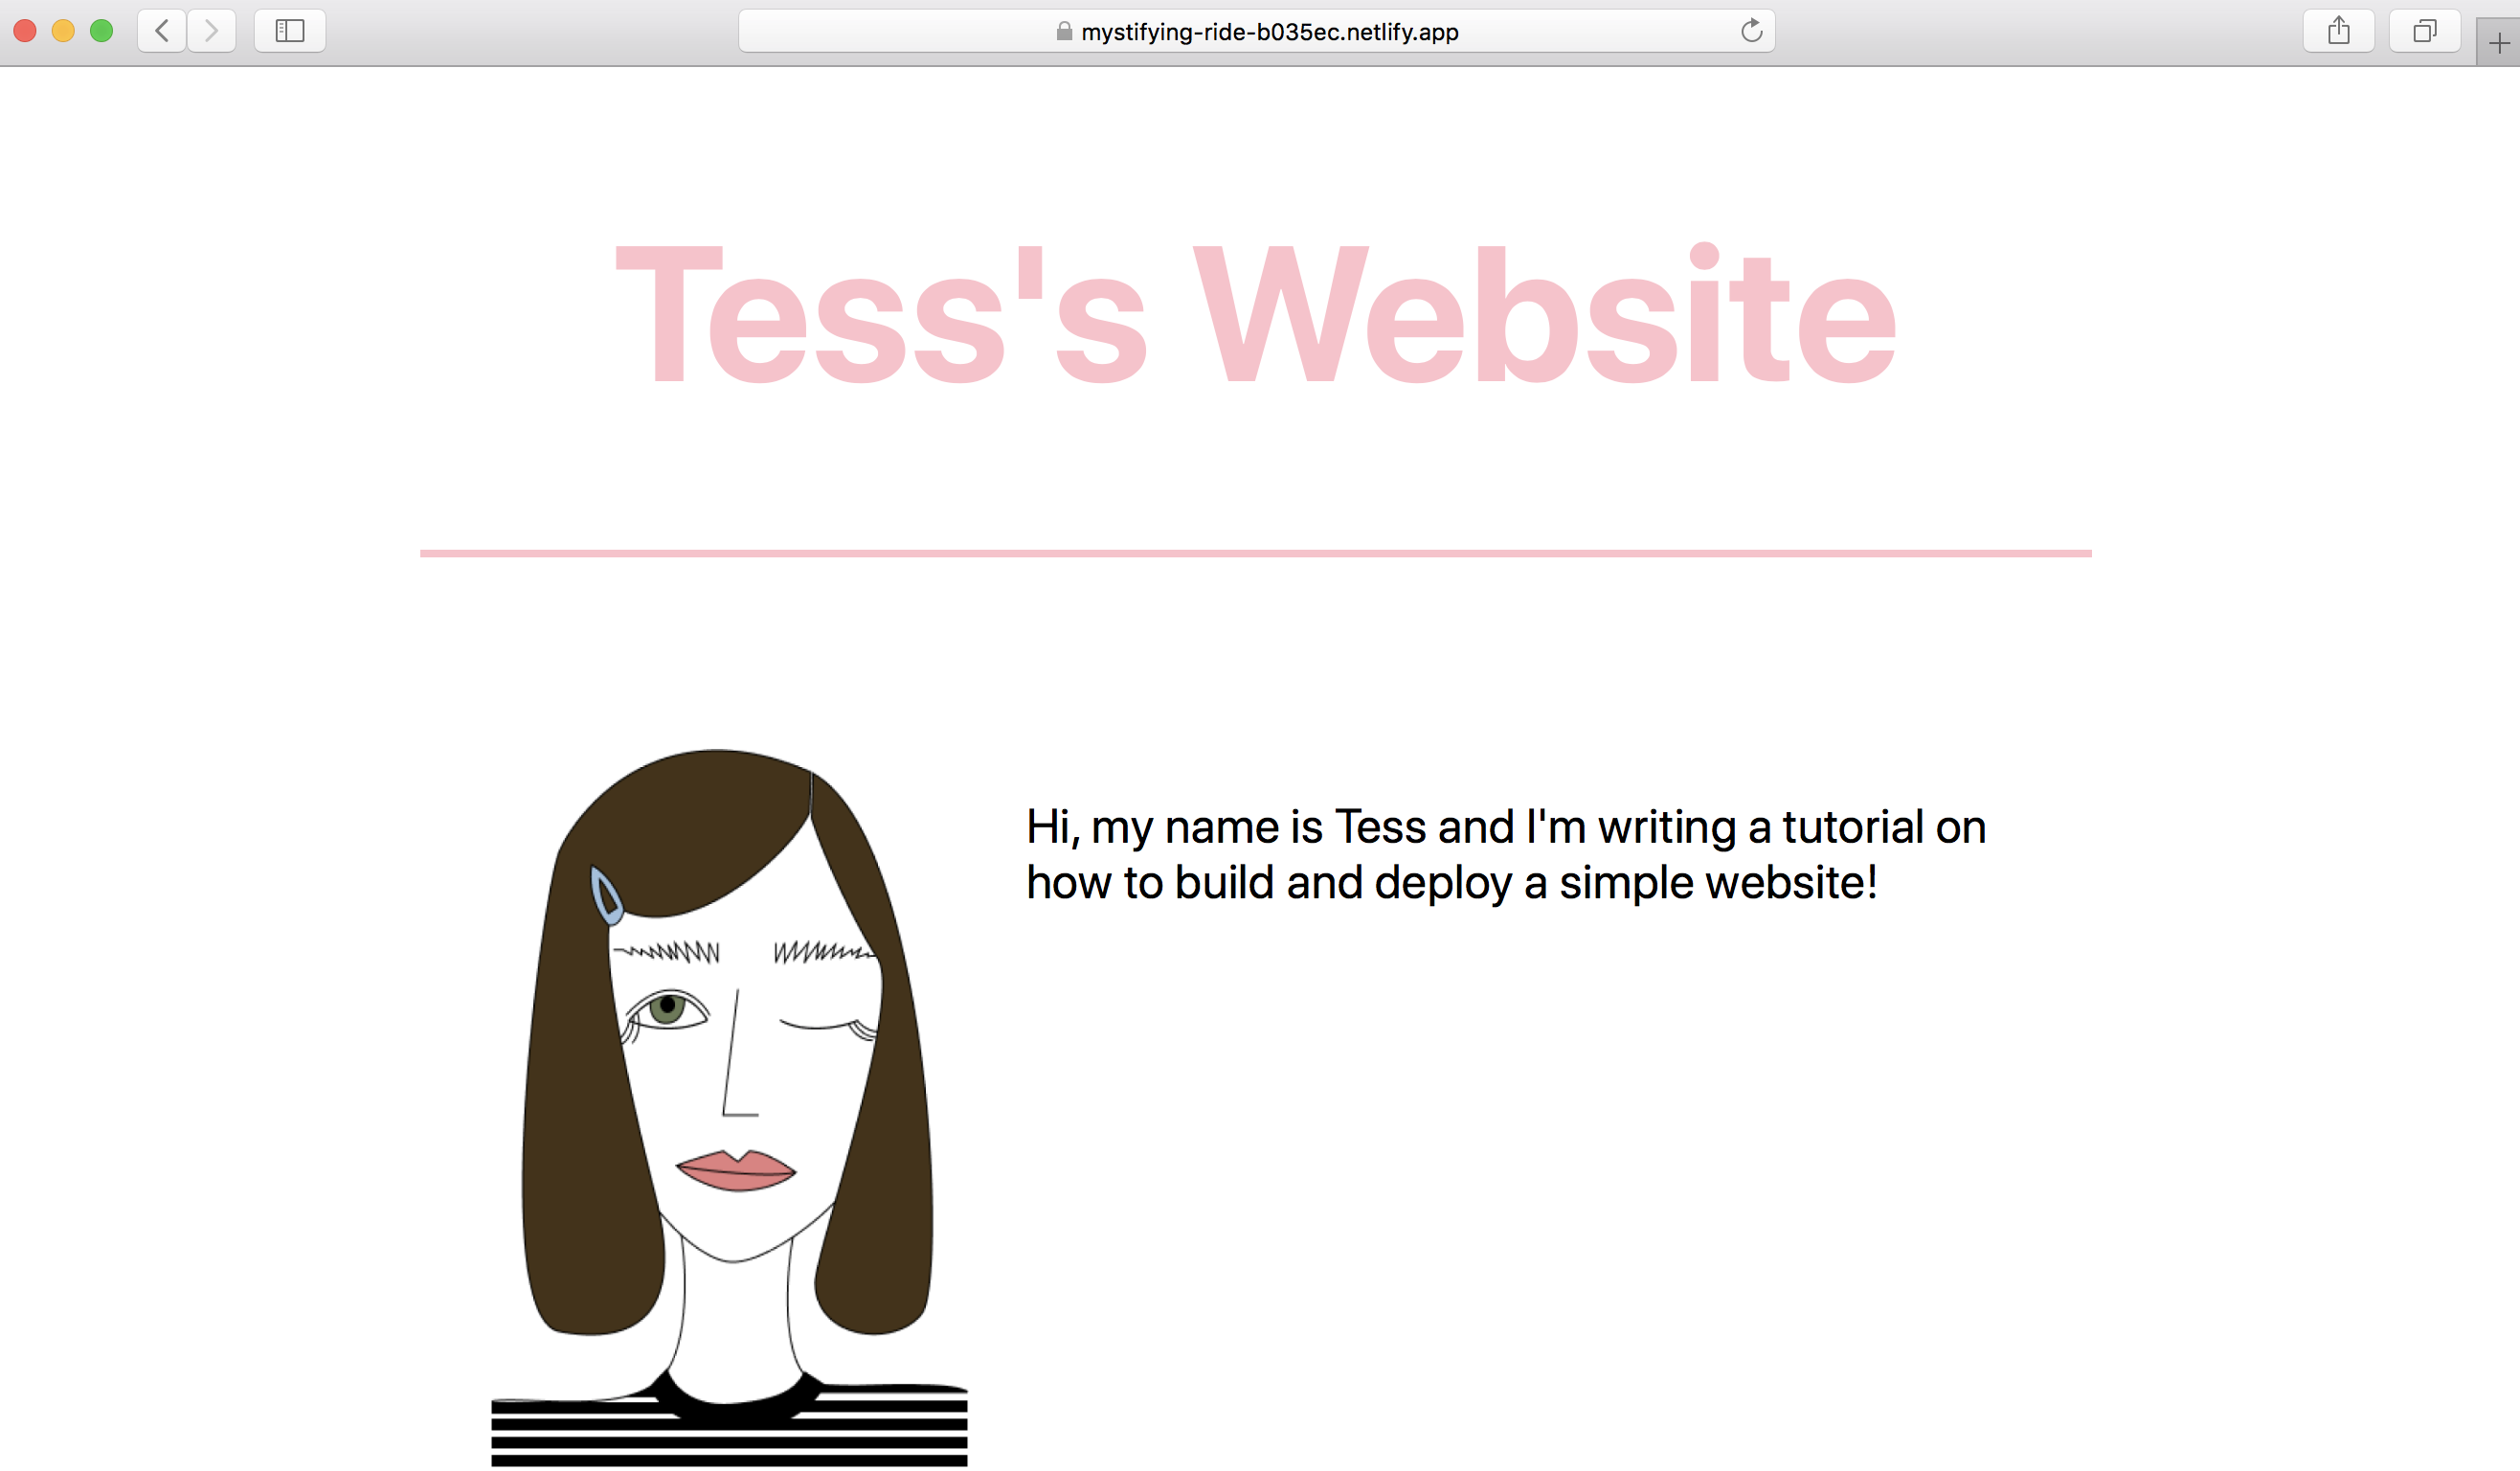
如何部署作品集
现在,为了使我们的作品集上线,我们需要把应用程序推送到 GitHub。
一旦你熟悉了这个流程,我们可以首先创建一个新的 GitHub 仓库。之后,我们将运行 git add .、git commit -m "Deploy",创建 git 远程,然后 git push -u orgin master。
一旦我们的项目建立在 GitHub 上,我们就可以去 Netlify,选择 Choose Site from Git。然后选择 GitHub 作为持续部署,并选择我们刚刚推送代码的 GitHub 仓库。
之后,我们的项目将自动部署到网络上!
下一步是什么
祝贺你,你现在可以通过一个在线的作品集应用程序向潜在雇主展示你的所有项目和技能了!
下一步要做的事设置一个自己的域名,最好用你的名字(例如 reedbarger.com)。
由于 Netlify 包含一个 DNS,你可以很容易在那里设置一个自己的域名。
可以考虑在你的 React 应用程序中添加一个博客,向潜在的雇主展示你更多的开发知识。
通过个人作品集表达你自己以及你作为开发者的热情所在,你将获得成功!
原文链接:https://www.freecodecamp.org/news/build-portfolio-website-react/
作者:Reed Barger
译者:luojiyin

················· 若川简介 ·················
你好,我是若川,毕业于江西高校。现在是一名前端开发“工程师”。写有《学习源码整体架构系列》20余篇,在知乎、掘金收获超百万阅读。
从2014年起,每年都会写一篇年度总结,已经写了7篇,点击查看年度总结。
同时,最近组织了源码共读活动,帮助3000+前端人学会看源码。公众号愿景:帮助5年内前端人走向前列。

识别上方二维码加我微信、拉你进源码共读群
今日话题
略。分享、收藏、点赞、在看我的文章就是对我最大的支持~