首先先把防火墙关闭并且下载好ssl
[root@localhost li]# systemctl stop firewalld[root@localhost li]# setenforce 0[root@localhost li]# yum install mod_ssl1.基于域名www.openlab.com可以访问网站内容为welcome to openlab
先制作服务器证书
req -newkey rsa:4096 -nodes -sha256 -keyout haha.key -x509 - days 365 -out haha.crtreq 是 证书请求的子命令 newkey 生成一个新密钥
rsa 一种非对称密钥算法 可指定长度信息 nodes 生成文本
sha256 加密算法 keyout 生成私钥文件
-x509 表示输出证书 -days 表示有效期
我们由于没有设定路径,所以创建的证书和密钥会放在当前目录
[root@localhost certs]# openssl req -newkey rsa  -nodes -keyout openlab.key -x509 -days 365 -out openlab.crt
Generating a RSA private key
......................................................................................................................+++++
..+++++
writing new private key to 'openlab.key'
-----
You are about to be asked to enter information that will be incorporated
into your certificate request.
What you are about to enter is what is called a Distinguished Name or a DN.
There are quite a few fields but you can leave some blank
For some fields there will be a default value,
If you enter '.', the field will be left blank.
-----
Country Name (2 letter code) [XX]:86
State or Province Name (full name) []:ningxia
Locality Name (eg, city) [Default City]:yinchuan
Organization Name (eg, company) [Default Company Ltd]:openlab
Organizational Unit Name (eg, section) []:1
Common Name (eg, your name or your server's hostname) []:localhost
Email Address []:1907781431@qq.com
2.定义基于域名访问的网站配置文件
创建测试网页文件根目录
定义网页内容
重启服务
[root@localhost openlab]# vim /etc/httpd/conf.d/vhosts.conf
[root@localhost openlab]# cat /etc/httpd/conf.d/vhosts.conf
<VirtualHost 192.168.138.135:443>ServerName www.openlab.com DocumentRoot /www/openlab SSLEngine onSSLCertificateFile /etc/pki/tls/certs/openlab.crtSSLCertificateKeyFile /etc/pki/tls/private/openlab.key
</VirtualHost><Directory /www>AllowOverride noneRequire all granted
</Directory>
[root@localhost openlab]# mkdir -pv /www/openlab
[root@localhost openlab]# echo 这是一个https测试文件 > /www/openlab/index.html
[root@localhost openlab]# echo welcome to openlab!! >> /www/openlab/index.html
echo welcome to openlabcat /etc/httpd/conf.d/vhosts.conf >> /www/openlab/index.html[root@localhost certs]# vim /etc/hosts
[root@localhost certs]# cat /etc/hosts
127.0.0.1 localhost localhost.localdomain localhost4 localhost4.localdomain4
::1 localhost localhost.localdomain localhost6 localhost6.localdomain6
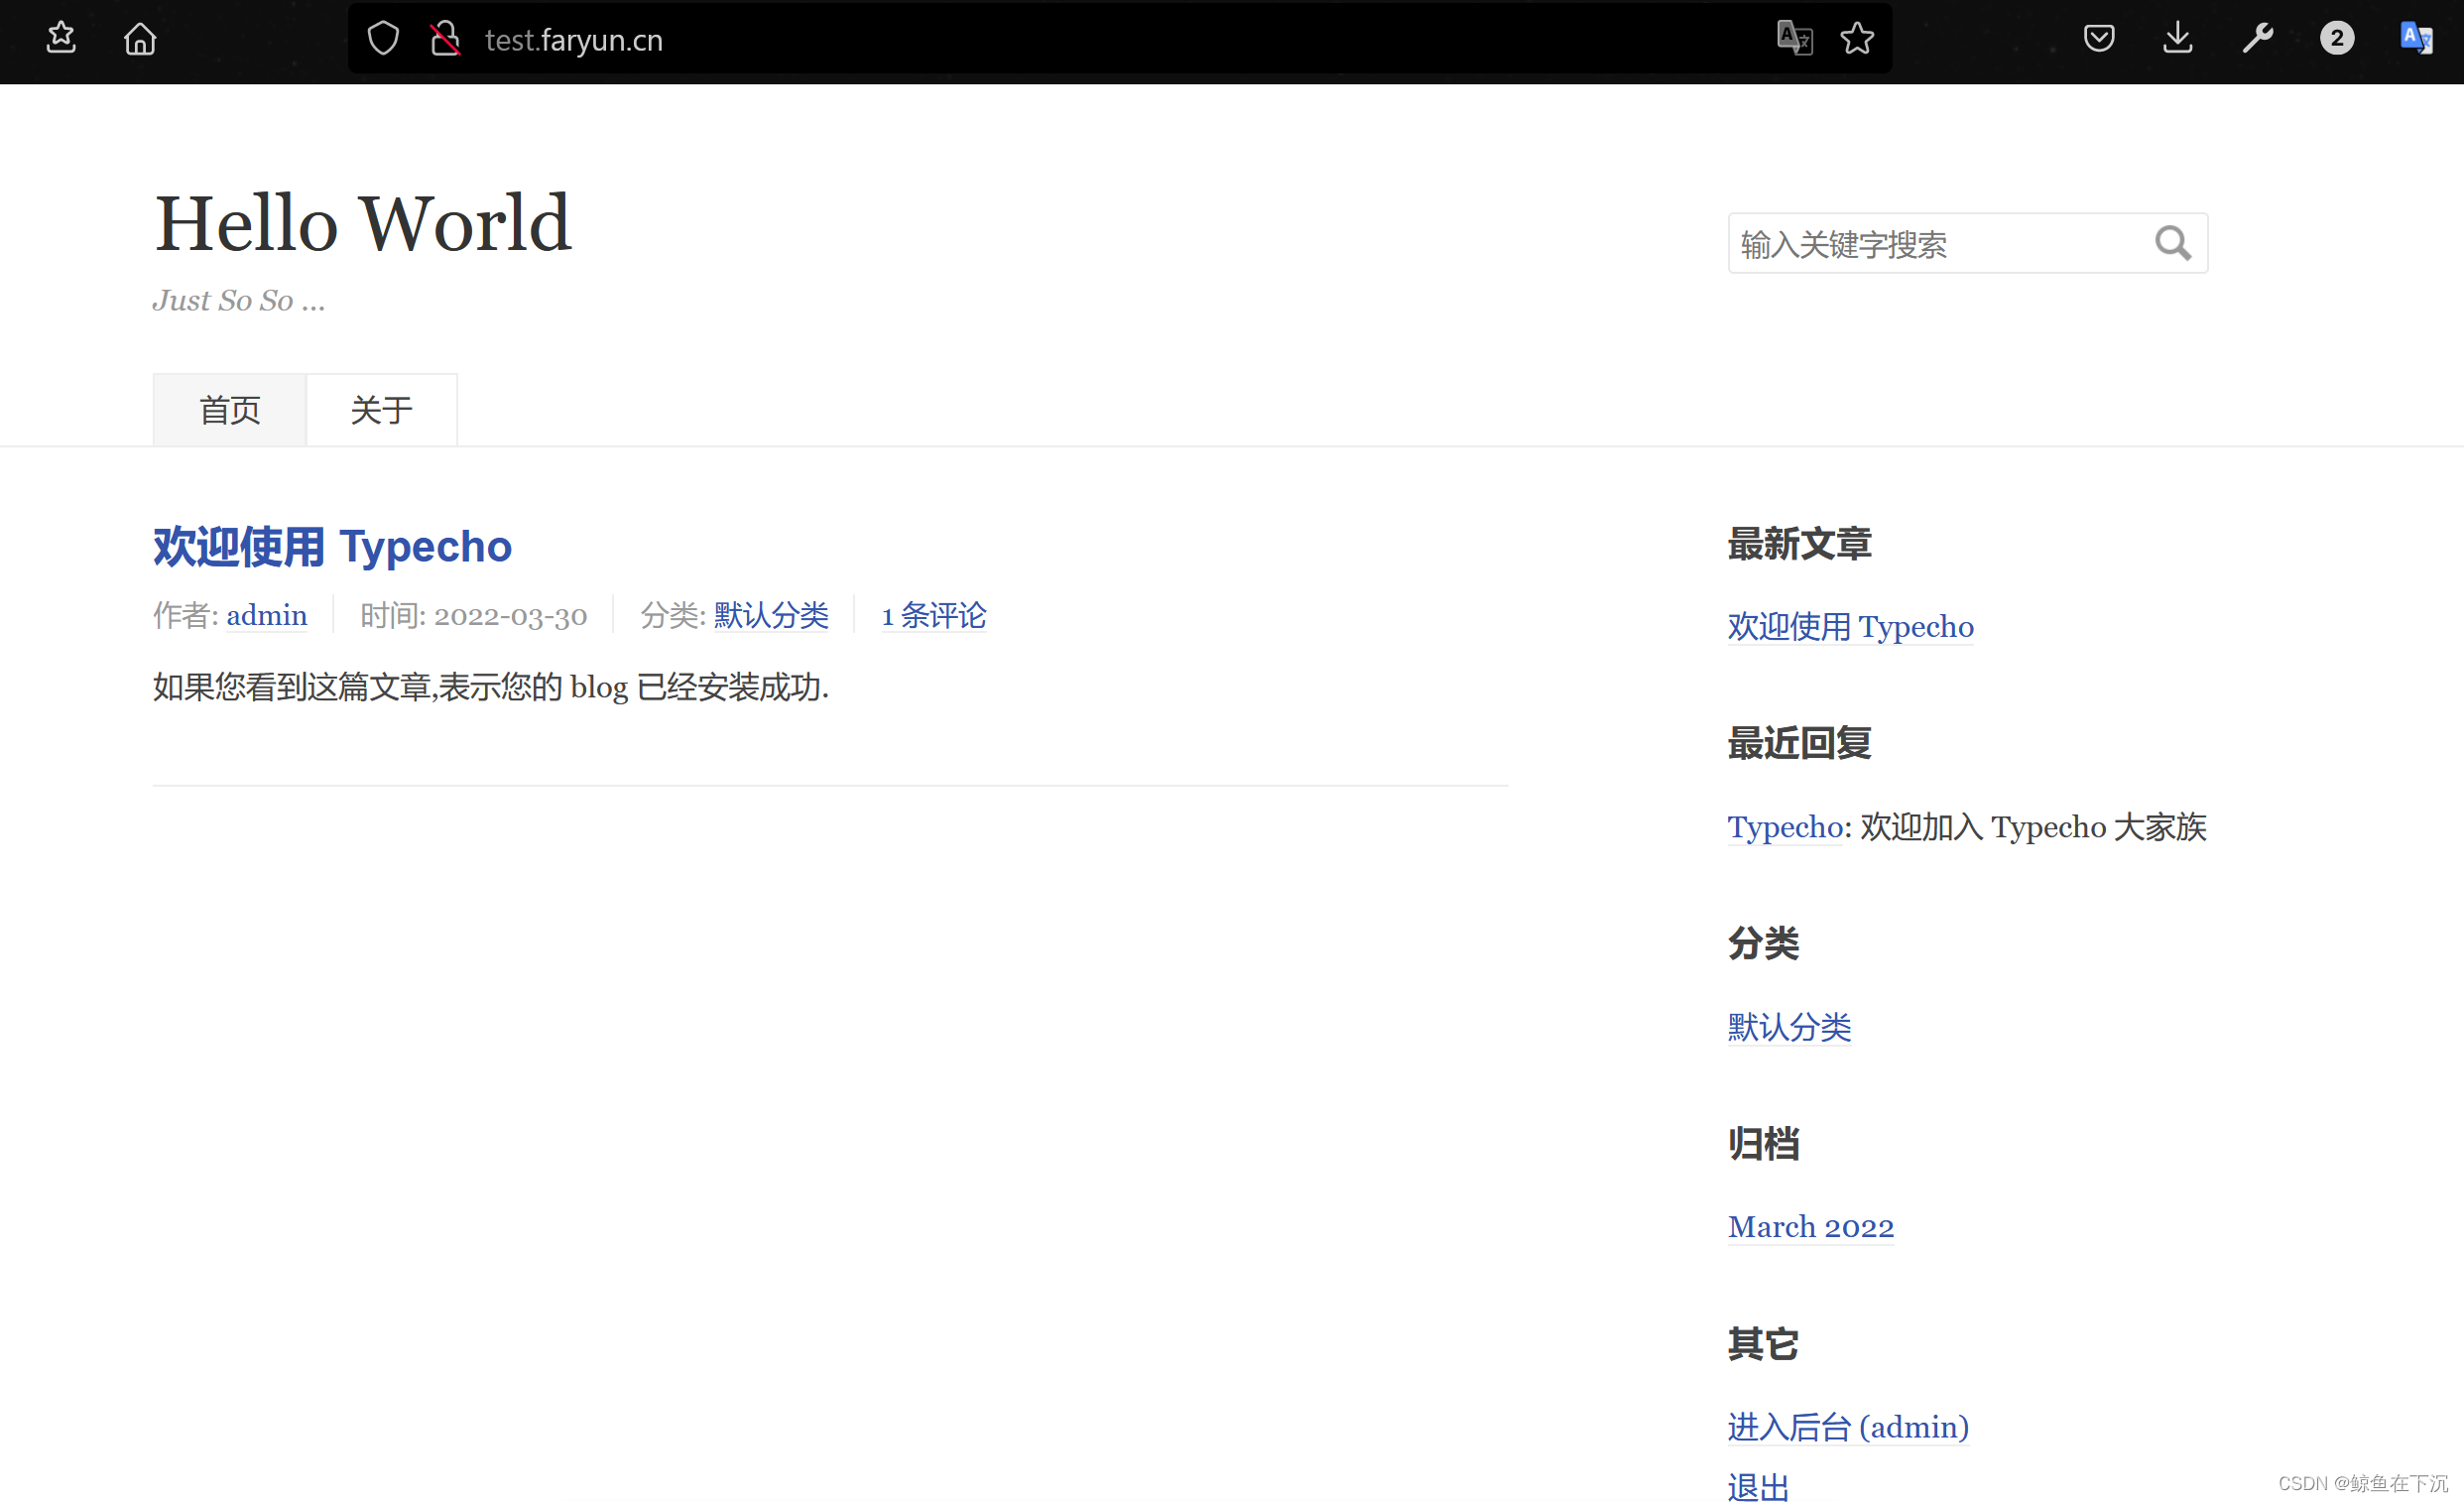
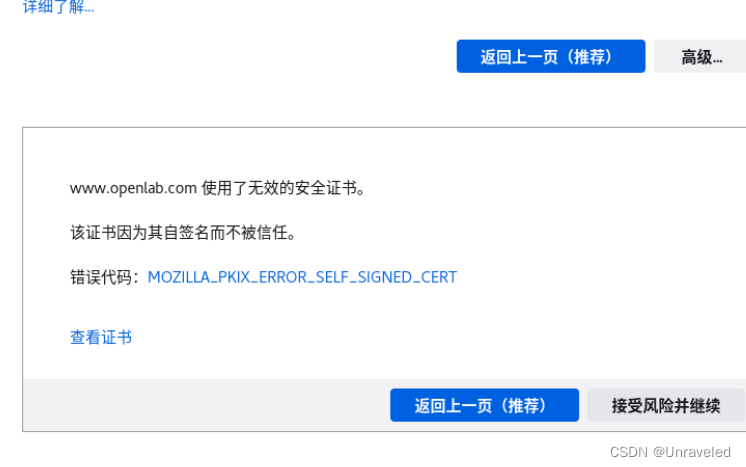
192.168.138.135 www.openlab.com[root@localhost openlab]# systemctl restart httpd3 进行测试
2 在openlab下创建三个子界面
三个界面分别显示学生的信息和资料还有缴费
<VirtualHost  192.168.138.135:443>ServerName     wwww.openlab.comDocumentRoot       /www/openlabAlias /student   Alias /date      Alias /money    SSLEngine onSSLCertificateFile /etc/pki/tls/certs/openlab.crtSSLCertificateKeyFile /etc/pki/tls/private/openlab.key
</VirtualHost>
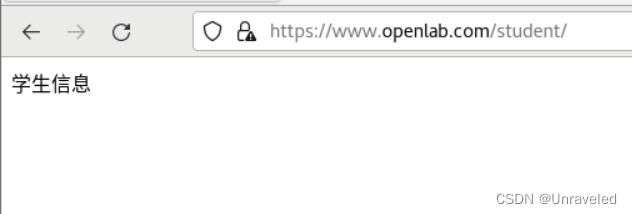
[root@localhost /]# mkdir -pv student[root@localhost /]# mkdir -pv date[root@localhost /]# mkdir -pv money[root@localhost /]# echo 学生信息 > /student/index.html
[root@localhost /]# echo 资料  > /date/index.html
[root@localhost /]# echo 缴费> /money/index.html
从www.openlab.com /student访问学生的信息
 从www.openlab.com /date 访问学习资料

从www.openlab.com/money访问缴费网站

3.
(1)学生信息网站只有song和tian两人可以访问,其他用户不能访问。
vim /etc/httpd/conf.d/vhosts.conf<Directory   /ce1>AllowOverride noneAuthType basicAuthName "login"AuthUserfile /etc/httpd/usersRequire user songRequire user tian
</Directory>
[root@localhost /]# htpasswd  -c  /etc/httpd/users tian
New password:
Re-type new password:
Adding password for user tian[root@localhost /]# htpasswd    /etc/httpd/users song
New password:
Re-type new password:
Adding password for user song[root@localhost /]# cat /etc/httpd/users
tian:$apr1$7IBNs..3$SK/qV7wm/QZ/Tbj7NBgRs0
song:$apr1$BQQo.P6j$OktS6H0XaCbw23cGr5xIn/
之后重启后进行测试

之后基于https 访问就可以了