project 第1部分
文章目录
- project 第1部分
- project1 整体架构
- 一、单机安装基于LNMP(Linux Nginx Mysql PHP)结构的WordPress网站
- 1、 基本环境准备
- 2、配置nginx
- 3、配置数据库服务器
- 4、部署wordpress
- 二、web与数据库服务分离
- 准备数据库服务器
- 自由扩展:
project1 整体架构
 1、
1、
一、单机安装基于LNMP(Linux Nginx Mysql PHP)结构的WordPress网站
1、 基本环境准备
- 创建虚拟机,并配置防火墙、SELINUX、主机名、IP地址、yum
[root@zzgrhel8 ~]# clone-vm7    # 克隆一台7版本的虚拟机
Enter VM number: 1
VM tedu_node01 ... ...
[root@zzgrhel8 ~]# virsh start tedu_node01     # 启动虚拟机
[root@zzgrhel8 ~]# virsh console tedu_node01   # 访问虚拟机的控制台
localhost login: root
Password: 123456# 执行以下命令初始化
hostnamectl set-hostname web1
nmcli connection modify eth1 ipv4.method manual ipv4.addresses 192.168.2.11/24
nmcli connection down eth1
nmcli connection up eth1
echo a | passwd --stdin root# 退出控制台,以ssh方式登陆
[root@localhost ~]# logout
CentOS Linux 7 (Core)
Kernel 3.10.0-862.el7.x86_64 on an x86_64
web1 login:    # 按ctrl+]退回到真机# 以ssh方式登陆
[root@zzgrhel8 ~]# ssh 192.168.2.11
[root@web1 ~]# cat /etc/yum.repos.d/local.repo
[local_repo]
name=CentOS-$releasever - Base
baseurl=ftp://192.168.2.254/centos-1804
enabled=1
gpgcheck=0
2、配置nginx
- nginx安装及基本配置
[root@web1 ~]# yum -y install gcc openssl-devel pcre-devel
[root@zzgrhel8 ~]# scp /linux-soft/2/lnmp_soft.tar.gz 192.168.2.11:/root
[root@web1 ~]# tar xf lnmp_soft.tar.gz
[root@web1 ~]# cd lnmp_soft/
[root@web1 lnmp_soft]# tar xf nginx-1.12.2.tar.gz
[root@web1 lnmp_soft]# cd nginx-1.12.2/
[root@web1 nginx-1.12.2]# ./configure --with-http_ssl_module --with-http_stub_status_module
[root@web1 nginx-1.12.2]# make && make install
- 安装数据库,并配置php支持连接数据库
[root@web1 ~]# yum install -y mariadb-server mariadb-devel php php-fpm php-mysql
- 配置服务
# mariadb数据库服务
[root@web1 ~]# systemctl enable mariadb.service --now
[root@web1 ~]# ss -tlnp | grep :3306
LISTEN     0      50           *:3306
# php-fpm服务,处理php动态程序
[root@web1 ~]# systemctl enable php-fpm.service --now
[root@web1 ~]# ss -tlnp | grep :9000
LISTEN     0      128    127.0.0.1:9000# 配置nginx
[root@web1 ~]# vim /usr/lib/systemd/system/nginx.service
[Unit]
Description=The Nginx HTTP Server
After=network.target remote-fs.target nss-lookup.target[Service]
Type=forking
ExecStart=/usr/local/nginx/sbin/nginx
ExecReload=/usr/local/nginx/sbin/nginx -s reload
ExecStop=/bin/kill -s QUIT ${MAINPID}[Install]
WantedBy=multi-user.target
[root@web1 ~]# systemctl enable nginx --now
[root@web1 ~]# ss -tlnp | grep :80
LISTEN     0      128          *:80
- 修改nginx配置文件,实现动静分离
[root@web1 ~]# vim /usr/local/nginx/conf/nginx.conf
... ...43         location / {44             root   html;45             index  index.php index.html index.htm;46         }... ...65         location ~ \.php$ {66             root           html;67             fastcgi_pass   127.0.0.1:9000;68             fastcgi_index  index.php;69         #    fastcgi_param  SCRIPT_FILENAME  /scripts$fastcgi_scri    pt_name;70             include        fastcgi.conf;71         }
[root@web1 ~]# systemctl restart nginx  # 重启服务# 测试对php的支持
[root@web1 ~]# vim /usr/local/nginx/html/index.php
<?phpphpinfo();
?>
# 相关日志位置:/usr/local/nginx/logs和/var/log/php-fpm/目录
# 浏览器访问http://192.168.2.11/查看结果
# 如果可以看到php信息的网页,则正确。如下:
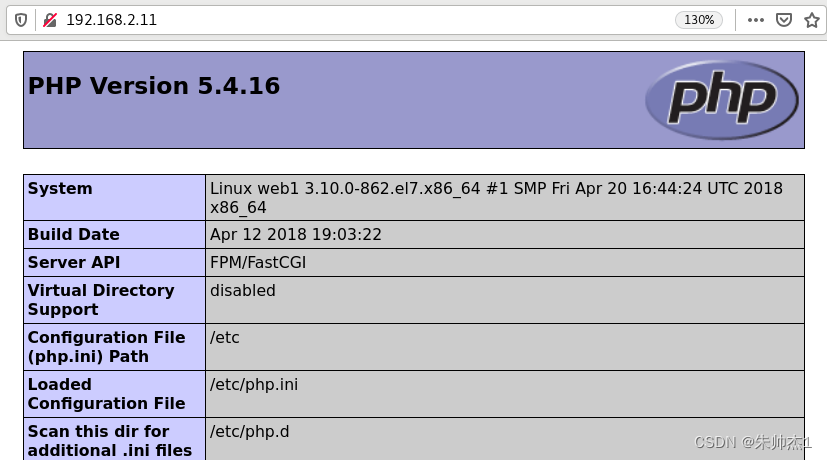
# 测试完后,删除网页:
[root@web1 ~]# rm -f /usr/local/nginx/html/index.php
3、配置数据库服务器
- 创建程序所需的数据库
- 授权用户可以访问数据库
[root@web1 ~]# mysql
# 创建名为wordpress的数据库,字符编码采用utf8mb4
MariaDB [(none)]> create database wordpress character set utf8mb4;
# 创建名为wordpress的用户,可以对wordpress拥有全部权限,他的登录密码也是wordpress。该用户既可以在本机登录,也可以在其他客户端地址登录。
MariaDB [(none)]> grant all on wordpress.* to wordpress@'localhost' identified by 'wordpress';
MariaDB [(none)]> grant all on wordpress.* to wordpress@'192.168.2.11' identified by 'wordpress';
MariaDB [(none)]> grant all on wordpress.* to wordpress@'%' identified by 'wordpress';
MariaDB [(none)]> flush privileges;   # 刷新权限# 测试账号连接数据库
# -u指定数据库账户名称,-p指定数据库账户的密码,-h指定需要远程数据库的IP地址
[root@web1 ~]# mysql -uwordpress -pwordpress -h192.168.2.11 wordpress
4、部署wordpress
- 复制程序文件到nginx工作目录
# 解压
[root@web1 ~]# cd lnmp_soft/
[root@web1 lnmp_soft]# yum install -y unzip
[root@web1 lnmp_soft]# unzip wordpress.zip
[root@web1 lnmp_soft]# cd wordpress/
[root@web1 wordpress]# tar xf wordpress-5.0.3-zh_CN.tar.gz
[root@web1 wordpress]# cd wordpress/
[root@web1 wordpress]# cp -r * /usr/local/nginx/html/
# php程序是由php-fpm处理的,php-fpm以apache身份运行
[root@web1 wordpress]# ps aux | grep php-fpm
# 为了让php-fpm程序能对html目录进行读写操作,需要为他授予权限
[root@web1 wordpress]# chown -R apache:apache /usr/local/nginx/html
- 访问http://192.168.2.11/readme.html可以查阅wordpress使用说明
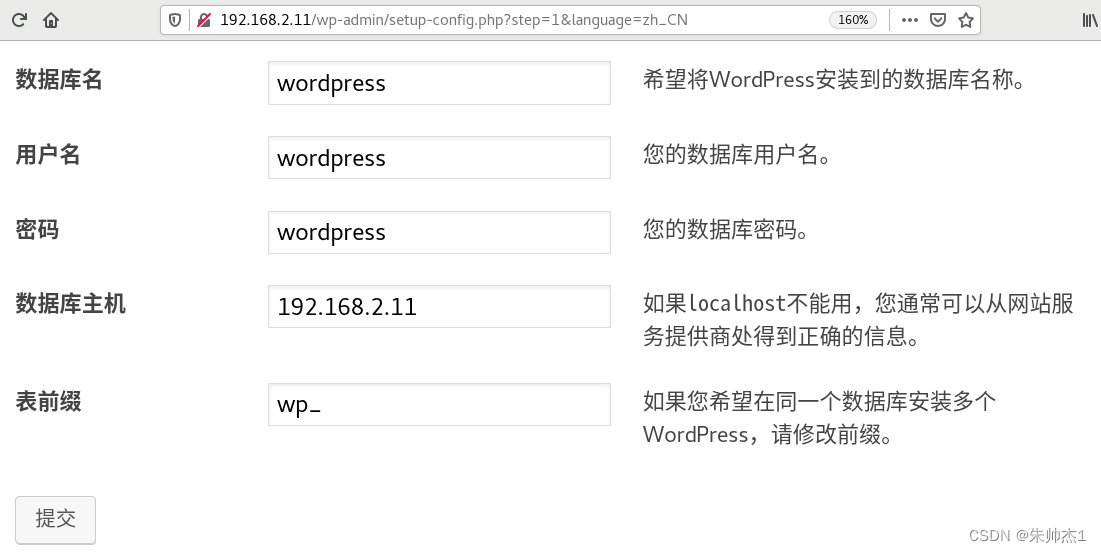
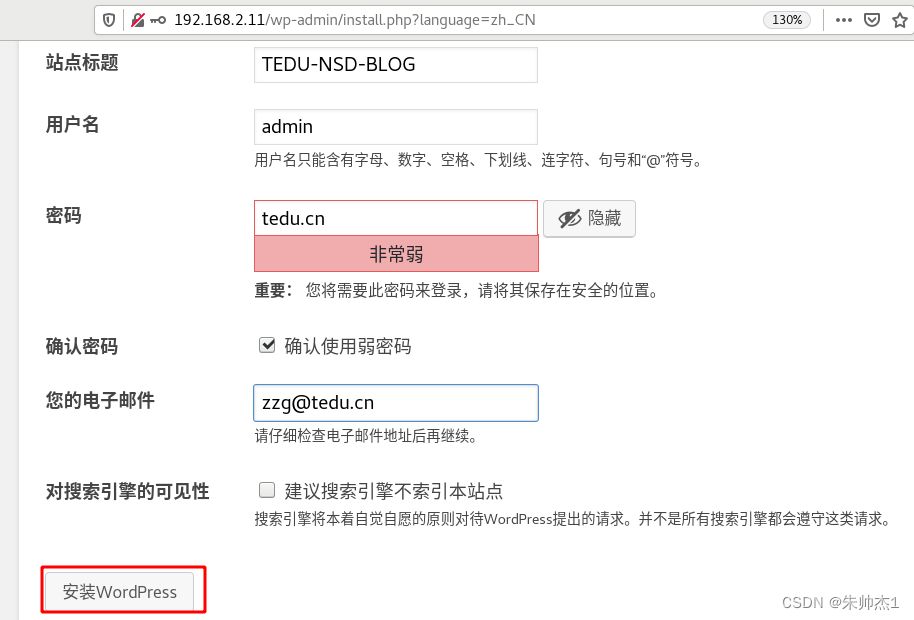
- 访问http://192.168.2.11/进行初始化,它将自动跳转到http://192.168.2.11/wp-admin/setup-config.php
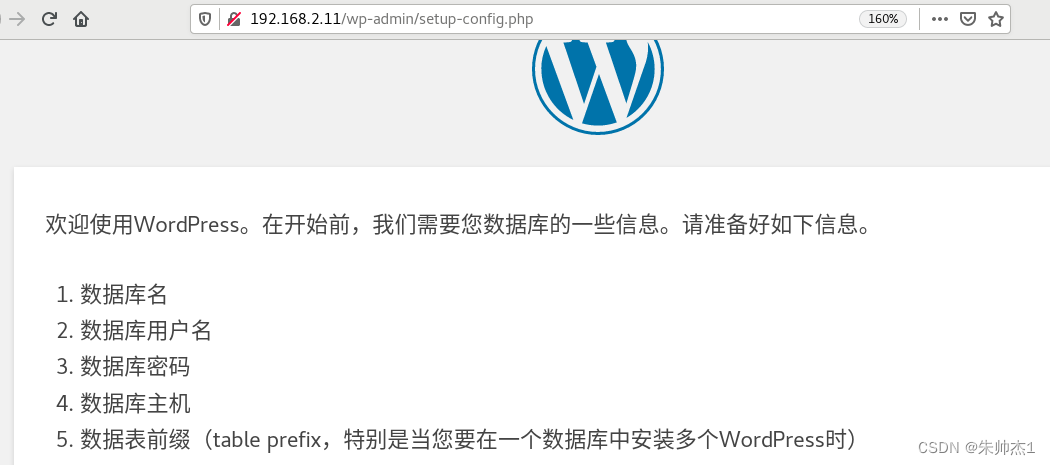 点击该页面最下方的“现在就开始”


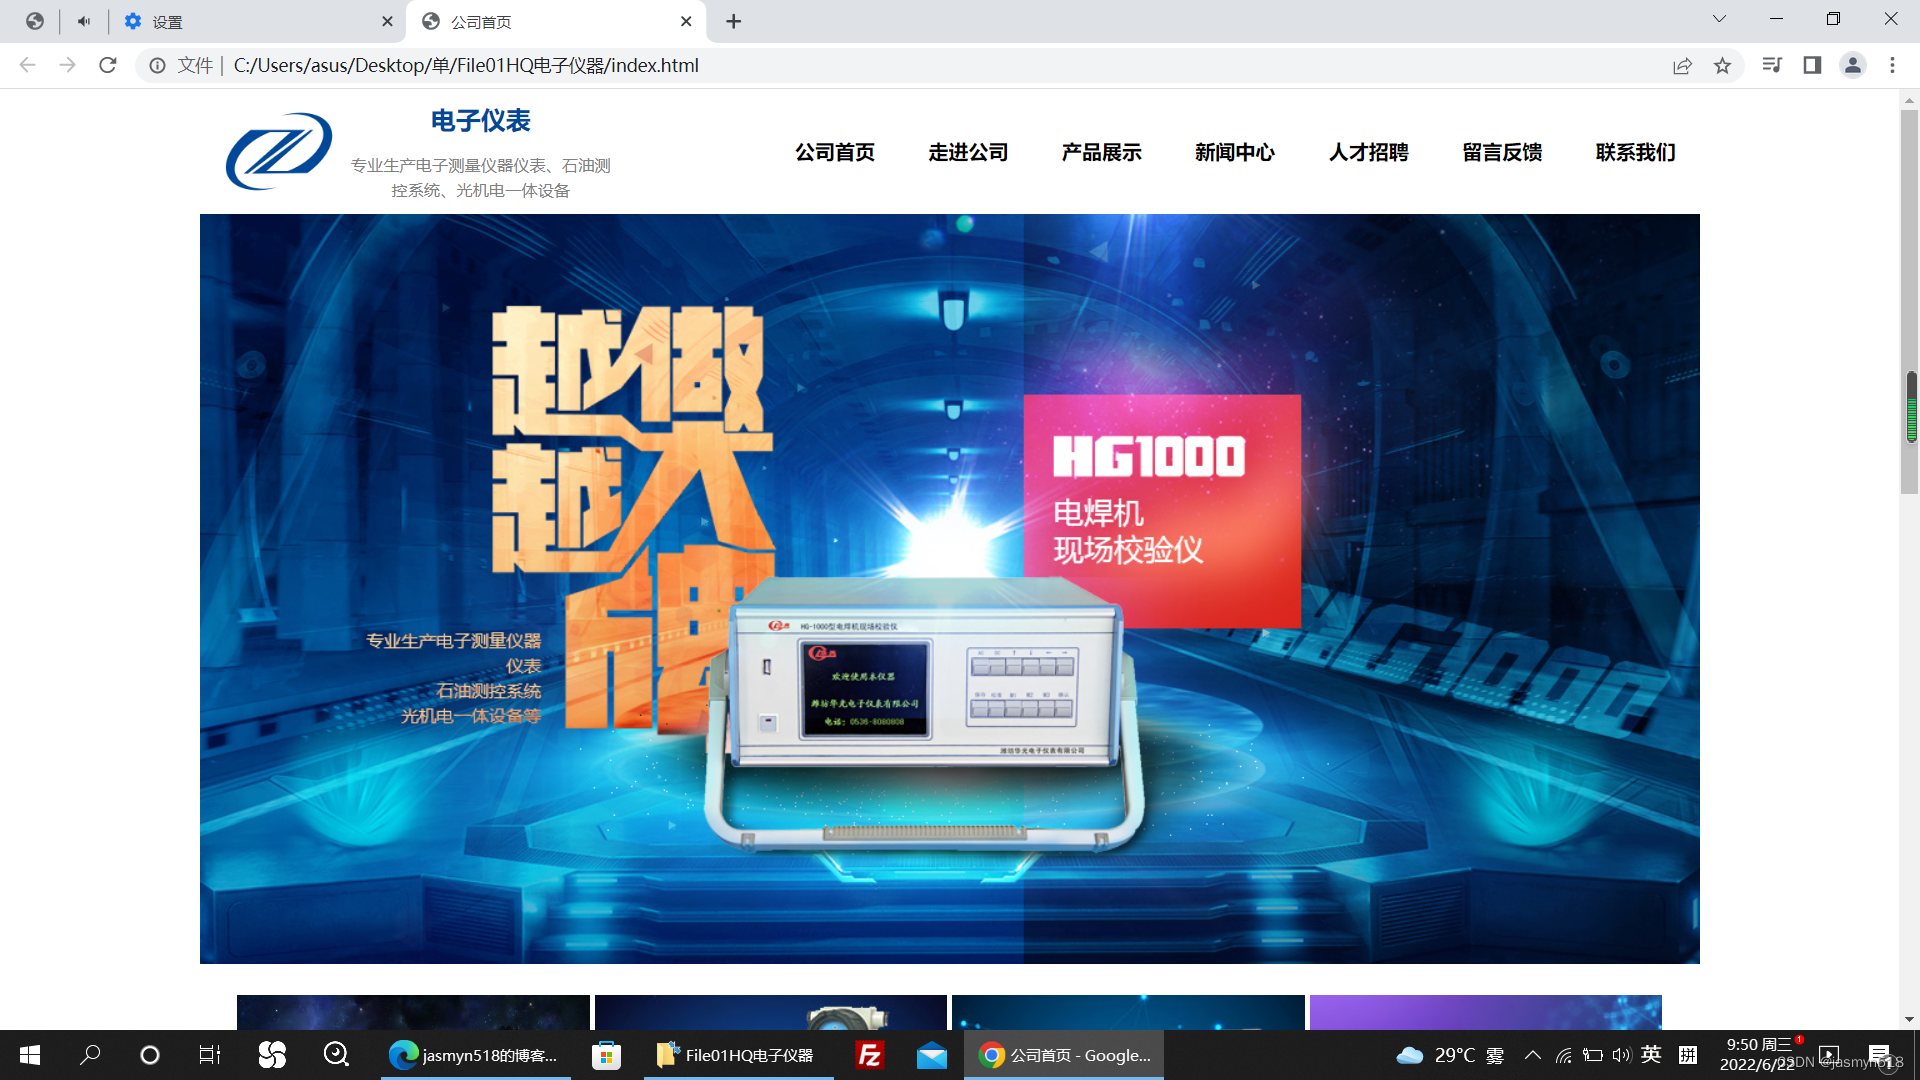
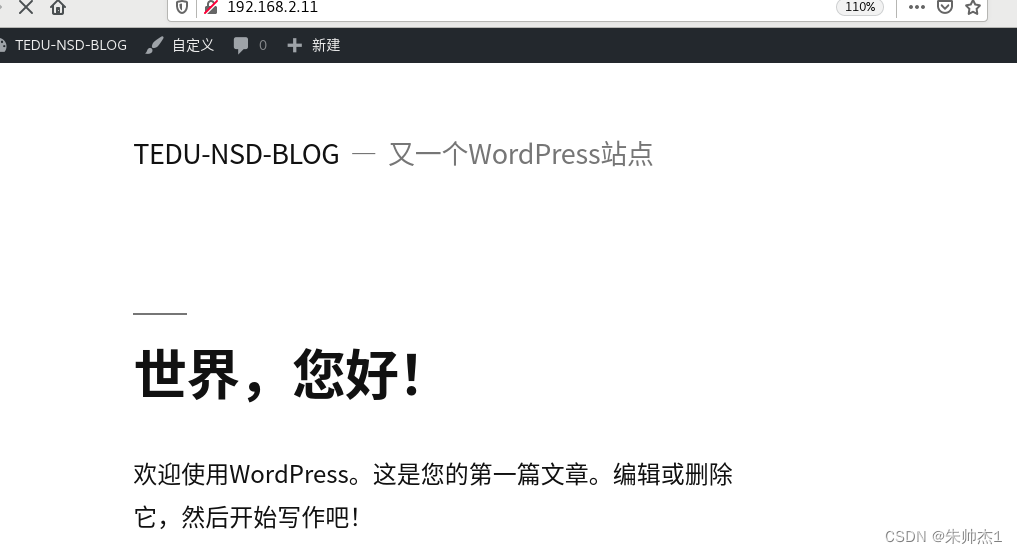
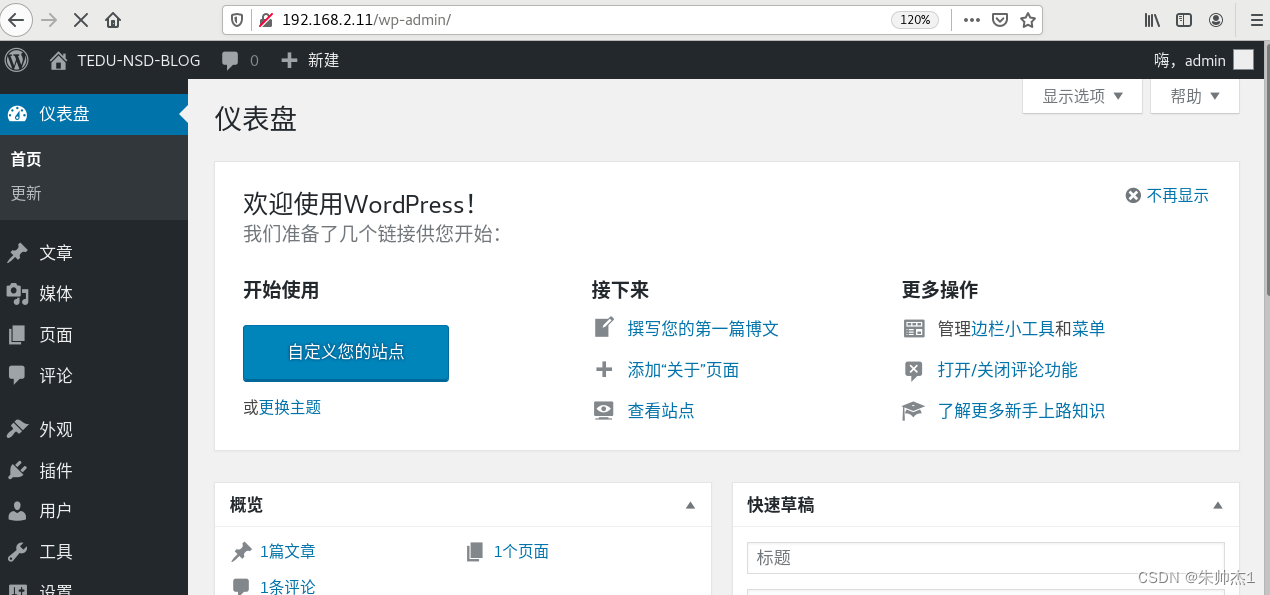 注意:以上页面为后台管理页面。前台用户可以查看到的页面如下:
二、web与数据库服务分离
准备数据库服务器
- 初始化:配置防火墙、SELINUX、YUM、主机名、IP地址
[root@zzgrhel8 ~]# clone-vm7
Enter VM number: 2
VM tedu_node02 Create
[root@zzgrhel8 ~]# virsh start tedu_node02
[root@zzgrhel8 ~]# virsh console tedu_node02
CentOS Linux 7 (Core)
Kernel 3.10.0-862.el7.x86_64 on an x86_64
localhost login: root
Password: 123456# 执行以下命令初始化
hostnamectl set-hostname database
nmcli connection modify eth1 ipv4.method manual ipv4.addresses 192.168.2.21/24
nmcli connection down eth1
nmcli connection up eth1
echo a | passwd --stdin root# 使用ssh远程连接
[root@localhost ~]# logout
CentOS Linux 7 (Core)
Kernel 3.10.0-862.el7.x86_64 on an x86_64
database login:   # 按ctrl+]
[root@zzgrhel8 ~]# ssh 192.168.2.21
[root@database ~]# vim /etc/yum.repos.d/local.repo
[local_repo]
name=CentOS-$releasever - Base
baseurl=ftp://192.168.2.254/centos-1804
enabled=1
gpgcheck=0# 安装mariadb-server并启动
[root@database ~]# yum install -y mariadb-server mariadb-devel
[root@database ~]# systemctl enable mariadb.service --now
- 创建数据库,并授权
[root@database ~]# mysql
MariaDB [(none)]> create database wordpress character set utf8mb4;
MariaDB [(none)]> grant all on wordpress.* to wordpress@'%' identified by 'wordpress';
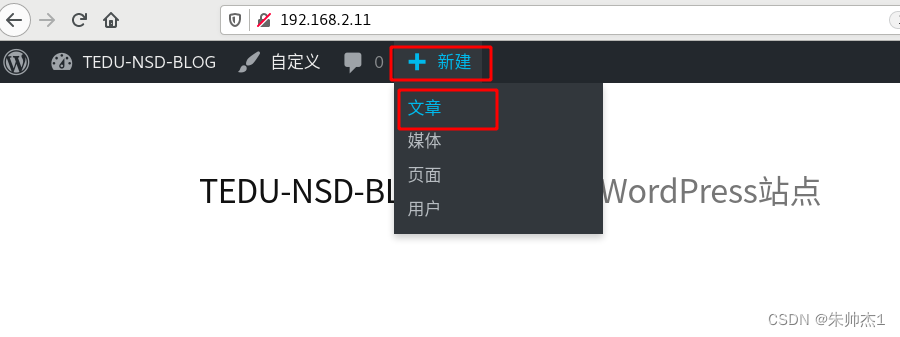
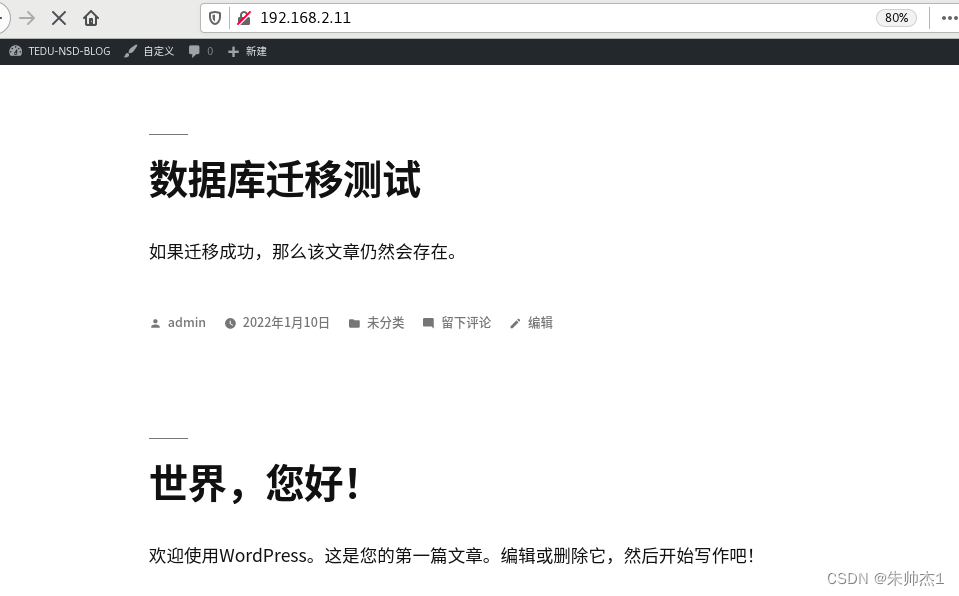
- 为了测试数据迁移成功与否,可以再创建新的BLOG。迁移完数据后,BLOG仍在,则数据未丢失。
 点击右上角的“发布”后,回到首页,查看结果:
 - 向用户发布停服更新通知。然后迁移数据库
# 1. 在源服务器上备份数据库中的数据。备份数据库wordpress中的数据到wordpress.sql文件
[root@web1 ~]# mysqldump wordpress > wordpress.sql
# 2. 将备份文件拷贝到新数据库服务器
[root@web1 ~]# scp wordpress.sql 192.168.2.21:/root/
# 3. 在新数据库服务器上,导入数据。将wordpress.sql中的数据导入到wordpress数据库中
[root@database ~]# mysql wordpress < wordpress.sql
# 4. 修改php网站,将数据库服务器地址,指向新数据库服务器
[root@web1 ~]# vim /usr/local/nginx/html/wp-config.php32 define('DB_HOST', '192.168.2.21');
# 5. 停止web1上的mariadb数据库,wordpress网站仍然可以访问
[root@web1 ~]# systemctl stop mariadb
[root@web1 ~]# systemctl disable mariadb
# 6. 停止database上的mariadb数据库,wordpress将不能访问
[root@database ~]# systemctl stop mariadb
# 7. 测试后,再启动database上的mariadb。
[root@database ~]# systemctl start mariadb
附:查看数据库中的内容
# 1. 登录数据库
[root@database ~]# mysql
# 2. 查看有哪些数据库
MariaDB [(none)]> show databases;
# 3. 进入名为wordpress的数据库
MariaDB [(none)]> use wordpress;
# 4. 查看数据库中的表
MariaDB [wordpress]> show tables;
# 5. 查看注册的用户信息
MariaDB [wordpress]> select * from wp_users;
MariaDB [wordpress]> select * from wp_users\G
# 6. 查看文章
MariaDB [wordpress]> select * from wp_posts\G
自由扩展:
自己搭建discuz