基本规则
仓库/repository,分支/branch仓库是网页、代码、资料等在GitHub网站存放位置
repository下有branch,branch默认为master,用户需根据自身需要自建新的branch
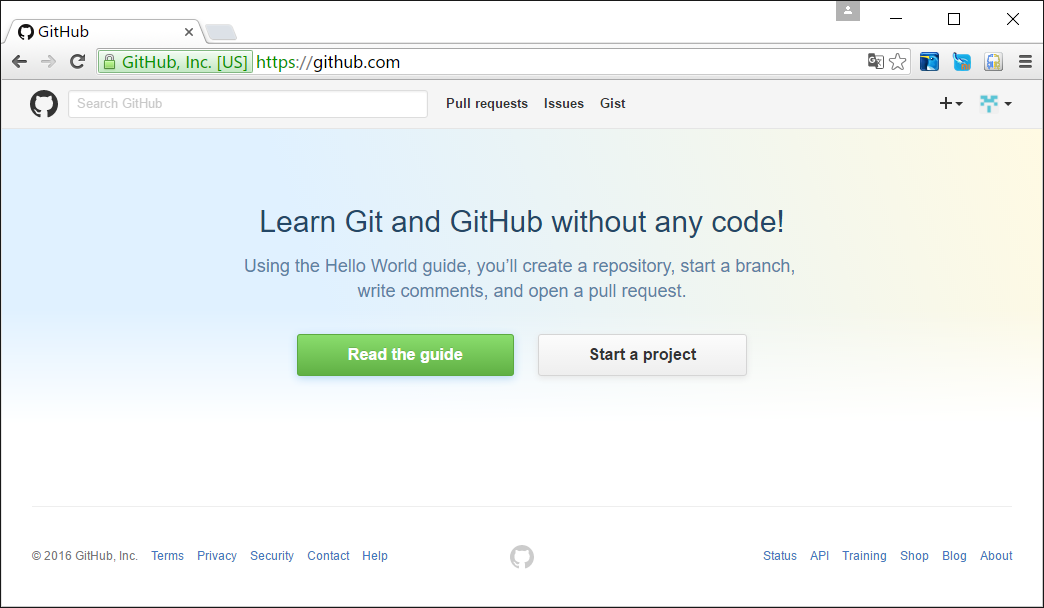
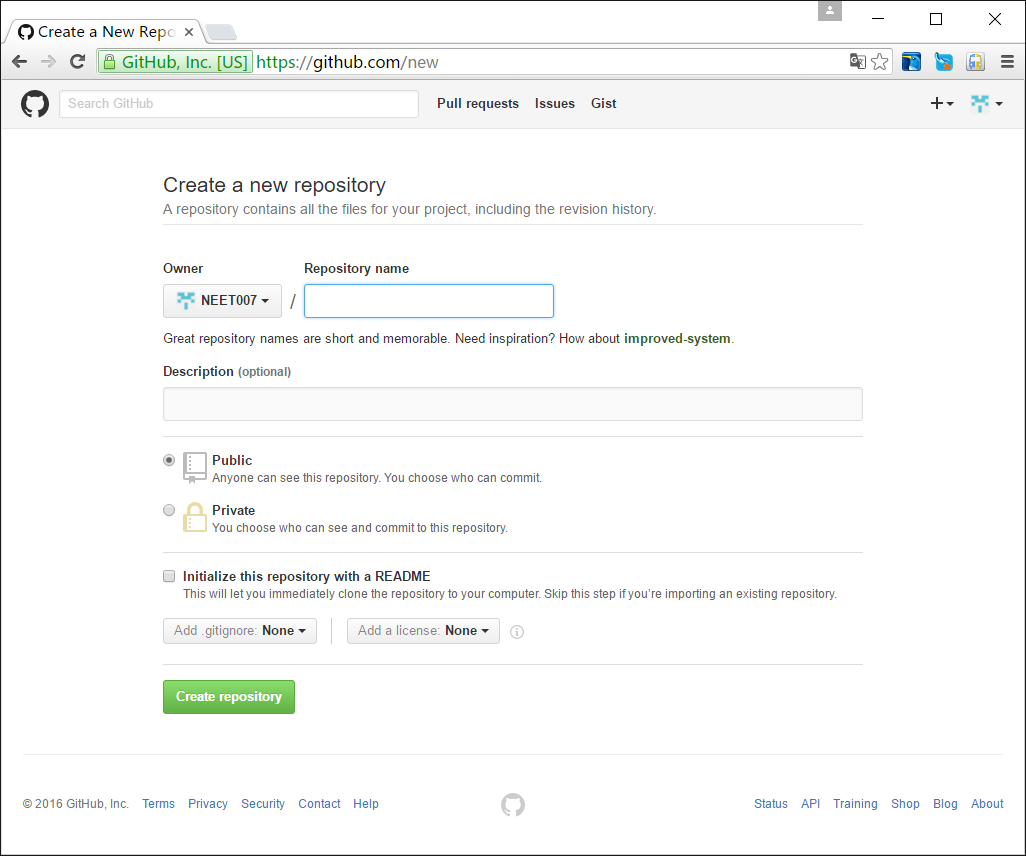
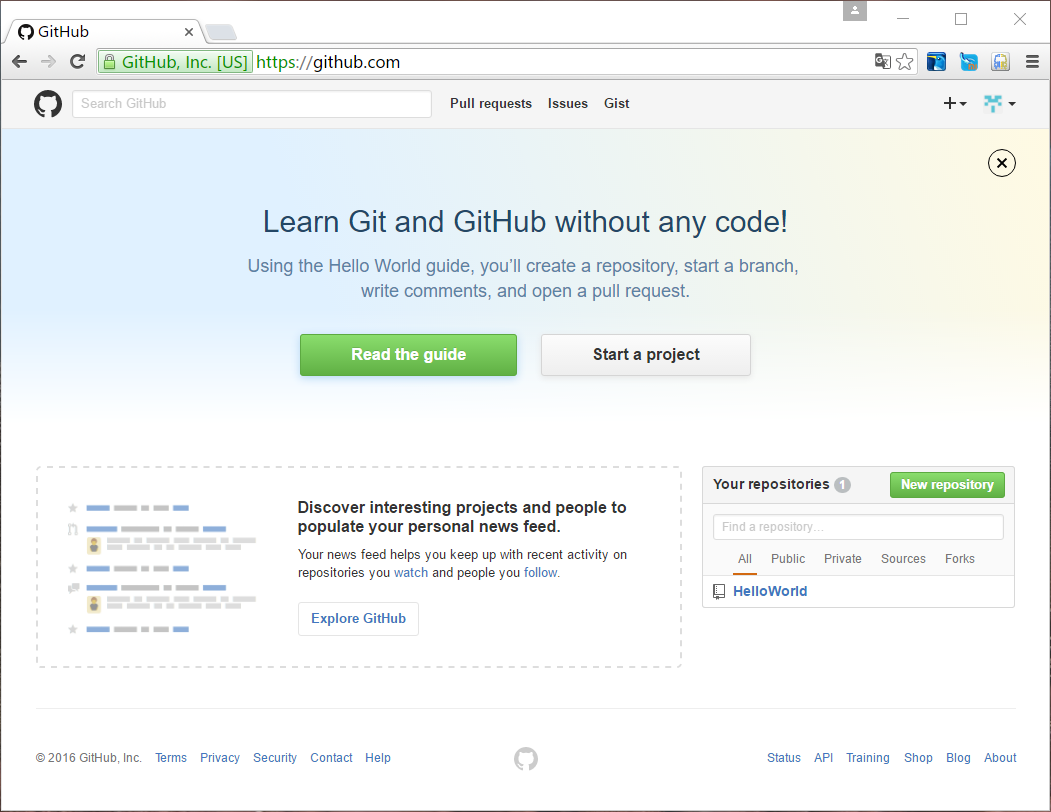
登陆页面后,跳转到“Learn Git and GitHub without any code!”页面,点击“Start a project”按钮,跳转到“Create a new repository”页面,在“Repository name”输入框输入仓库名称
仓库名称规则:用户名.github.io,用户名同登陆用户名,小写,针对有网站发布需求的使用,其它应用则根据自身喜好即可
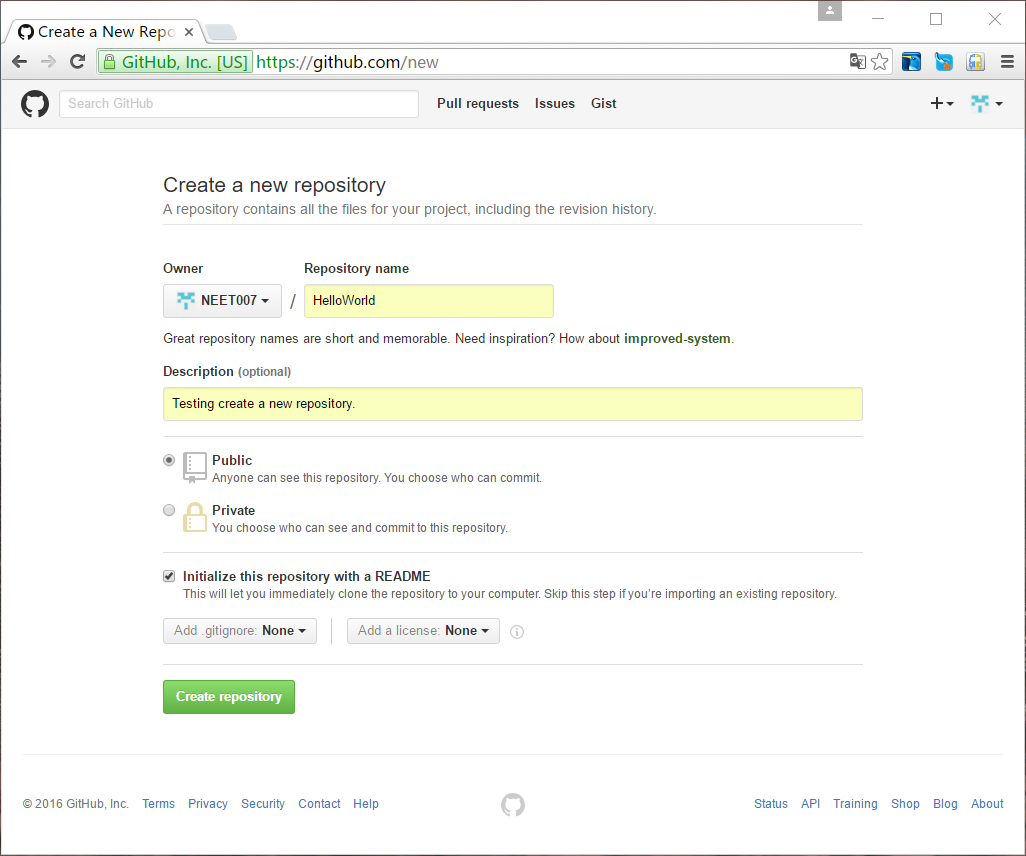
“Description”输入框输入此仓库的基本用途相关的描述信息
一定要选“Public”,因为“Private”是收费的
“Initialize this repository with a README”是可选项目,一般勾选,“Add gitignore”和“Add a license”初学者用不到,默认选“NONE”
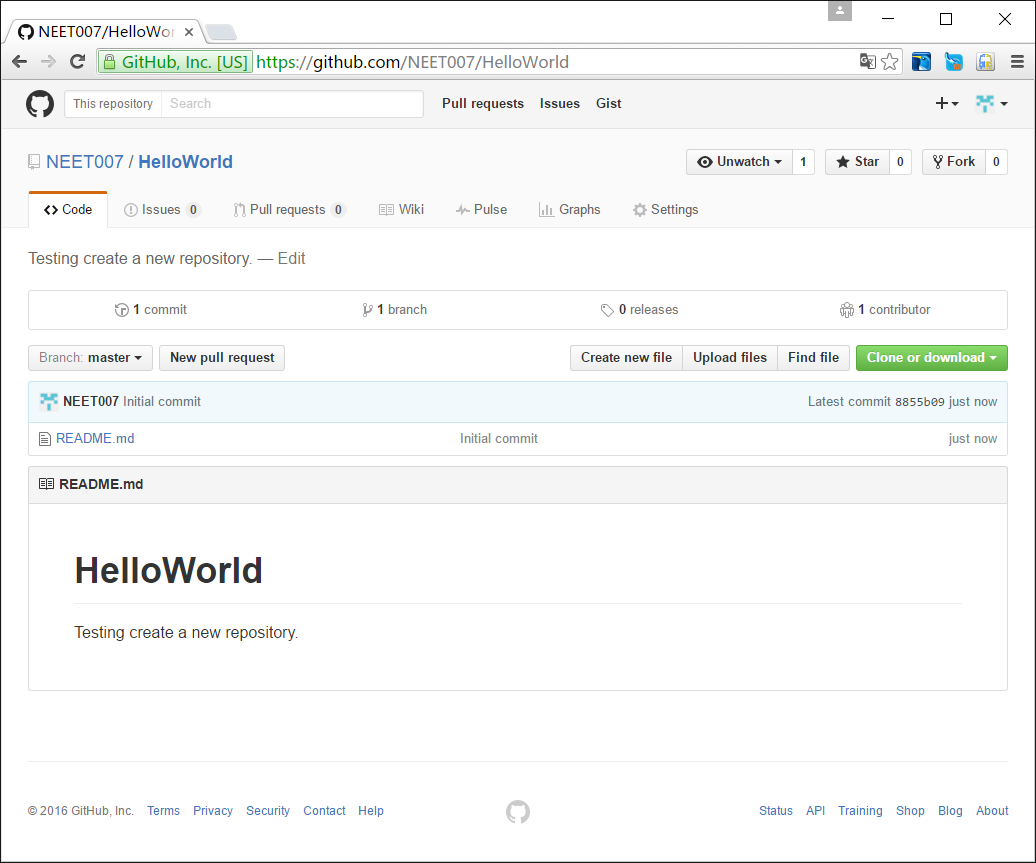
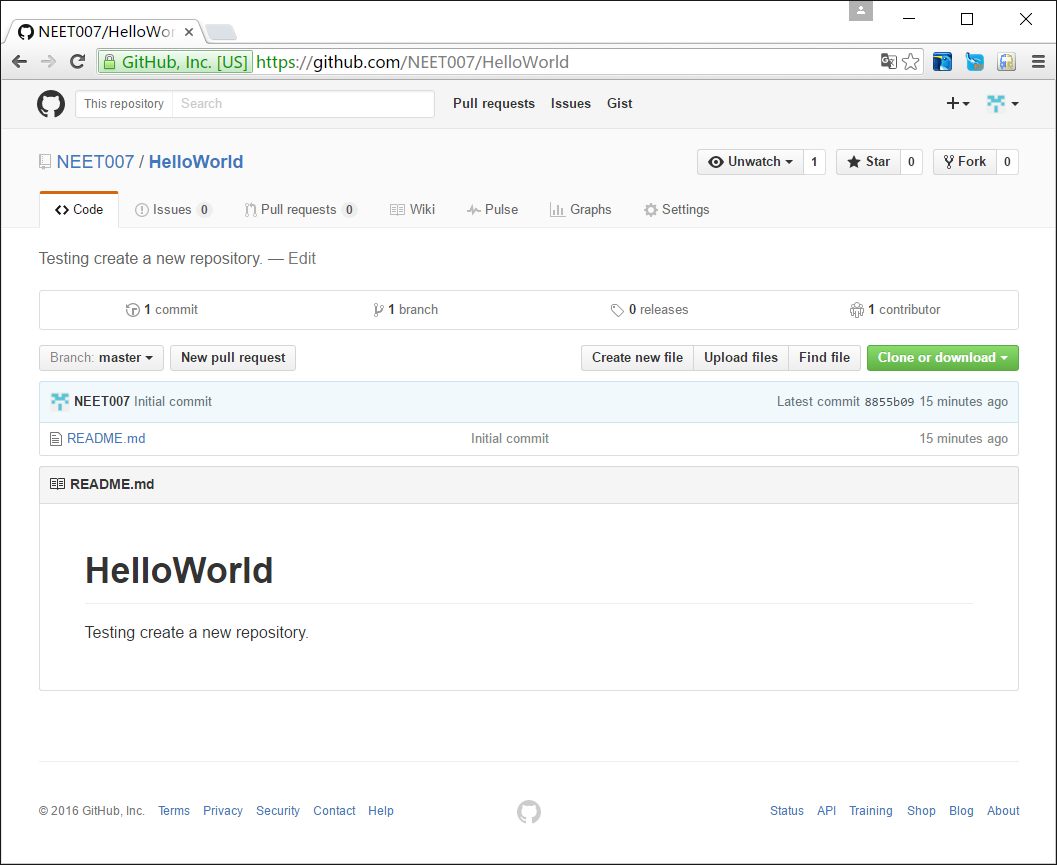
点击“Create repository”按钮,创建完成,跳转到“用户名/仓库名”页面
建仓库
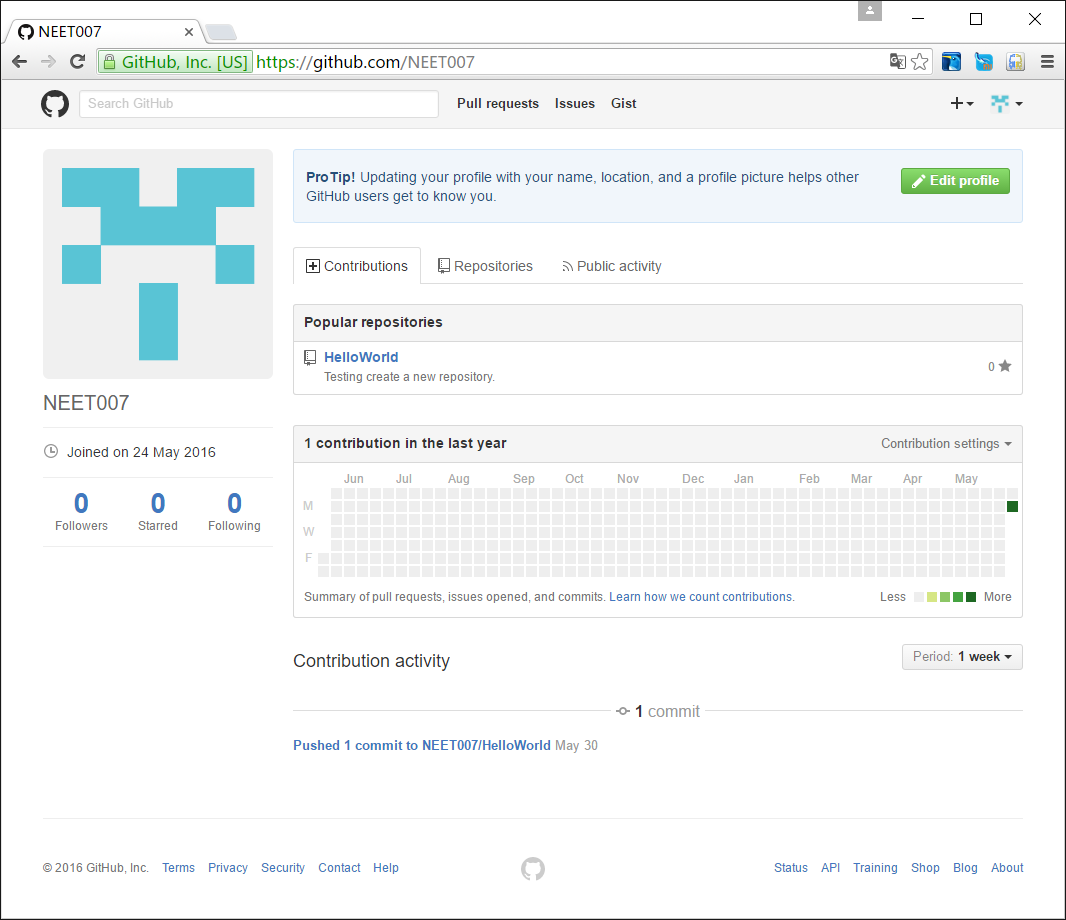
网站刚刚注册、登陆、没有进行任何项目操作的样子
点击“Start a project”,进行新建仓库操作
登陆GitHub网站的账户下,仓库信息
GitHub网站首页,仓库信息
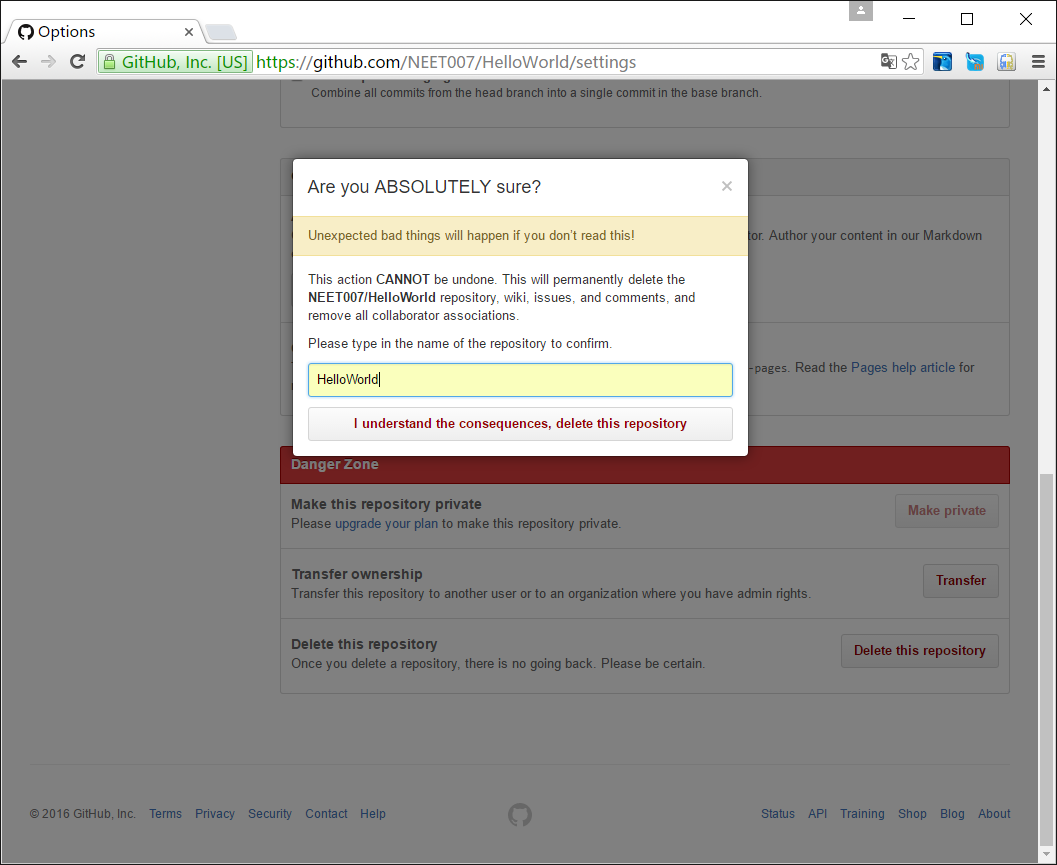
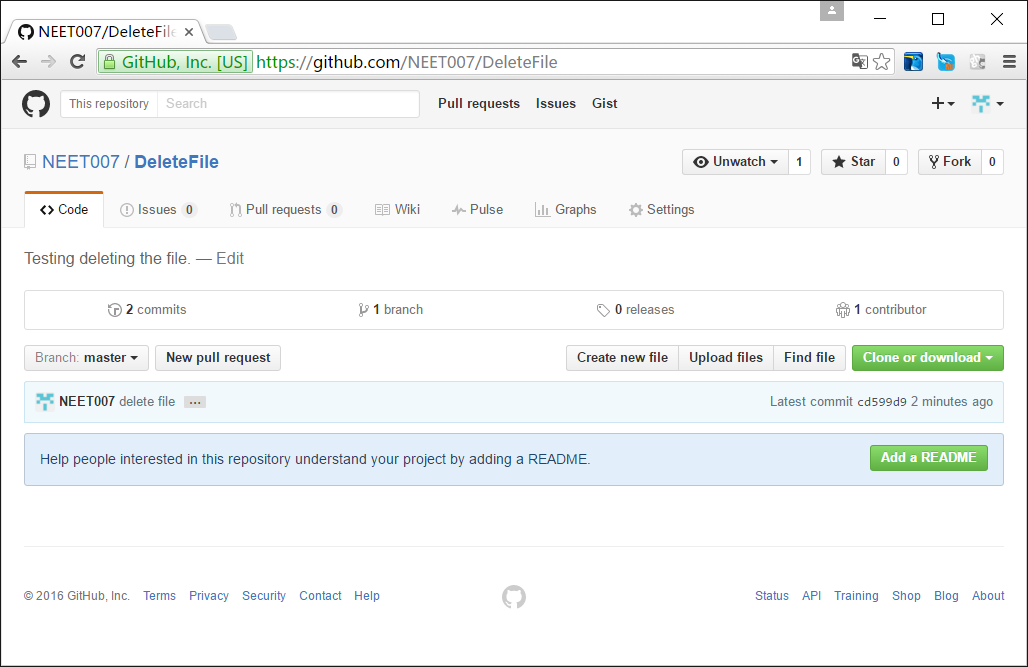
删除仓库
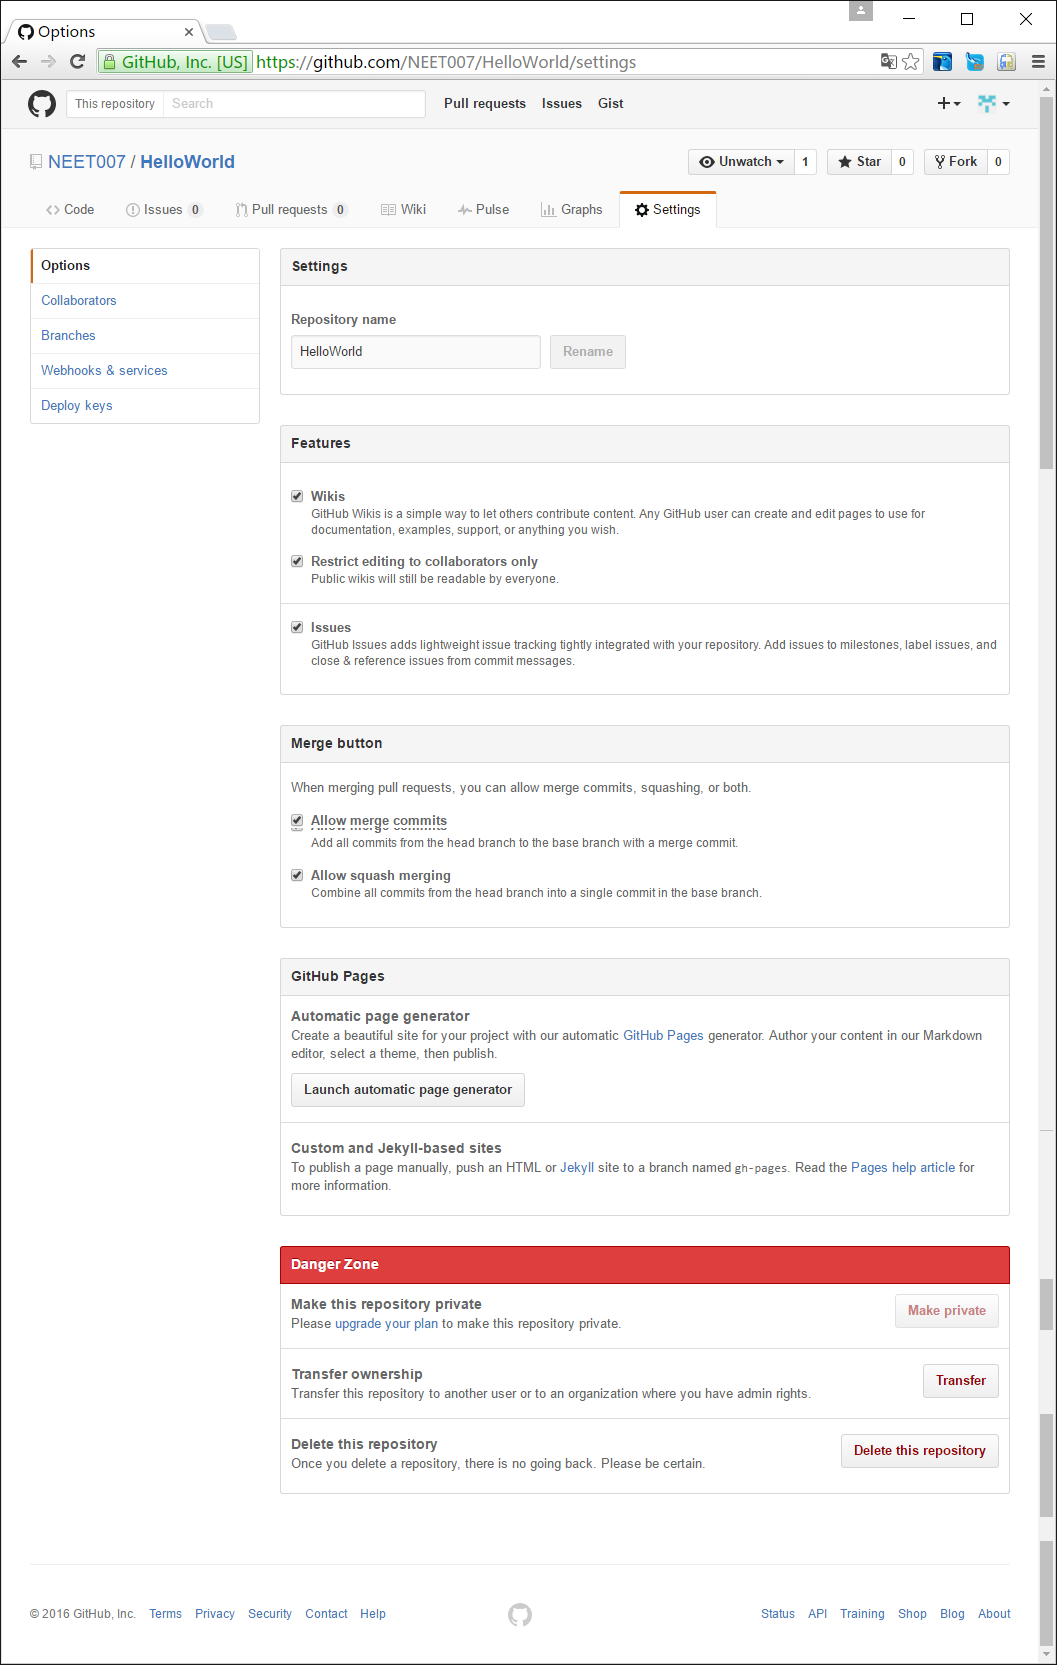
在这个界面下,点击“Settings”
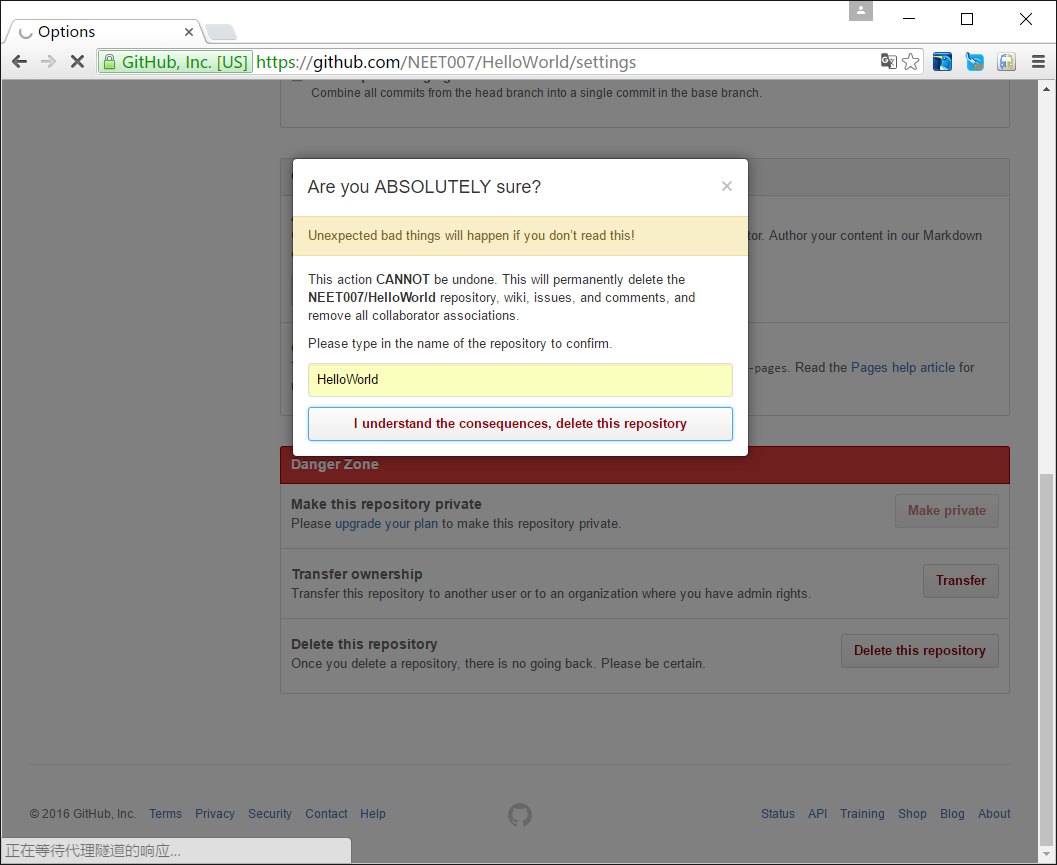
点击底部“Danger zone”中的“Delete this repository”
删除仓库后的样子
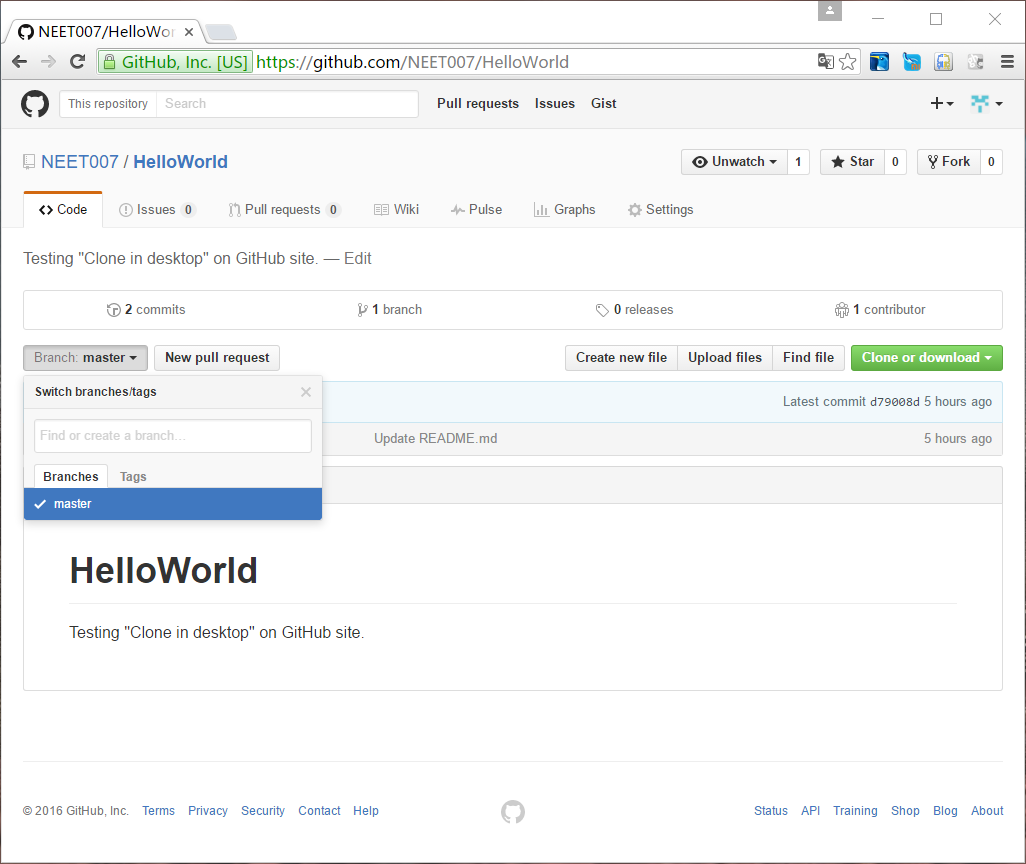
建分支
点击“Branch master”按钮
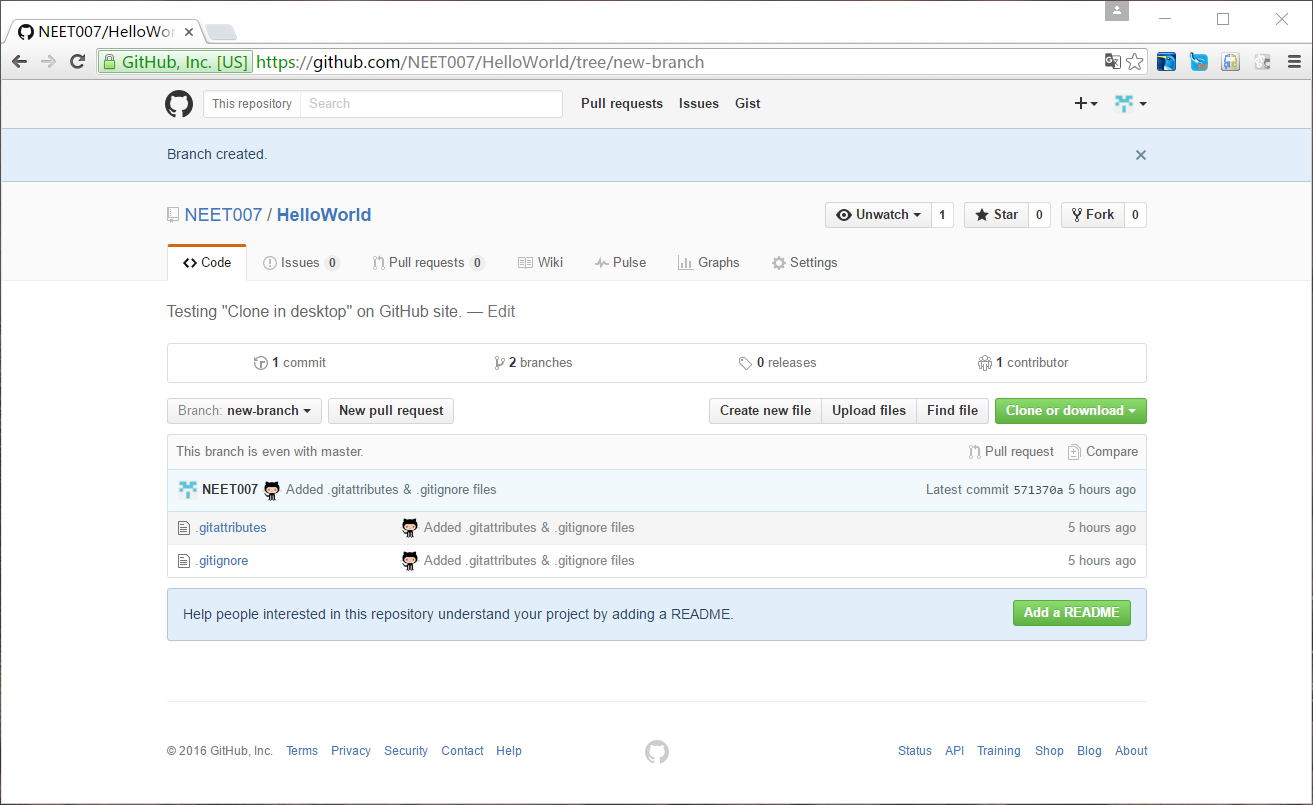
在输入框中输入要创建的分支的名称new-branch,点击“Create branch: new-branch”
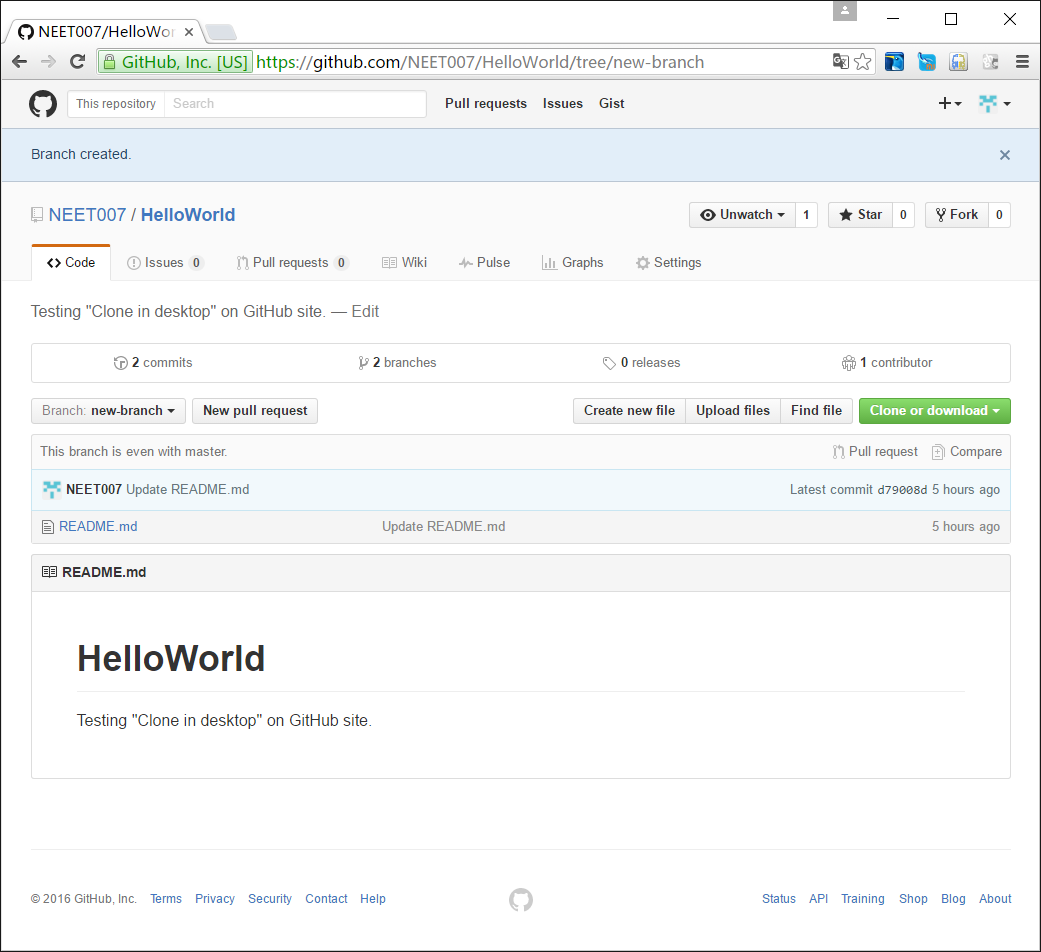
new-branch分支创建完成并切换
点击“Branch new-branch”,查看/切换分支
删除分支
仓库Helloworld下有个分支new-branch
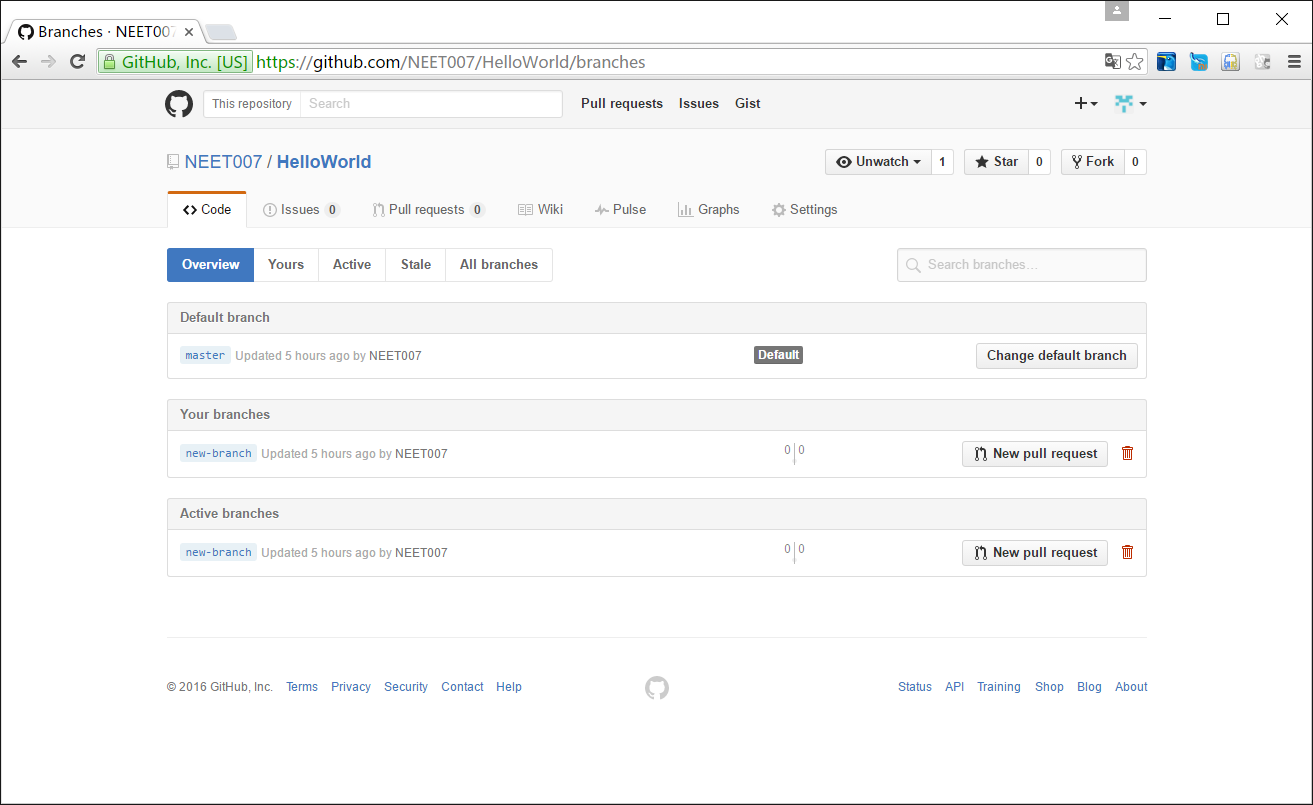
点击“x branches”,查看仓库Helloworld下的分支情况
点击“垃圾桶”图标,进行删除
刷新页面,可清晰看到分支删除状态
“Code”界面下,分支删除状态
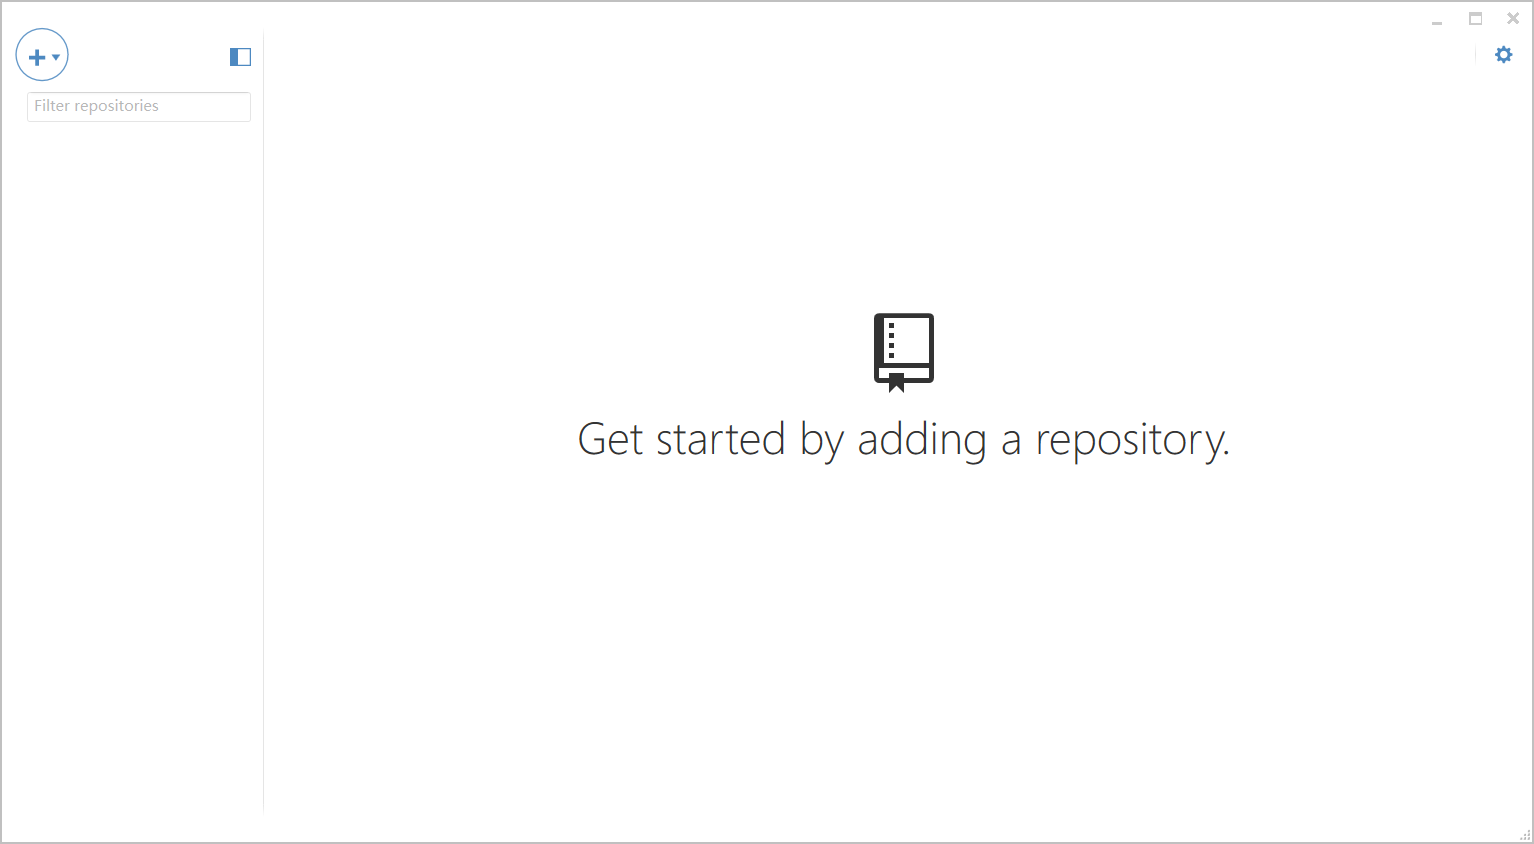
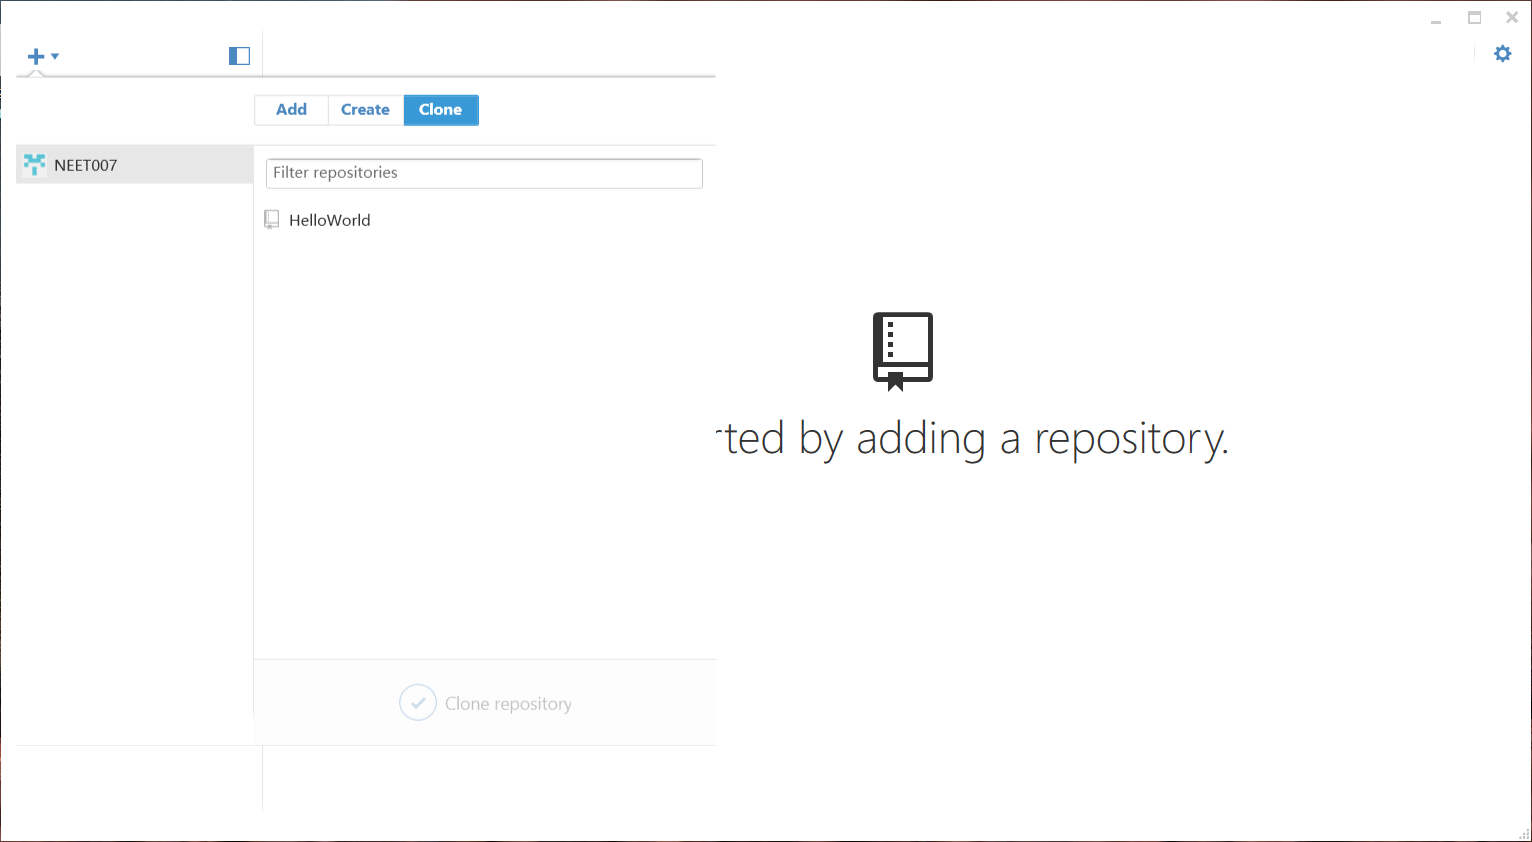
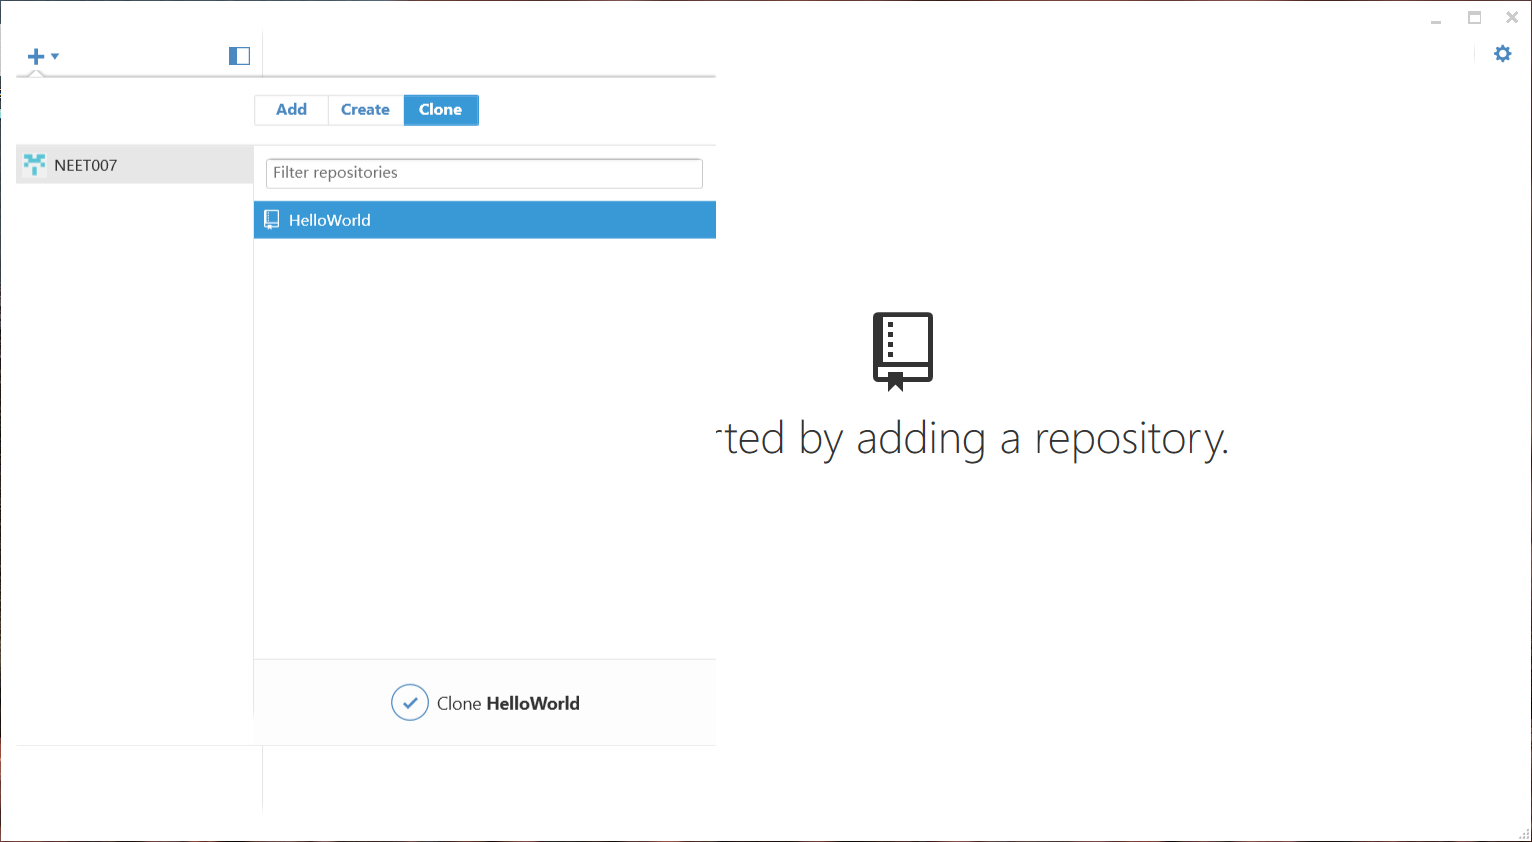
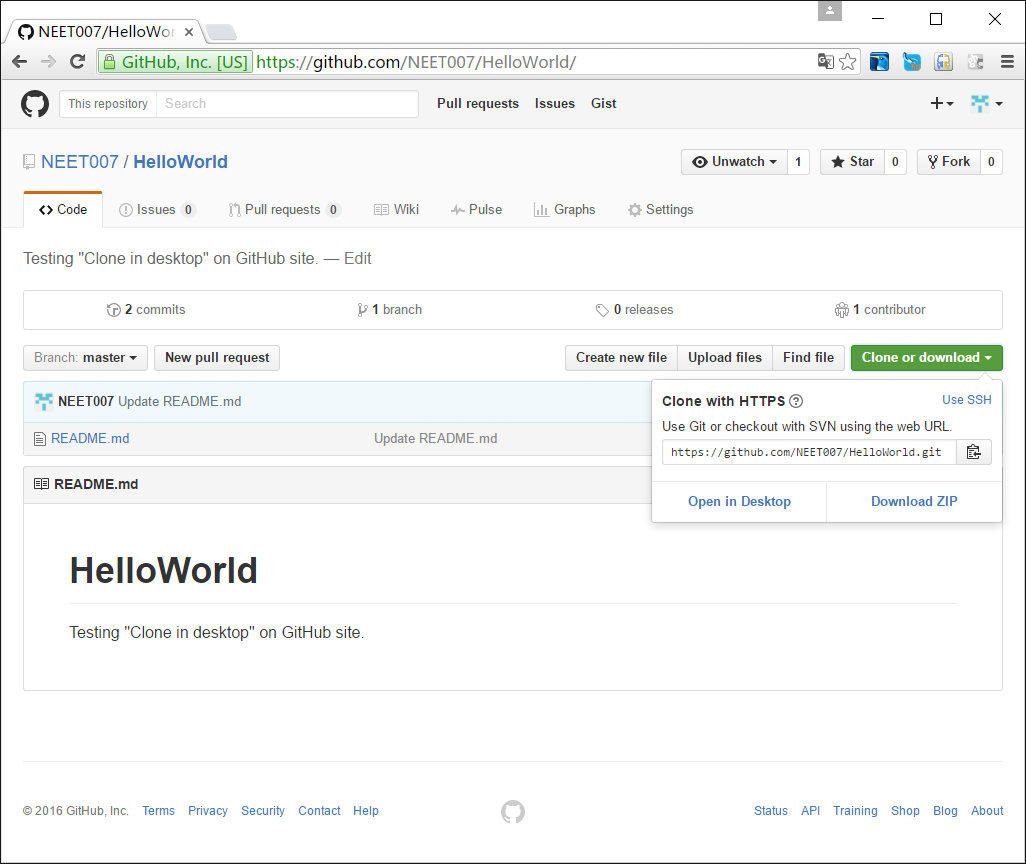
打开GitHub客户端,此功能需在Firefox浏览器中操作,其它浏览器IE/chrome等默认不能用,解决也相当麻烦
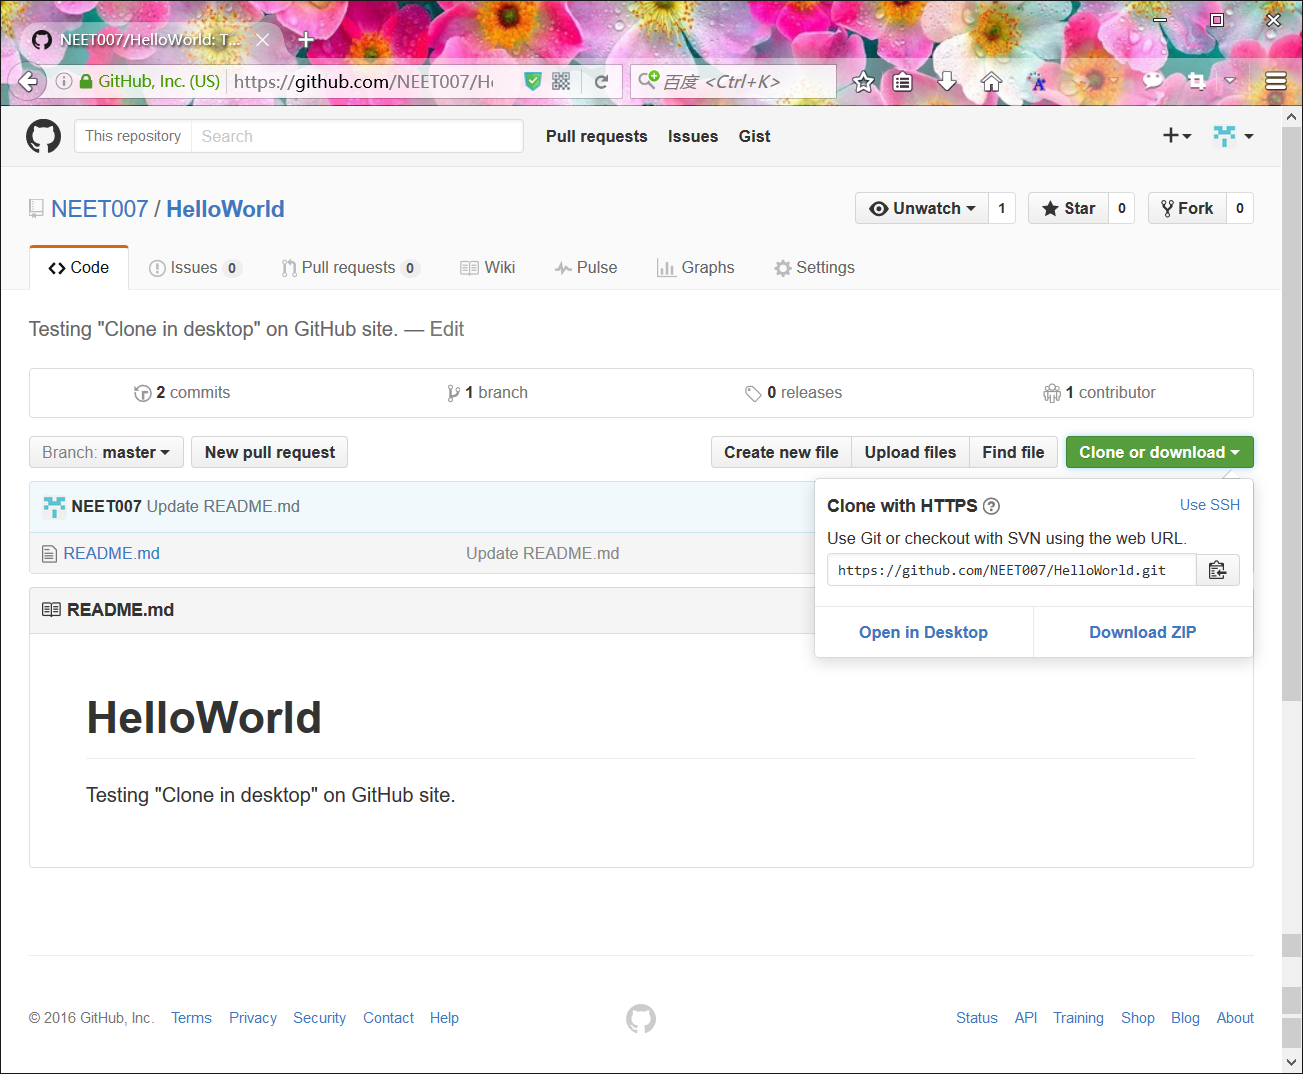
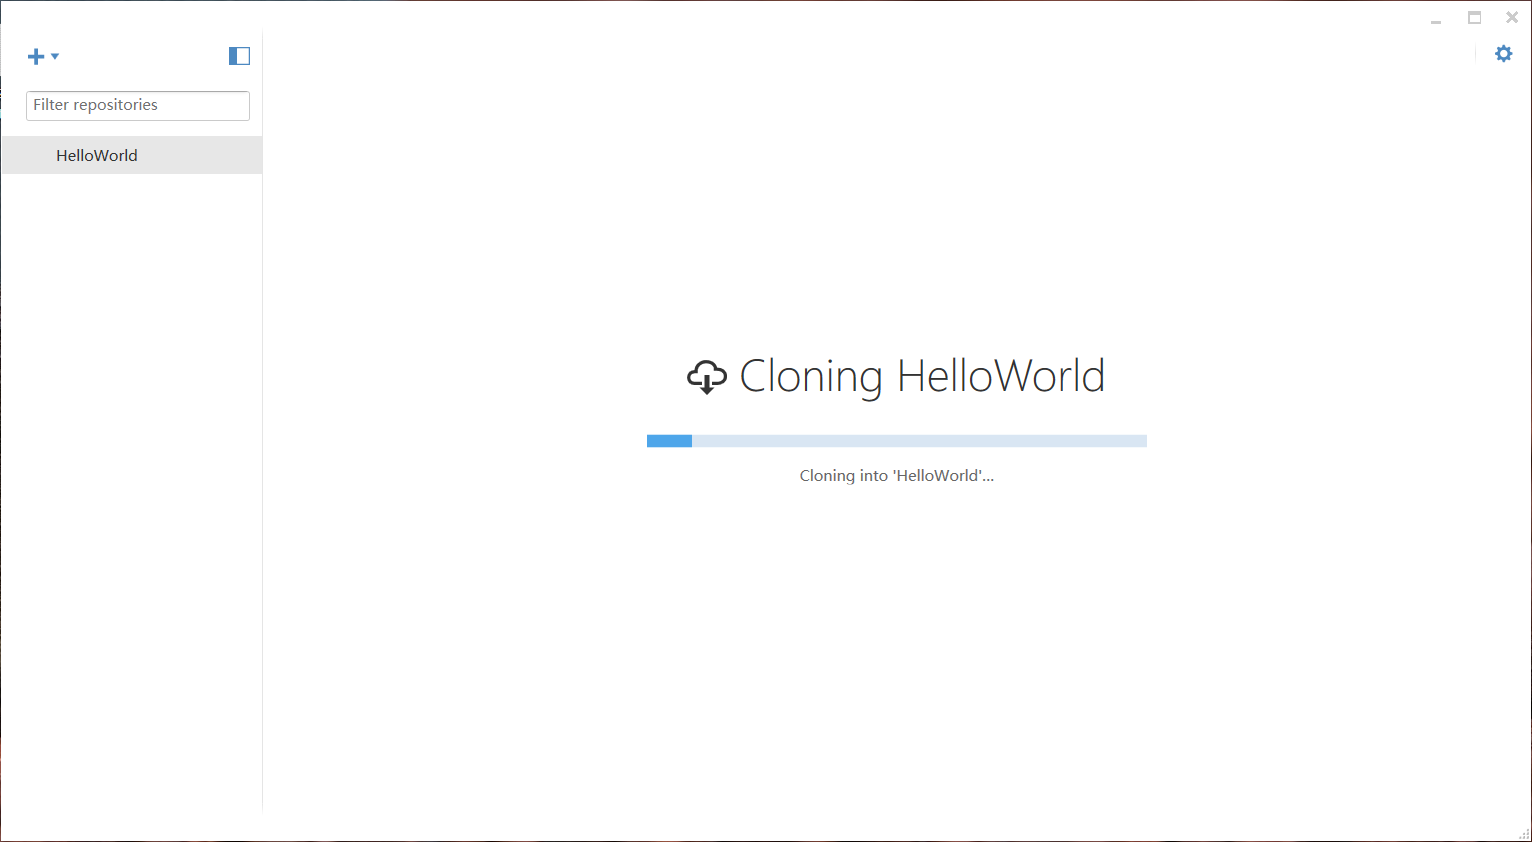
在如下界面中,点击“Clone or download”,点击“Open in desktop”下载仓库文件
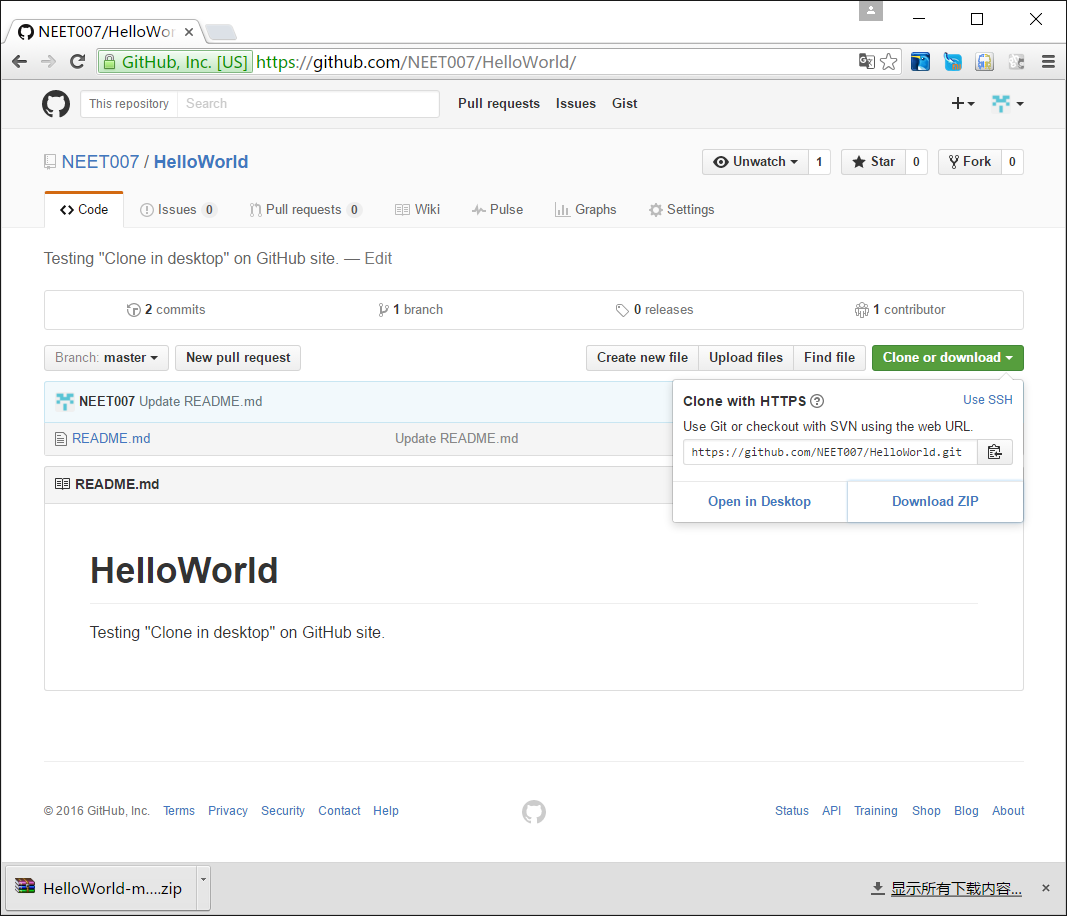
在如下界面中,点击“Clone or download”,点击“Download zip”
GitHub网站的基本操作


本文来自互联网用户投稿,该文观点仅代表作者本人,不代表本站立场。本站仅提供信息存储空间服务,不拥有所有权,不承担相关法律责任。如若转载,请注明出处:http://www.luyixian.cn/news_show_860180.aspx
如若内容造成侵权/违法违规/事实不符,请联系dt猫网进行投诉反馈email:809451989@qq.com,一经查实,立即删除!相关文章
通过GitHub网站发布网页
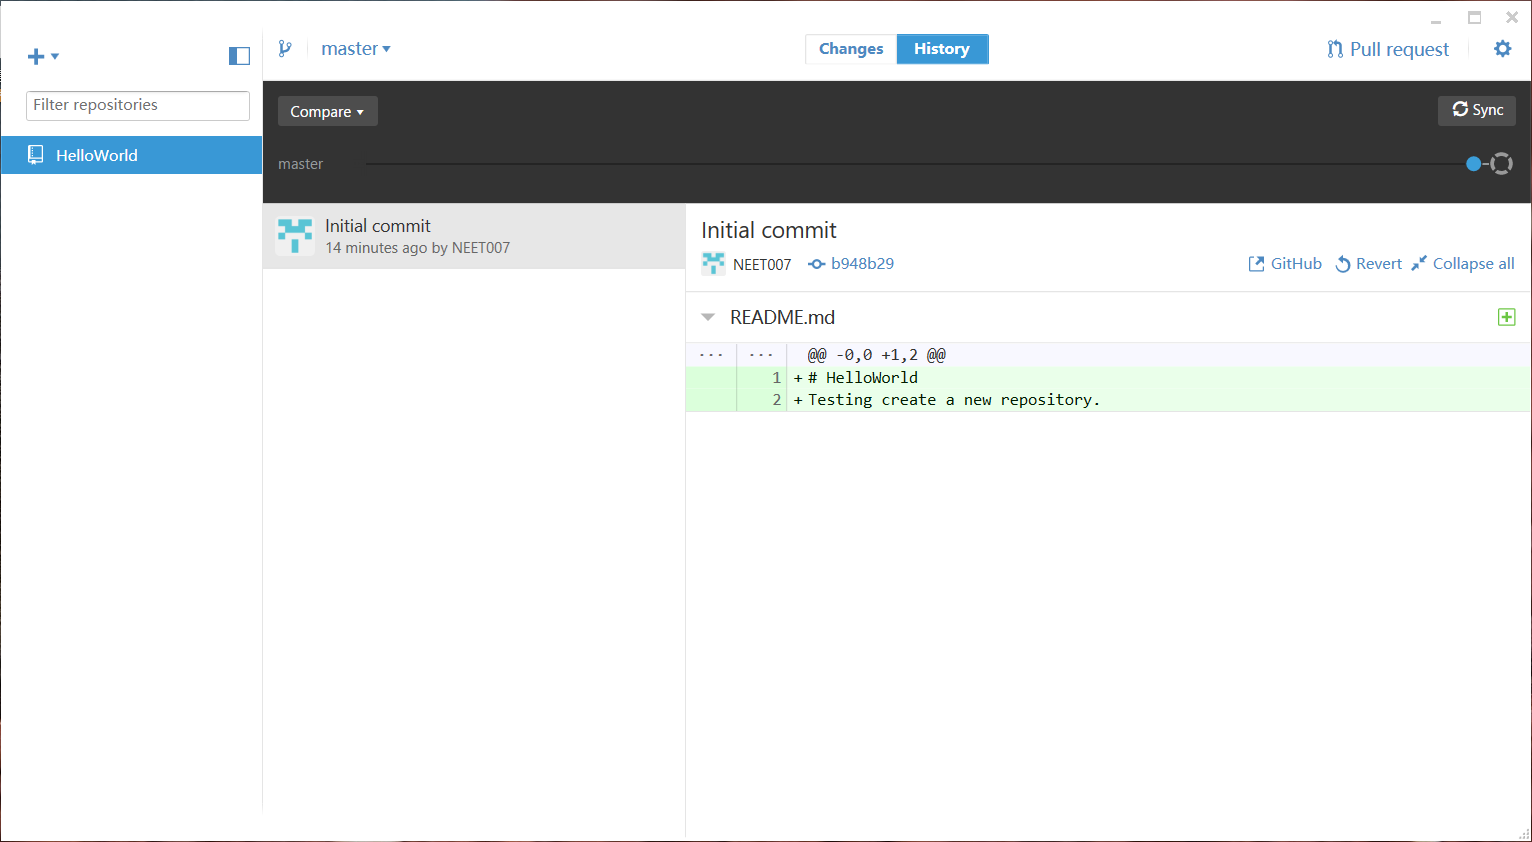
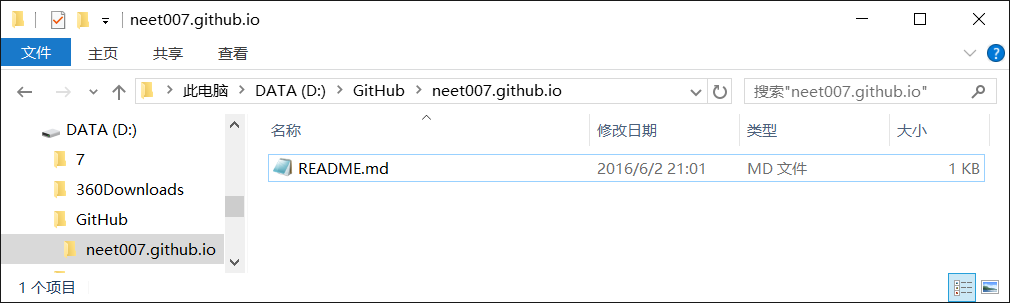
通过GitHub网站建网页存储仓库 仓库名有要求,必须是 用户名.github.io,这样通过浏览器访问的时候才能访问到 点击“New repository”,新建仓库 克隆到本地 打开GitHub客户端,Clone仓库neet007.github.io 在本地GitHub文…
branch网站与客户端同步
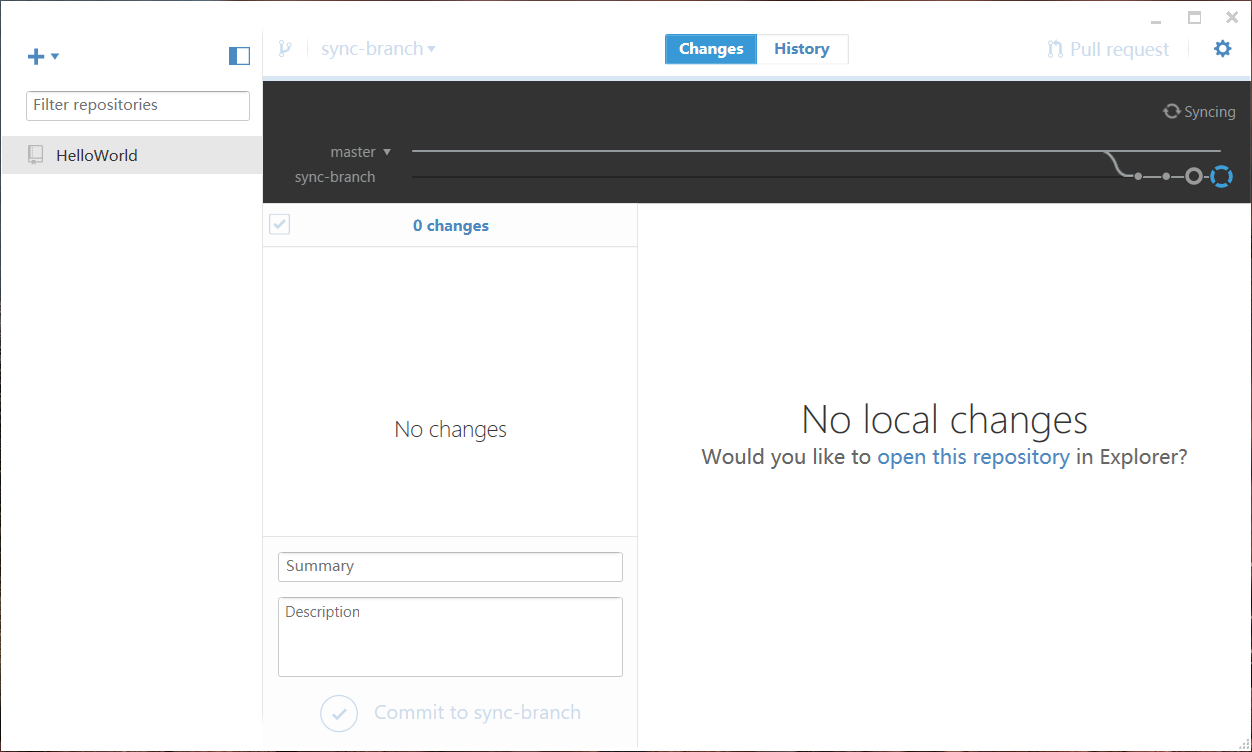
未同步之前,网站与客户端均无branch,只有默认branch:master 网站新建**branch:**sync-branch 客户端无需任何操作,≤5分钟之后,客户端自动检测到branch:sync-branch 网站删除**branch&am…

Node.js、Sublime text3、HTML5模板搭建基本简单静态web网站
1.Node.js基本环境搭建 略/参考前文 2.express/Node.js经典官方推荐web服务器框架 3.安装 express *cmd默认提示符为C:\Users\sarsers,Node.js、Sublime text3及相关项目文件夹均在D:盘,相关命令操作,最好切换到相应目录下,以免…
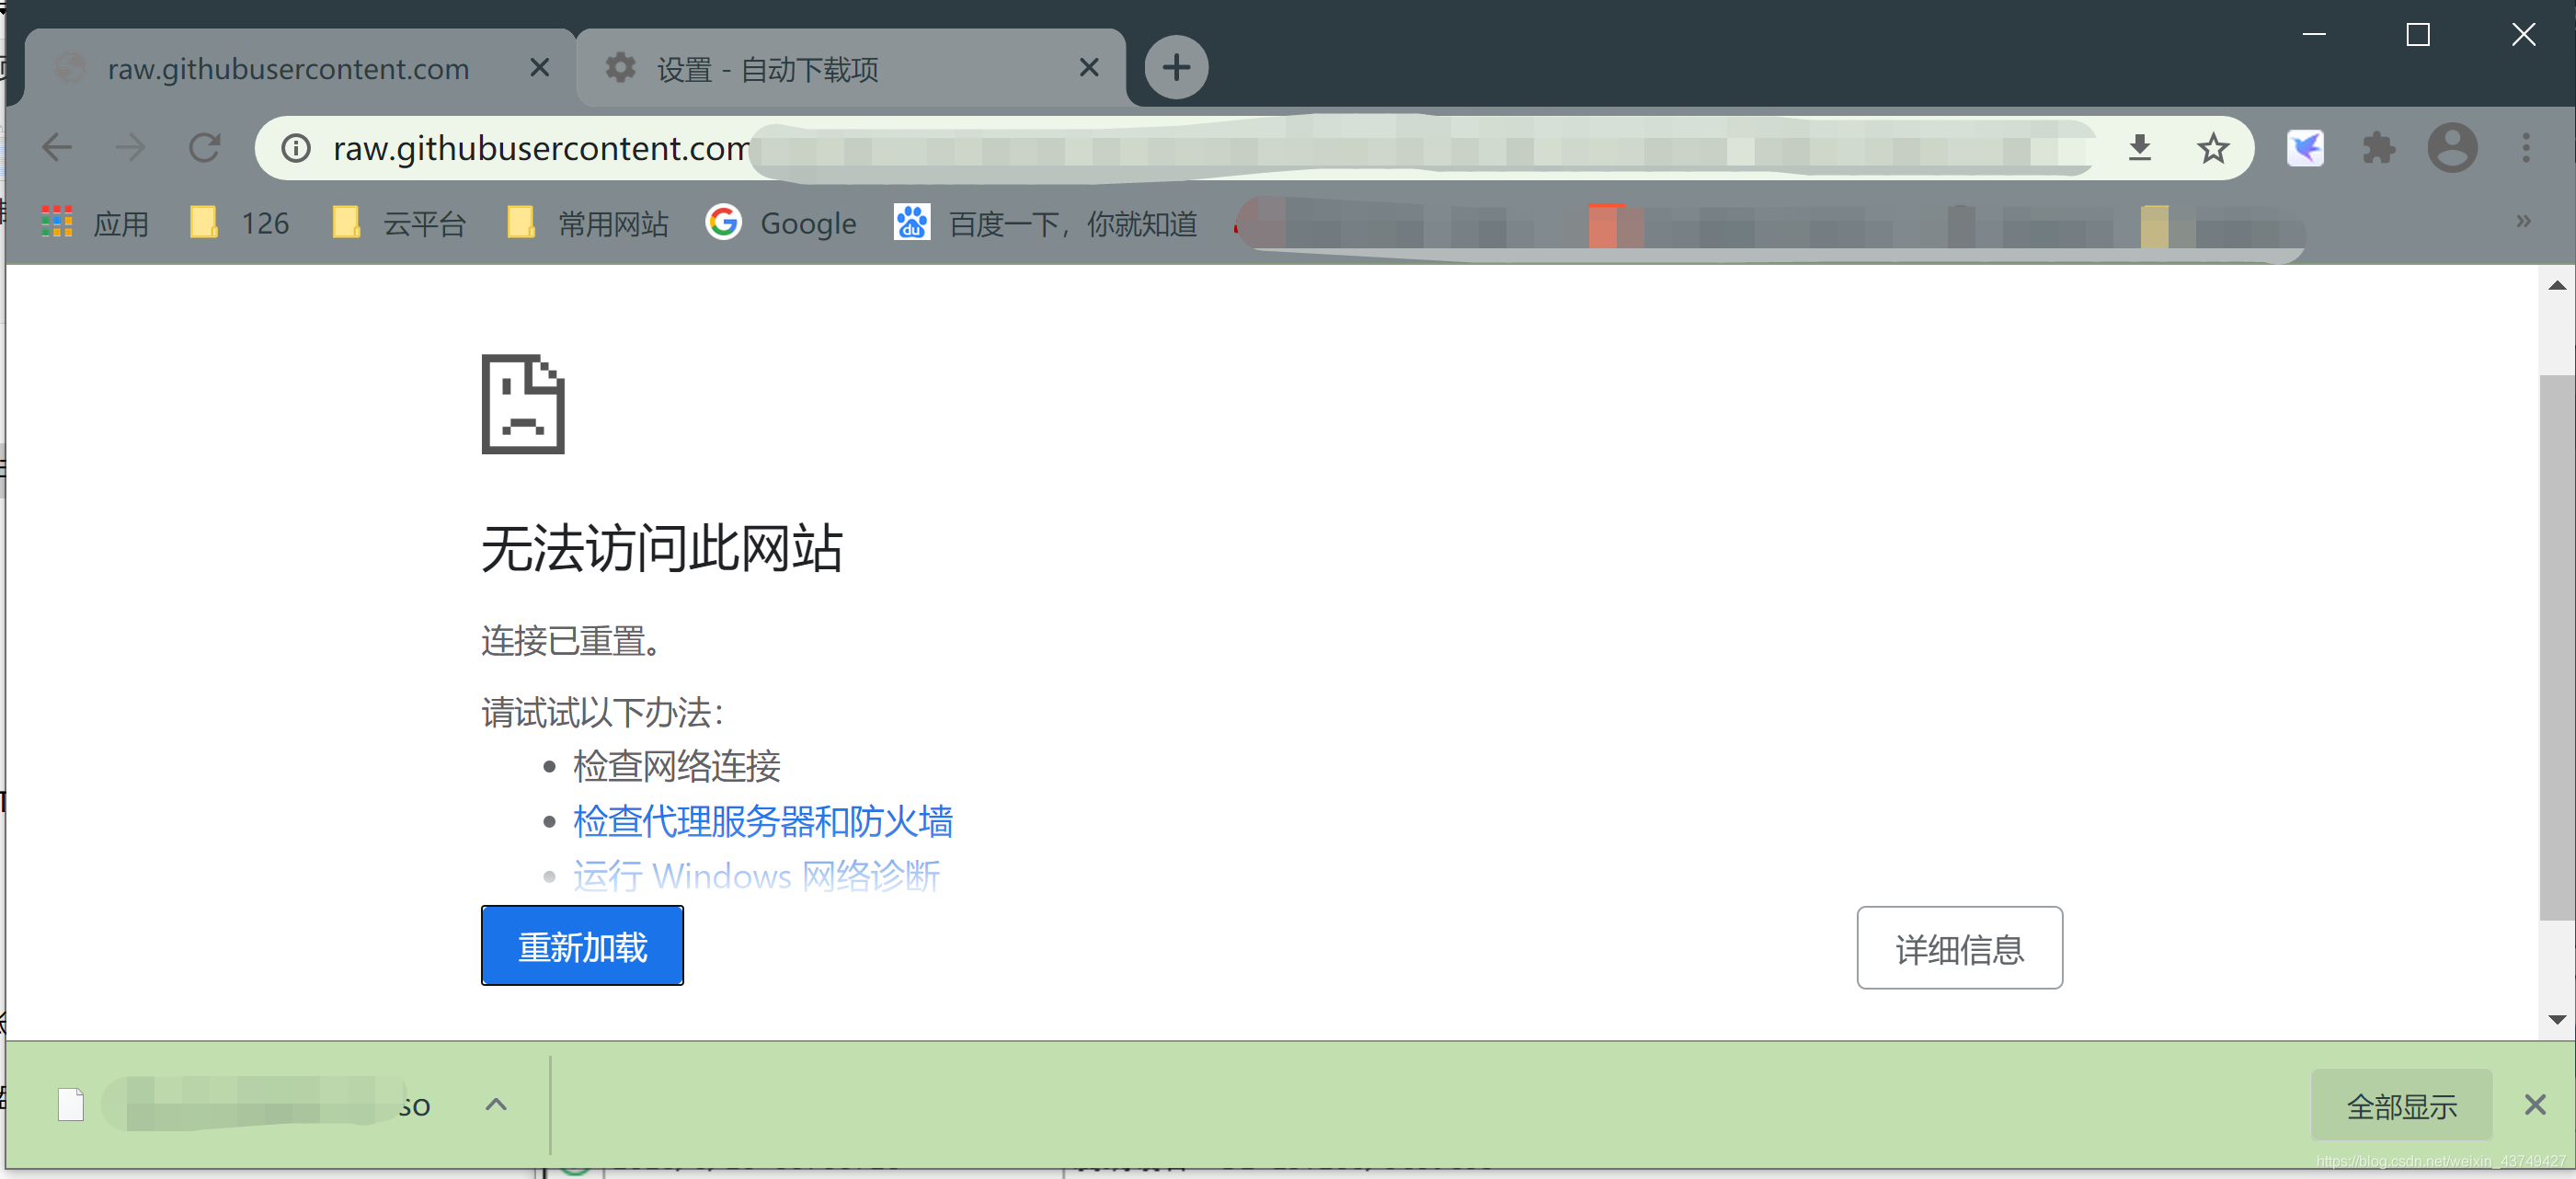
github 无法访问此网站 raw.githubusercontent.com
github 下载文件失败 无法访问此网站
使用Google Chrome可以访问https://github.com, 但是下载文件时提示报错, 如下: 使用ping检查地址 raw.githubusercontent.com, ping失败,显示域名解析失败。
上网使用域名查询工具 https…
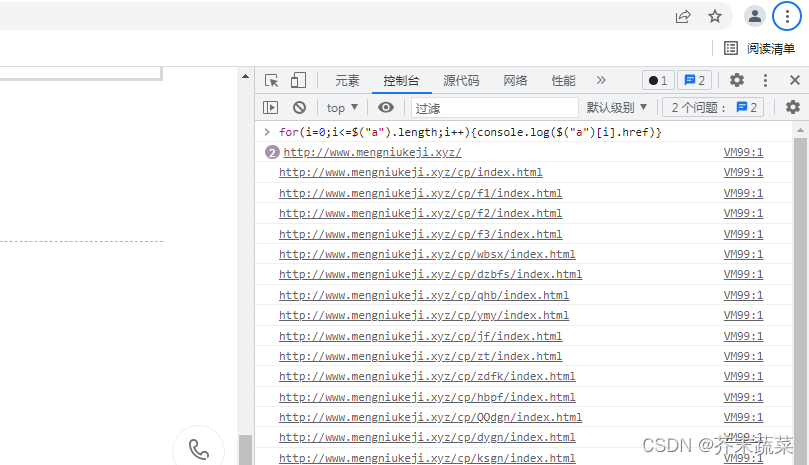
怎么找到网站的出站链接及删除修改?
出站链接是向外的链接(outbound link),从你的网页链出去的超链接,链到互联网上的不同页面,也叫导出链接。 网站上往往都会有一些其他网站的链接,有的是友情链接,有的是因为网站功能需求的链接,这些都是在你的控制范围之内的.而另外一些链接则…

前端小白建站一步到位
对于前端工程师,Linux小白的我来说,买云服务器自己建站简直难如登天;
后来在网上搜寻了各种参考资料,居然把买服务器,申请域名和备案,都跑通了,今天主要说说建站:目标:跑…
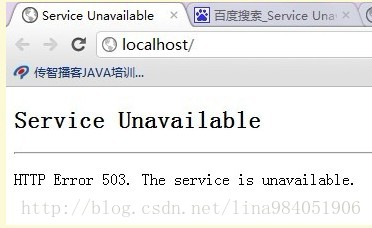
突然打开网站提示 Service Unavailabele
哈哈,今天客户给我说网站打不开,提示如下图的界面 当时的我顿时手无阻错,脑袋一片茫然,不知道如何才能处理这个问题。就在这时我看到了一片关于处理服务器windows server 2007 IIS的Service Unavailable 。其实就是对应应用程序池…
web前端性能SEO优化
转至: https://www.2cto.com/kf/201604/498725.html && https://www.cnblogs.com/EnSnail/p/5671345.html
浏览器访问优化
浏览器请求处理流程如下图:
1、减少http请求,合理设置 HTTP缓存
http协议是无状态的应用层协议&#x…

如何访问仅限IPv6的网站
网络作业: Use any means you know to access an IPv6-only website How to determine if a site is IPv4 only or IPv6 only How to configure your own host 翻译中文: 使用您知道的任何方法访问仅限IPv6的网站 如何确定站点是仅IPv4还是仅IPv6 如何配…
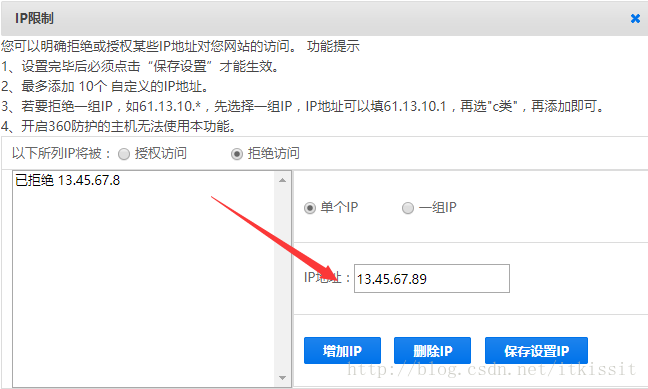
Apache禁止ip访问网站,禁止ip访问规则下载
本文转自IT摆渡网欢迎转载,请标明出处。
更多文章请阅读
SEO优化网络推广方法 最近经常有遇到网站被恶意的镜像,对方利用作弊手动复制自己的网站,相信也有不少的站长有遇到这些困扰,这篇文章教大家来禁止IP访问自己网站的方法…
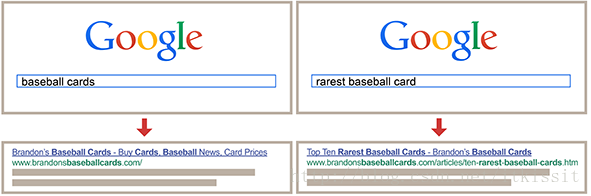
网站内容标签元描述的优化细节
本文转自IT摆渡网欢迎转载,请标明出处。
更多文章请阅读
SEO推广方法 要想了创建良好的高质量的内容,一定少不了网页中的描述性标记。 一,创造独一无二、描述准确的标题 标题会影响到网页在搜索结果中的显示方式以及用户是否想在搜索结果…
discuzx不同网站孪生共用应用中心,或者应用中心密码忘记找不回的问题
首先 首先进入后台-应用-应用中心中安装插件时候会输入安全密码,如果密码忘记一般可以通过认证文件认证方式的找回。 如图 但是一旦更换域名或者其他问题造成找不回密码,我们想重新设置应用中心。或者遇到discuzX两个
网站
孪生共用一个应用中心时候 如…
从零带你从阿里云ESC服务器部署网站(学生机)
阿里云ESC服务器部署网站 文章目录 阿里云ESC服务器部署网站前言一.环境搭建1.购买学生机(ESC服务器)2.远程主机配置3.进入远程桌面4.更改window镜像5.配置安全组 二.使用本地电脑远程连接服务器1.连接远程服务器2.远程连接成功 三.配置IIS服务器1.安装IIS服务器2.index.html3.…
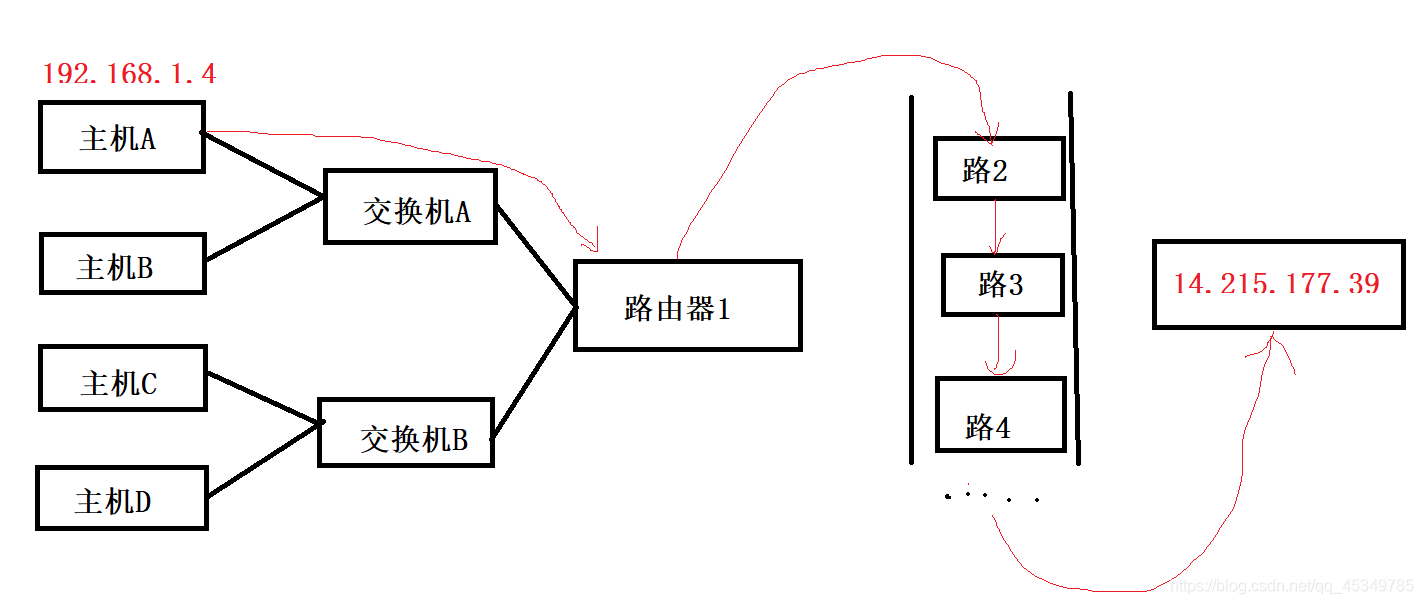
计算机网络——一次与网站的通讯
当我们在浏览器中访问百度,网络上会发生什么?
一、域名转服务器地址
我们都知道,网络中表明地址的是ip地址,但在浏览器中输入的都是域名,而在网络中,路由器交换机是不认域名的。这时就需要一个域名系统&a…
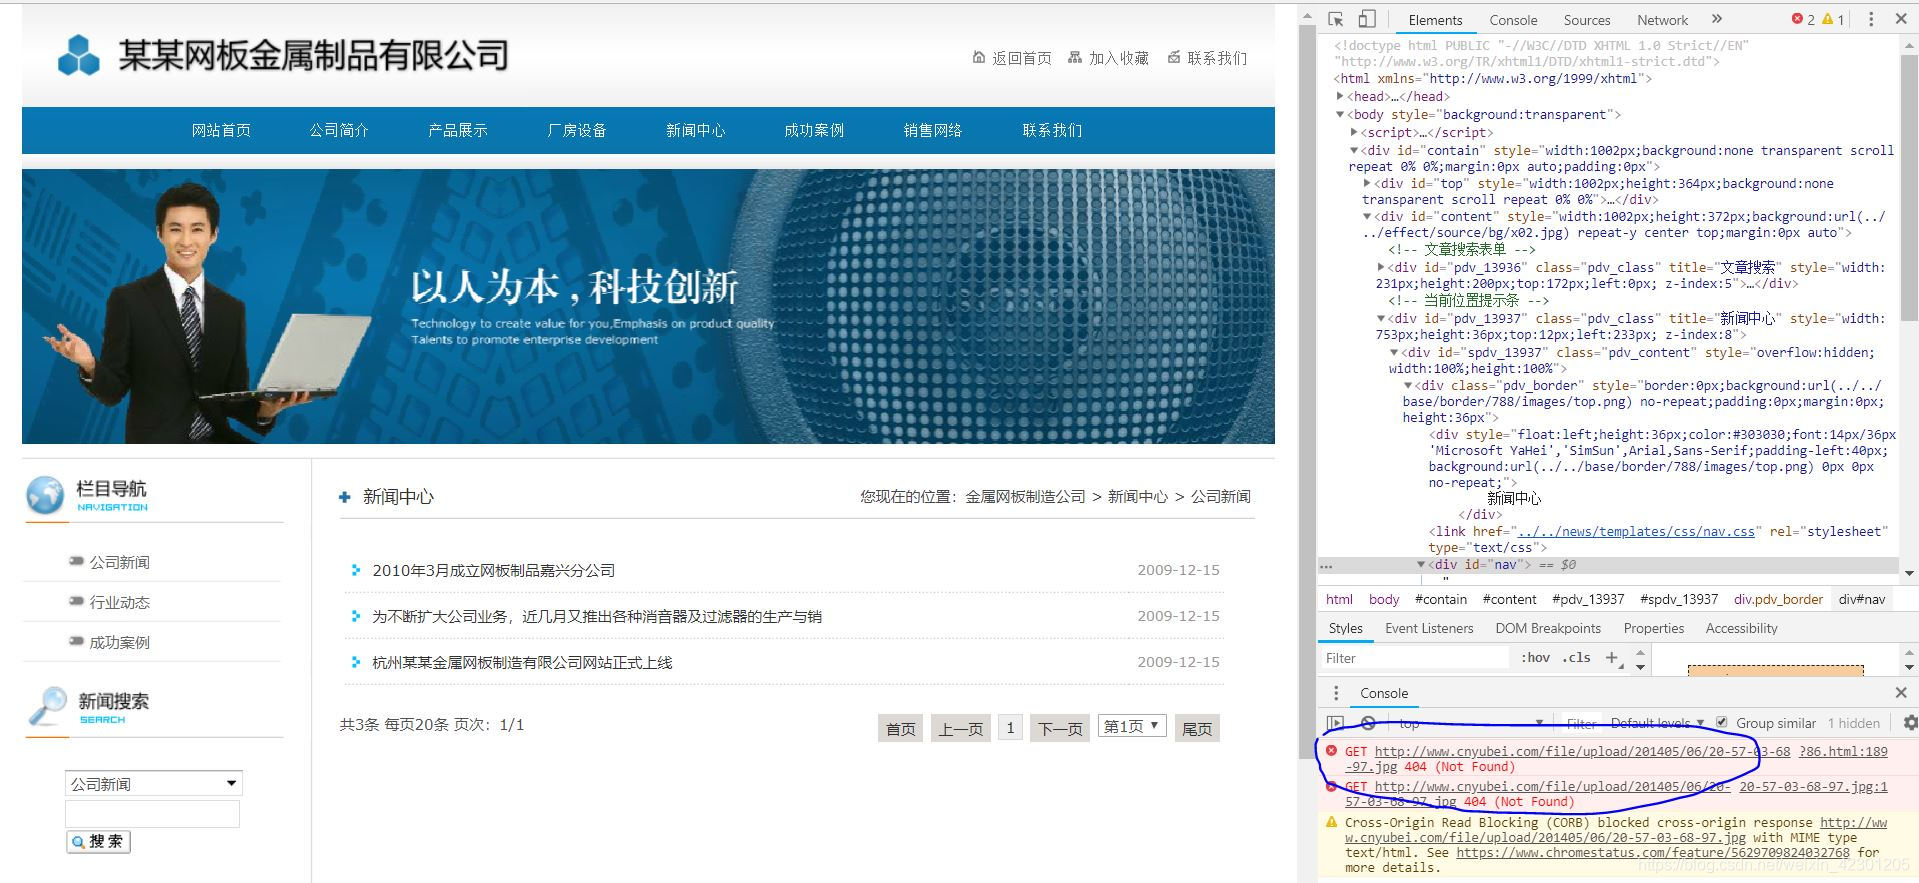
第二课 DedeCMS仿站-分析并保存目标网站
一、分析网站
网址:http://2082phpweb.weimeigu.tao891.cn/index.php 分析网页可以知道,网页由四个模板组成: 1、网站首页 2、公司简介、新闻中心、成功案例、销售网络、联系我们 3、产品展示、厂房设备 4、详情页(新闻中心等列表…

如何在自己电脑上搭建一个测试网站(以asp网站为例)
一、首先下载一个VMware虚拟机 这一步就不说了吧 直接在百度上搜找到官网下载就行,略。。。。 二、在VMware上安装一个win2003系统 这个首先在百度上下载一个win2003的系统作为镜像 ①然后新建一个虚拟机 ②系统的话就稍后在安装 ③这里要选择系统版本 ④一直点…
ssh框架论坛网站BBS设计实现-javaweb+mysql
今天带来的项目是, 使用ssh三大框架(struts2,spring,hibernate)设计实现一个技术论坛网站, 满足一个论坛网站的板块管理, 帖子管理, 发帖等功能 源码下载 转载请注明源文链接: https://blog.csdn.net/m0_48341587/article/details/107510490
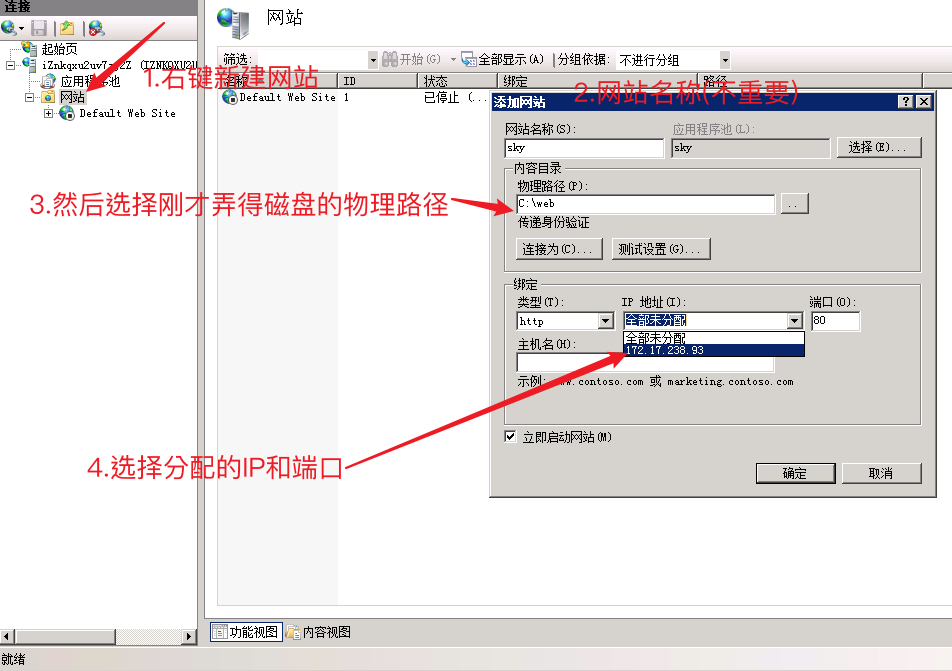
用Windows Server 2003/2000/XP自带的IIS建网站
一、安装 Internet 信息服务 Microsoft Internet信息服务(IIS)是与Windows Server 2003/2000/XP集成的Web服务。要安装 IIS、添加可选组件或删除可选组件,(以2003为例,2000/XP基本相同)请按以下步骤操作: 单击“开始”-->指向“控制面板”-->然后…
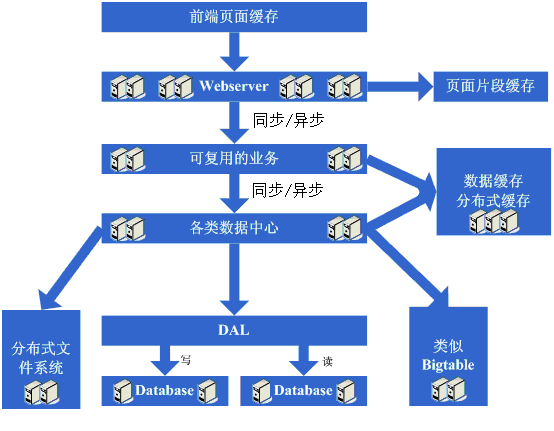
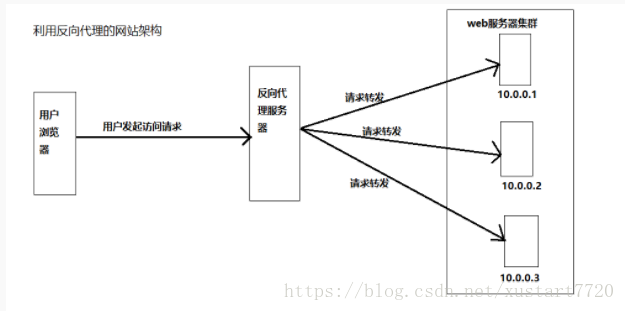
大型网站架构演变和知识体系
之前也有一些介绍大型网站架构演变的文章,例如LiveJournal的、ebay的,都是非常值得参考的,不过感觉他们讲的更多的是每次演变的结果,而没有很详细的讲为什么需要做这样的演变,再加上近来感觉有不少同学都很难明白为什么…