前言
使用IDE:PyCharm
操作系统:Mac
Python的版本:3.6
我的邮箱:51263921@qq.com
交流群:372430835
说明:
本次课程的GitHub代码在最下面。
本次课程基于上个课程的代码,如果没看过的请先传送:
使用Python的瓶框架开发的Web网站系列课程(一)构建项目
使用Python的瓶框架开发的Web网站系列课程(二)注册功能
使用Python-Flask框架开发Web网站系列课程(三)登录功能
一、构建前端项目
前端项目我们之前有用到过,就是全部放置在/myproject/frontend文件夹下。其中static放置js和css文件。base文件夹放置通用的页面,如侧边栏,顶部导航条等。
1.1 创建前端文件夹及文件
1.1.1创建文件夹
全路径:/myproject/frontend/base
全路径: /myproject/frontend/static/js
1.1.2 添加以下js或html文件
新增文件inspinia.js,在以下路径下载
https://github.com/lyy8510a/myproject/blob/master/frontend/static/js/inspinia.js
在/myproject/frontend/base新增_head.html
<meta charset="utf-8">
<meta name="viewport" content="width=device-width, initial-scale=1.0">
<link href="https://cdn.bootcss.com/bootstrap/3.3.6/css/bootstrap.css" rel="stylesheet">
<link href="https://cdn.bootcss.com/font-awesome/4.3.0/css/font-awesome.css" rel="stylesheet">
<link href="https://cdn.bootcss.com/animate.css/3.5.2/animate.css" rel="stylesheet">
<link href="../static/css/style.css" rel="stylesheet">
<link href="https://cdn.bootcss.com/metisMenu/2.0.2/metisMenu.css" rel="stylesheet"><!-- Mainly scripts -->
<script src="https://cdn.bootcss.com/jquery/2.1.1/jquery.js"></script>
<script src="https://cdn.bootcss.com/bootstrap/3.3.6/js/bootstrap.js"></script>
<script src="https://cdn.bootcss.com/jqueryui/1.10.4/jquery-ui.js"></script>
<script src="https://cdn.bootcss.com/metisMenu/2.0.2/metisMenu.js"></script>
<script src="https://cdn.bootcss.com/jQuery-slimScroll/1.3.6/jquery.slimscroll.js"></script>
<script src="https://cdn.bootcss.com/pace/1.0.2/pace.js"></script>
<script src="../static/js/inspinia.js"></script>
在/myproject/frontend/base新增_sidebar.html
<nav class="navbar-default navbar-static-side" role="navigation"><div class="sidebar-collapse"><ul class="nav metismenu" id="side-menu"><li class="nav-header"><div class="dropdown profile-element"><a data-toggle="dropdown" class="dropdown-toggle" href="#"><span class="clear"><span class="block m-t-xs"><strong class="font-bold">{{PROJECTNAME}}</strong></span></span></a></div><div class="logo-element">IN+</div></li><li class="active"><a href="grid_options.html"><i class="fa fa-th-large"></i> <span class="nav-label">开始</span></a></li><li><a href="#"><i class="fa fa-sitemap"></i> <span class="nav-label">Menu Levels </span><span class="fa arrow"></span></a><ul class="nav nav-second-level collapse"><li><a href="#">Third Level <span class="fa arrow"></span></a><ul class="nav nav-third-level"><li><a href="#">Third Level Item</a></li><li><a href="#">Third Level Item</a></li><li><a href="#">Third Level Item</a></li></ul></li><li><a href="#">Second Level Item</a></li><li><a href="#">Second Level Item</a></li><li><a href="#">Second Level Item</a></li></ul></li></ul></div></nav>在/myproject/frontend/base新增_navbar.html
这里利用current_user的判断是否登录的方法,如果已登录则显示登出,未登录则显示登录的链接。
<div class="row border-bottom"><nav class="navbar navbar-static-top white-bg" role="navigation" style="margin-bottom: 0"><div class="navbar-header"><a class="navbar-minimalize minimalize-styl-2 btn btn-primary " href="#"><i class="fa fa-bars"></i> </a><form role="search" class="navbar-form-custom" action="" method="post"><div class="form-group"><input type="text" placeholder="Search for something..." class="form-control" name="top-search" id="top-search"></div></form></div><ul class="nav navbar-top-links navbar-right">{% if current_user.is_authenticated %}<li><span class="m-r-sm text-muted welcome-message">欢迎使用myproject,{{current_user.username}}</span></li><li><a href="/account/logout"><i class="fa fa-sign-out"></i> Log out</a></li>{% else %}<li><a href="/account/login"><i class="fa fa-sign-out"></i> 请登录</a></li>{% endif %}</ul></nav>
</div>
在/myproject/frontend/base新增layout.html
这个是前端总模版,里面引入了_head.html , _sidebar.html, _navbar.html 。并留了一个block content 。以后我们新增的页面,只要套用下面代码段2即可。
<!DOCTYPE html>
<html><head><!--第四课内容 这里是页面浏览器tab的标题--><title>{{PROJECTNAME}}</title>{% include 'base/_head.html' %}
</head><body><div id="wrapper">{% include 'base/_sidebar.html' %}<div id="page-wrapper" class="gray-bg">{% include 'base/_navbar.html' %}{% block content %}{% endblock %}</div></div>
</body>
</html><!--{% with messages = get_flashed_messages() %}--><!--{% if messages %}--><!--<ul class=flashes>--><!--{% for message in messages %}--><!--<li>{{ message }}</li>--><!--{% endfor %}--><!--</ul>--><!--{% endif %}-->
<!--{% endwith %}-->
代码段二:
<!--第四课内容 -->
{% extends 'base/layout.html' %}<!--第四课内容 下面是正文-->
{% block content %}<!--第四课内容 新页面的内容-->
{% endblock %}
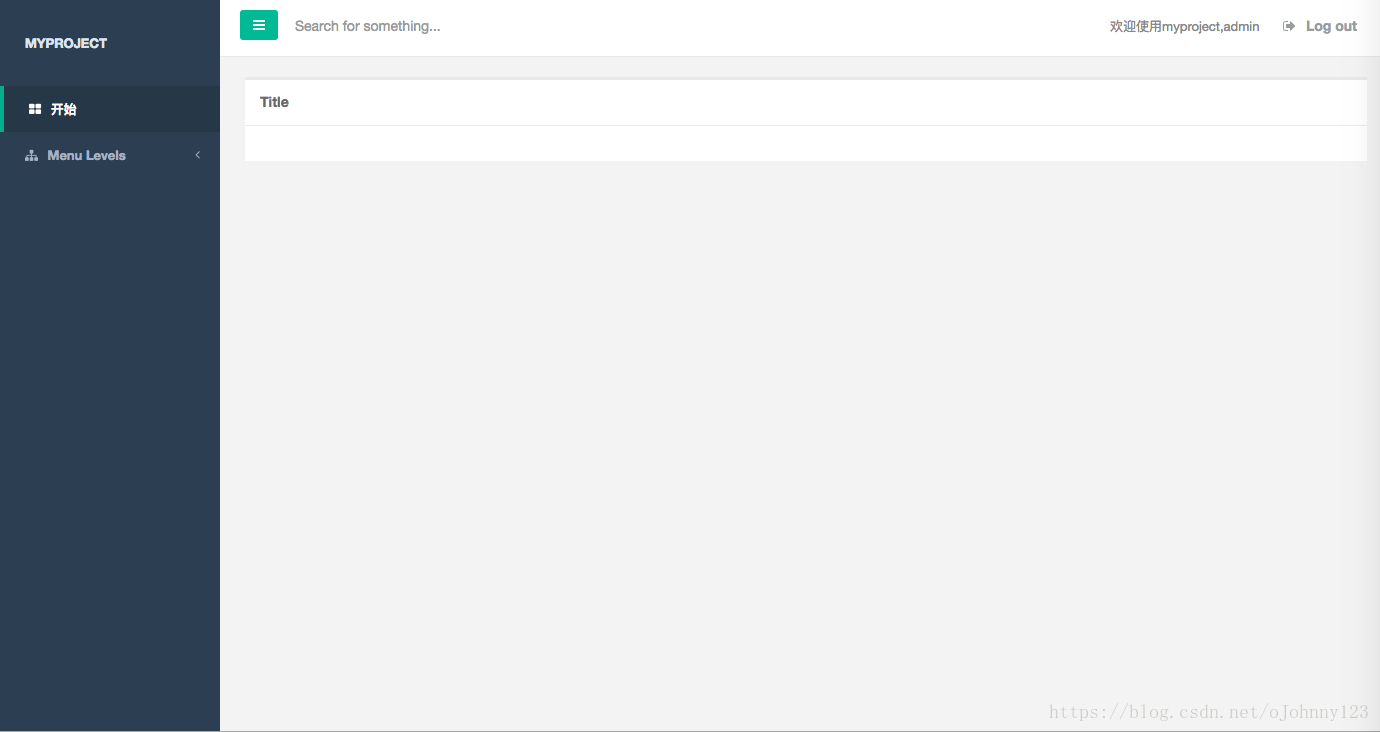
在/myproject/frontend/base 修改 index.html
新首页内容
<!--第四课内容 -->
{% extends 'base/layout.html' %}<!--第四课内容 下面是正文-->
{% block content %}<div class="wrapper wrapper-content"><div class="row"><div class="col-lg-12"><div class="ibox float-e-margins"><div class="ibox-title"><h5>Title</h5></div><div class="ibox-content"><div class="row"></div></div></div></div></div></div>
{% endblock %}
预览一下,完美。
二、代码地址
github地址:https://github.com/lyy8510a/myproject/releases/tag/v4