蓝牙透传模块HC-08 Android App开发
1、App整体开发思路
a、首先要申请权限,采用动态申请的方式,用户点击确认后方可操作蓝牙。
b、搜索蓝牙,之前的版本用startLeScan函数搜索蓝牙,虽然高版本中依然可用,但是google已经废弃了这个函数。目前推荐大家使用BluetoothLeScanner中的startScan这个函数。
c、连接蓝牙,用device.connectGatt函数连接透传模块,其中参数BluetoothGattCallback比较关键,这个回调函数会贯穿我们整个代码,写数据,读数据,获取服务都在这个回调中处理。
d、读写数据,gatt服务连接以后,我们得到蓝牙模块的服务以及特征值以后,我们就可以对特定的特质值读写操作,HC-08的用户特征值为0000ffe1-0000-1000-8000-00805f9b34fb。这些值都可以打印出来,上一节用树莓派也都扫描出来过。
注意,这个特质值的读是通过通知发过来的,所以我们还要进行打开通知的操作。
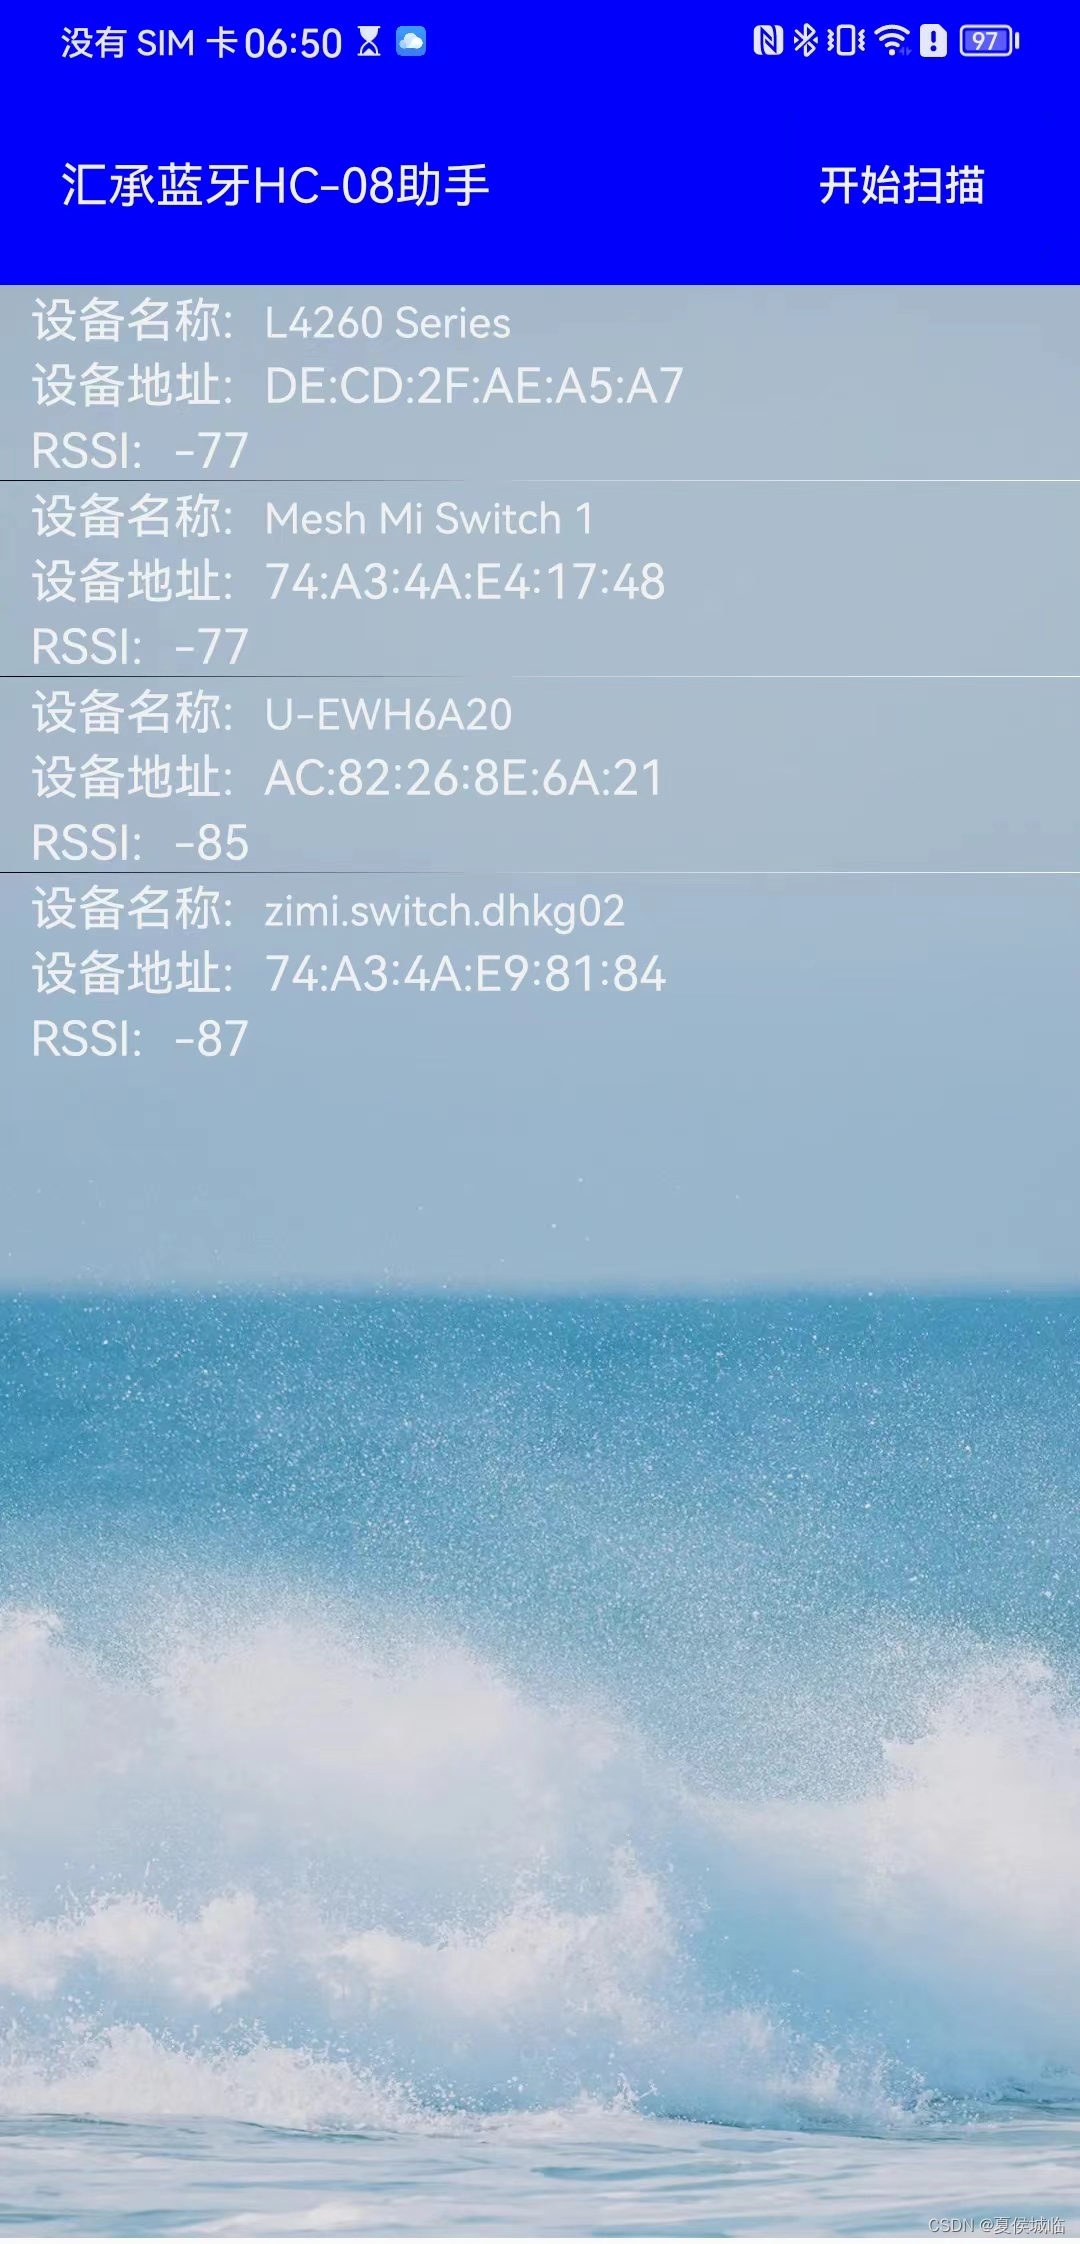
e、界面设置,两个activity,第一个activity是搜索界面,将搜索后的蓝牙设备装填到一个ListView中。如下:
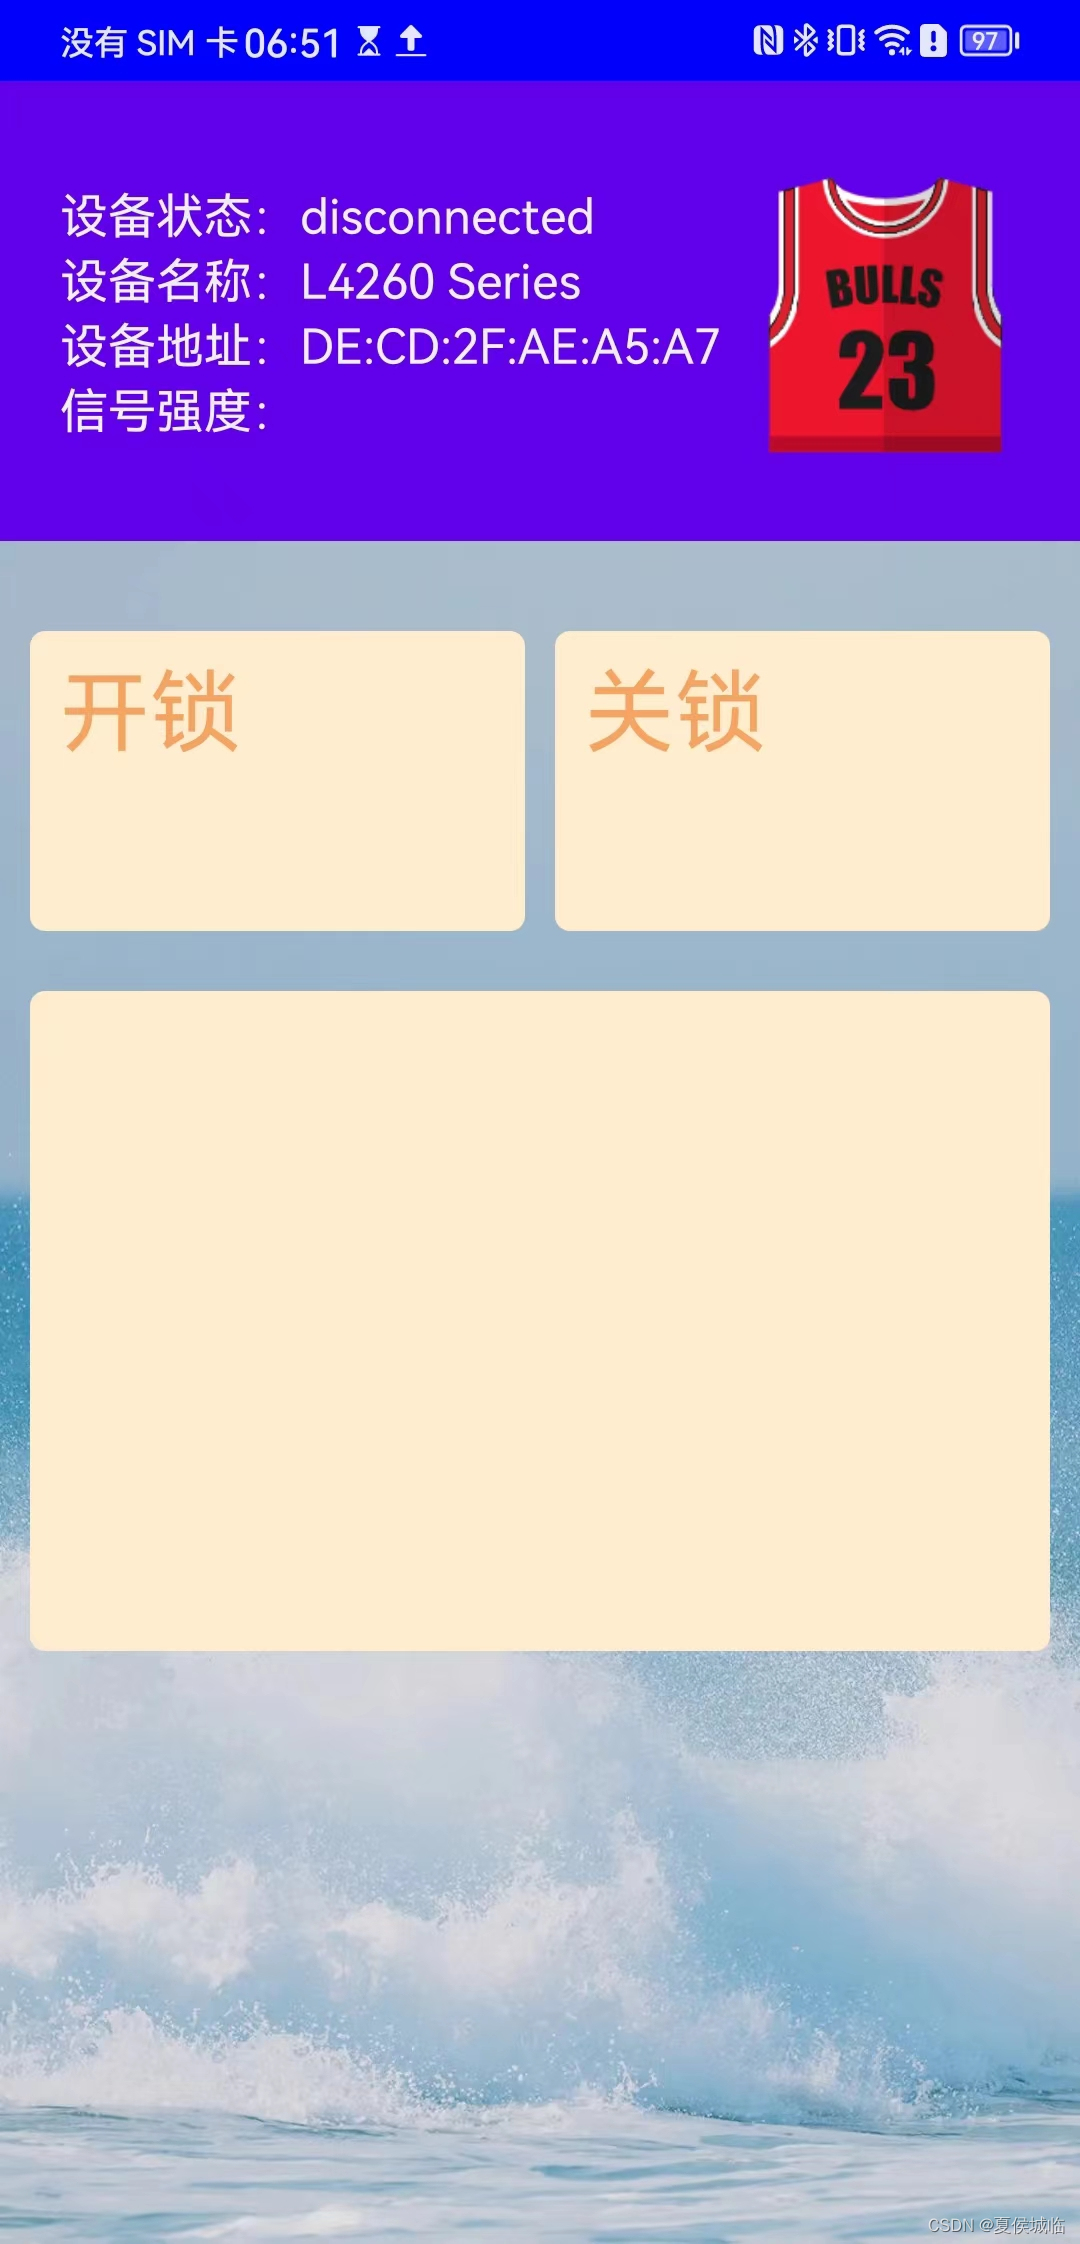
第二个Activity,假设gd32,我们做的是一个智能锁,这里我设计两个按钮,一个开锁,一个关锁,如下:
2、关键代码讲解
1、申请权限操作。
AndroidManifest.xml中添加操作蓝牙的权限
<uses-permission android:name="android.permission.BLUETOOTH" /><uses-permission android:name="android.permission.BLUETOOTH_ADMIN" /><uses-permission android:name="android.permission.ACCESS_COARSE_LOCATION" /><uses-permission android:name="android.permission.ACCESS_FINE_LOCATION" />
Activity Oncreate中添加requestPermission代码
void requestPermission()
{if (Build.VERSION.SDK_INT >= Build.VERSION_CODES.M){if(ContextCompat.checkSelfPermission(this, Manifest.permission.ACCESS_COARSE_LOCATION)!= PackageManager.PERMISSION_GRANTED){ActivityCompat.requestPermissions(this,new String[] {Manifest.permission.ACCESS_COARSE_LOCATION,Manifest.permission.ACCESS_FINE_LOCATION},2);}else{isHavePermission = true;}}
}
加上这个代码,第一次运行时,会弹出一个授权框,如下
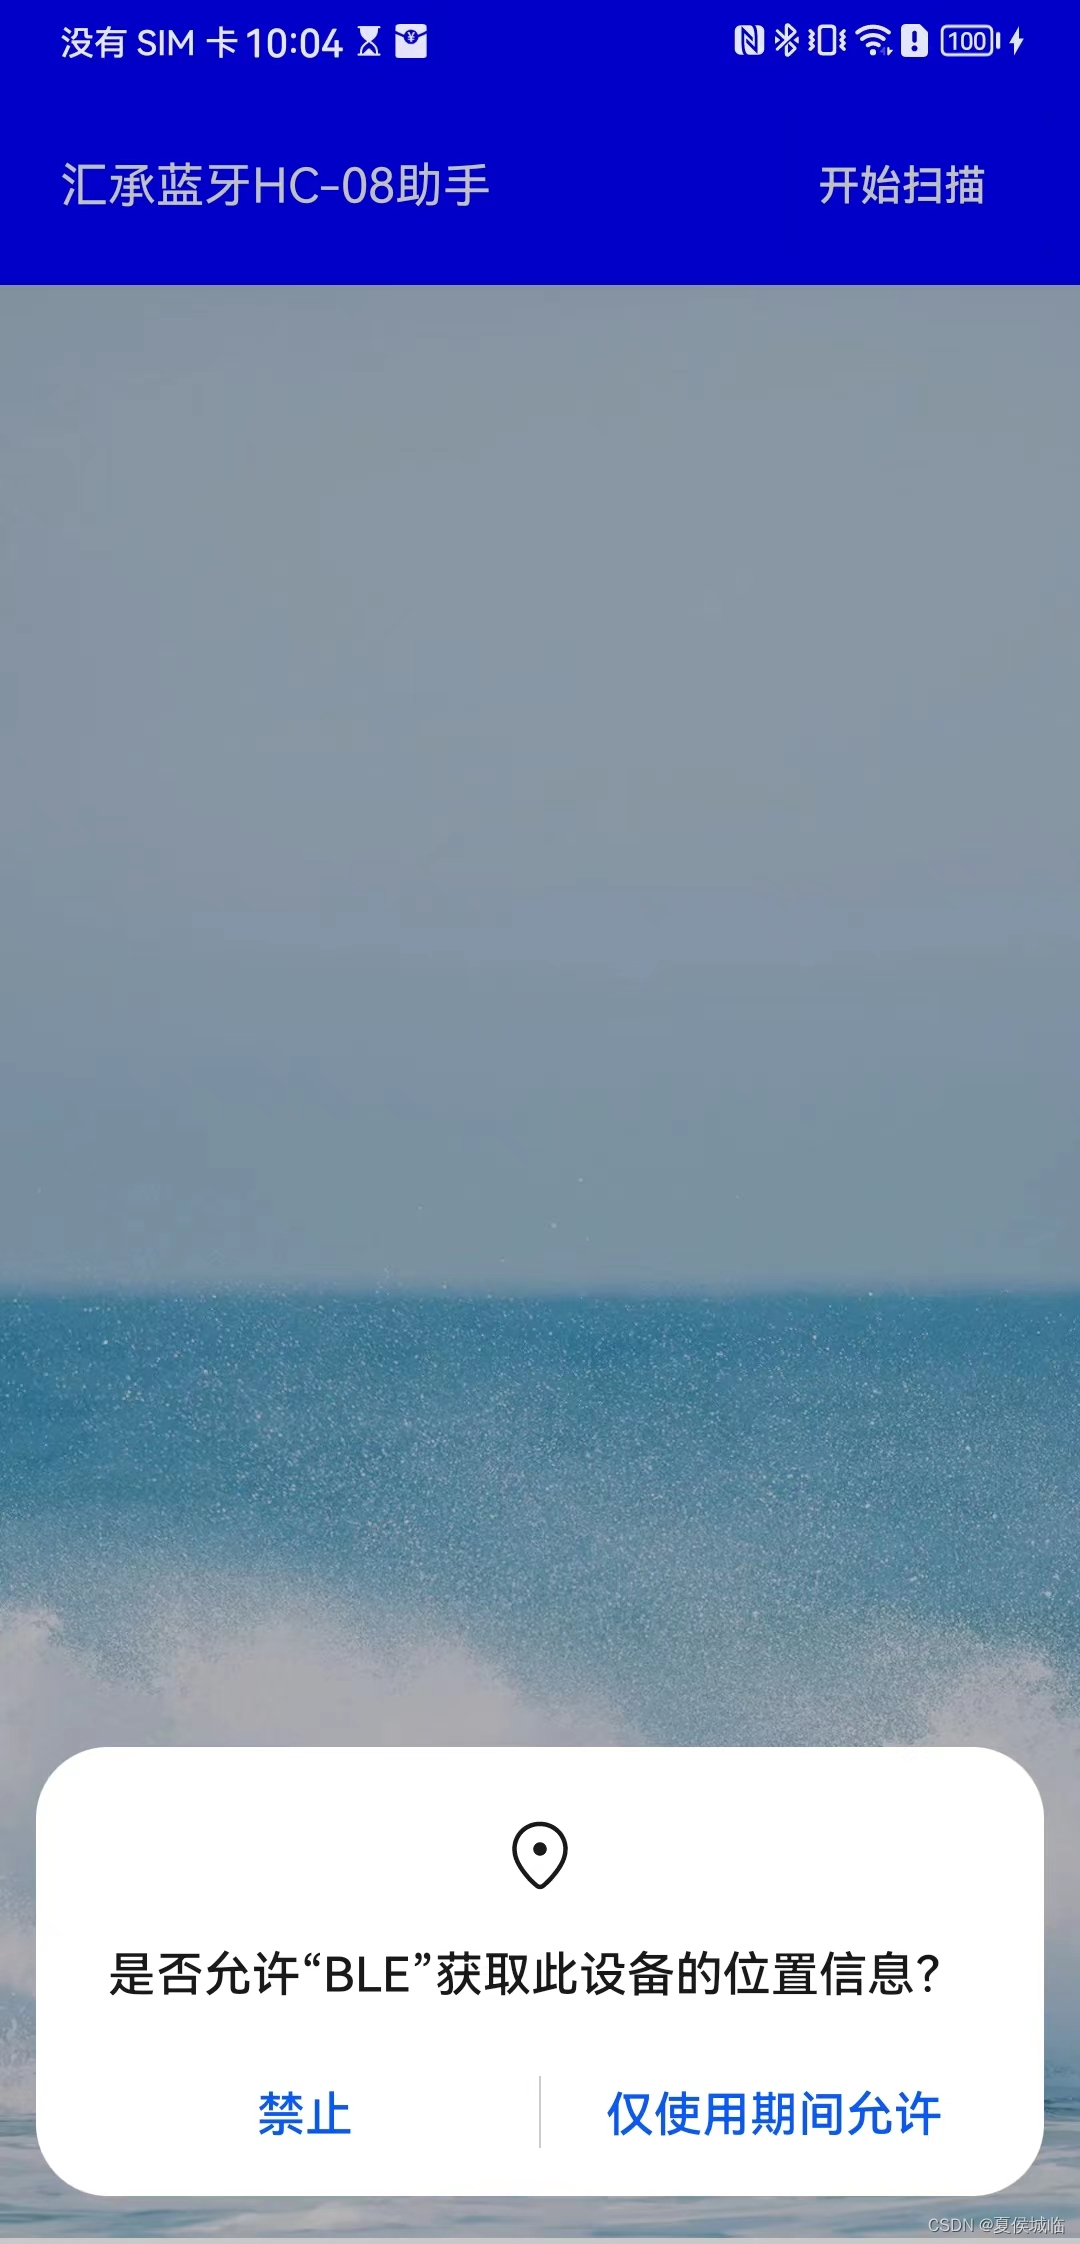
用户点击禁止或者仅使用期间允许后,会掉函数处理如下:
@Override
public void onRequestPermissionsResult(int requestCode, @NonNull String[] permissions, @NonNull int[] grantResults) {super.onRequestPermissionsResult(requestCode, permissions, grantResults);if (requestCode == 2){if ((grantResults[0] == PackageManager.PERMISSION_GRANTED )&& (grantResults[1] == PackageManager.PERMISSION_GRANTED)){isHavePermission = true;// 获得了权限}else{// 没有权限isHavePermission = false;Toast.makeText(mContext,"no permission",Toast.LENGTH_LONG).show();}}
}
2、搜索蓝牙代码
private ScanCallback mScanCallback = new ScanCallback() {@Overridepublic void onScanResult(int callbackType, ScanResult result) {super.onScanResult(callbackType, result);//  只显示hc-08这个蓝牙设备if (result != null && result.getDevice().getName() != null) {//if (result.getDevice().getName().equals("HC-08")) {mleDeviceListAdapter.addDevice(result.getDevice(), result.getRssi());mleDeviceListAdapter.notifyDataSetChanged();//}}}@Overridepublic void onBatchScanResults(List<ScanResult> results) {super.onBatchScanResults(results);}@Overridepublic void onScanFailed(int errorCode) {super.onScanFailed(errorCode);}
};
开启搜索
mBluetoothLeScanner.startScan(mScanCallback);
停止搜索
mBluetoothLeScanner.stopScan(mScanCallback);
3、连接
连接放在了一个service里,而连接的页面放在了BleConnectDeviceActivity里面。
真正连接的代码如下
public boolean connect(final String address) {if (mBluetoothAdapter == null || address == null) {LogUtil.w(TAG, "BluetoothAdapter not initialized or unspecified address.");return false;}if (mBluetoothDeviceAddress != null&& address.equals(mBluetoothDeviceAddress)&& mBluetoothGatt != null) {LogUtil.d(TAG, "Trying to use an existing mBluetoothGatt for connection.");if (mBluetoothGatt.connect()){mConnectionState = STATE_CONNECTING;return true;} else {return false;}}final BluetoothDevice device = mBluetoothAdapter.getRemoteDevice(address);if (device == null) {LogUtil.w(TAG, "Device not found.  Unable to connect.");return false;}mBluetoothGatt = device.connectGatt(this, false, mGattCallback);LogUtil.d(TAG, "Trying to create a new connection.");mBluetoothDeviceAddress = address;mConnectionState = STATE_CONNECTING;System.out.println("device.getBondState==" + device.getBondState());return true;
}:
4、mGattCallbak回调函数
private final BluetoothGattCallback mGattCallback = new BluetoothGattCallback() {@Overridepublic void onConnectionStateChange(BluetoothGatt gatt, int status, int newState) {String intentAction = null;if (newState == BluetoothProfile.STATE_CONNECTED) {if (mOnCharacteristicListener != null)mOnCharacteristicListener.onDeviceConnected(newState);mConnectionState = STATE_CONNECTED;mBluetoothGatt.discoverServices();} else if (newState == BluetoothProfile.STATE_DISCONNECTED){mConnectionState = STATE_DISCONNECTED;LogUtil.i(TAG, "Disconnected from GATT server.");}}@Overridepublic void onServicesDiscovered(BluetoothGatt gatt, int status) {if (status == BluetoothGatt.GATT_SUCCESS) {displayGattServices(gatt.getServices());}}@Overridepublic void onCharacteristicRead(BluetoothGatt gatt,BluetoothGattCharacteristic characteristic, int status) {if (status == BluetoothGatt.GATT_SUCCESS) {LogUtil.i(TAG, "--onCharacteristicRead called--");byte[] sucString = characteristic.getValue();String string = new String(sucString);}}@Overridepublic void onCharacteristicChanged(BluetoothGatt gatt,BluetoothGattCharacteristic characteristic) {LogUtil.d(TAG,"onCharacteristicChanged " + new String(characteristic.getValue()));if (mOnCharacteristicListener != null)mOnCharacteristicListener.onDataReceive(characteristic.getValue(),characteristic.getValue().length);}public void onCharacteristicWrite(BluetoothGatt gatt,BluetoothGattCharacteristic characteristic, int status) {LogUtil.w(TAG, "--onCharacteristicWrite--: " + status);}@Overridepublic void onReadRemoteRssi(BluetoothGatt gatt, int rssi, int status) {// TODO Auto-generated method stub//super.onReadRemoteRssi(gatt, rssi, status);LogUtil.w(TAG, "--onReadRemoteRssi--: " + rssi + "status " + status);}
};
onConnectionStateChange 是连接状态改变时候的回调,这里可以判断连接还是断开。
onServicesDiscovered 是服务搜索完成的回调,可以在完成后,去加载或者打印出所有的服务,
onCharacteristicRead读完数据的回调,但是hc-08读的操作并没有走这里。
onCharacteristicChanged是特征值改变的回调,从hc-08读取数据就是这个回调。
onCharacteristicWrite 写完数据的回调
onReadRemoteRssi是读取信号强度的回调。
5、读取数据。
hc-08是通知过来的数据,也就是gd32那边通过串口写进来的数据,Android app从hc-08传过来的数据,走的是特征值的通知属性,所以我们在读数据之前,要打开通知。
public void setCharacteristicNotification(BluetoothGattCharacteristic characteristic, boolean enabled) {if (mBluetoothAdapter == null || mBluetoothGatt == null) {LogUtil.w(TAG, "BluetoothAdapter not initialized");return;}mBluetoothGatt.setCharacteristicNotification(characteristic, enabled);BluetoothGattDescriptor clientConfig = characteristic.getDescriptor(UUID.fromString(CHAR_DESCRIPTOR));if (enabled) {clientConfig.setValue(BluetoothGattDescriptor.ENABLE_NOTIFICATION_VALUE);} else {clientConfig.setValue(BluetoothGattDescriptor.DISABLE_NOTIFICATION_VALUE);}mBluetoothGatt.writeDescriptor(clientConfig);
}
6、写数据
public void writeSpecialCharacteristic(byte[]data) {if (mBluetoothAdapter == null || mBluetoothGatt == null) {LogUtil.w(TAG, "BluetoothAdapter not initialized");return;}mBluetoothGattCharacteristic.setValue(data);mBluetoothGatt.writeCharacteristic(mBluetoothGattCharacteristic);
}
3、GD32 usart1的回调函数处理。
这里同上,收到什么数据返回什么数据。
void USART1_IRQHandler(void)
{
if(RESET != usart_interrupt_flag_get(USART1, USART_INT_FLAG_IDLE)){
    /* clear IDLE flag */usart_data_receive(USART1);/* number of data received */usart1_rxcount = 256 - (dma_transfer_number_get(DMA0, DMA_CH5));if (usart1_rxcount >0){print_register_value(usart1_rx_buffer,usart1_rxcount);printf("get data ==%d\r\n ",usart1_rxcount);usart1_send_string(usart1_rx_buffer,usart1_rxcount);memset(usart1_rx_buffer,0,sizeof(usart1_rx_buffer));}usart_interrupt_flag_clear(USART1,USART_INT_FLAG_IDLE);/* disable DMA and reconfigure */dma_channel_disable(DMA0, DMA_CH5);dma_transfer_number_config(DMA0, DMA_CH5, 256);dma_channel_enable(DMA0, DMA_CH5);
}
}
4、验证。
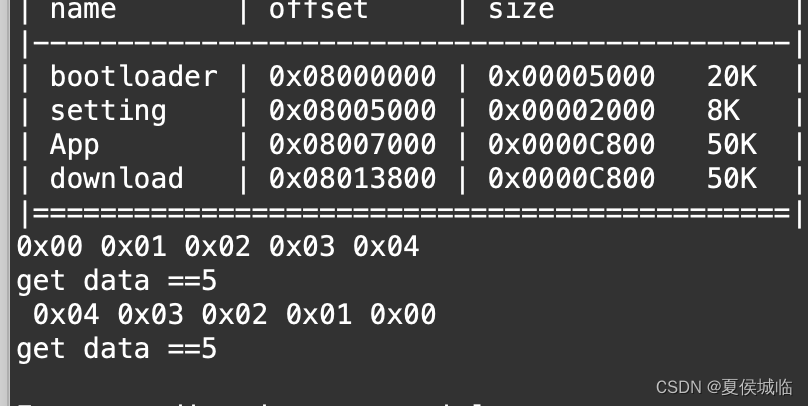
点击开锁 ,发送{0x00,0x01,0x02,0x03,0x04}数据,gd32 收到数据后,返还,在App页面上显示 {0x00,0x01,0x02,0x03,0x04}。
点击关锁,发送{0x04,0x03,0x02,0x01,0x00}数据,gd32收到数据后,返还,在App页面上显示{0x04,0x03,0x02,0x01,0x00}。
Android App蓝牙透传
GD32的打印如下: