目录
1、效果展示
2、源码
2.1HTML+CSS源码
2.2JS源码
3、CSS属性
3.1width、height属性
3.2font-size属性
3.3margin属性
3.4padding属性
3.5background-color属性
3.6border属性
3.7border-radius属性
3.8text-align属性
4、DOM
4.1根据id获取元素
4.2根据name获取元素
4.3根据类名获取元素
4.4根据css选择器获取元素

1、效果展示
加法: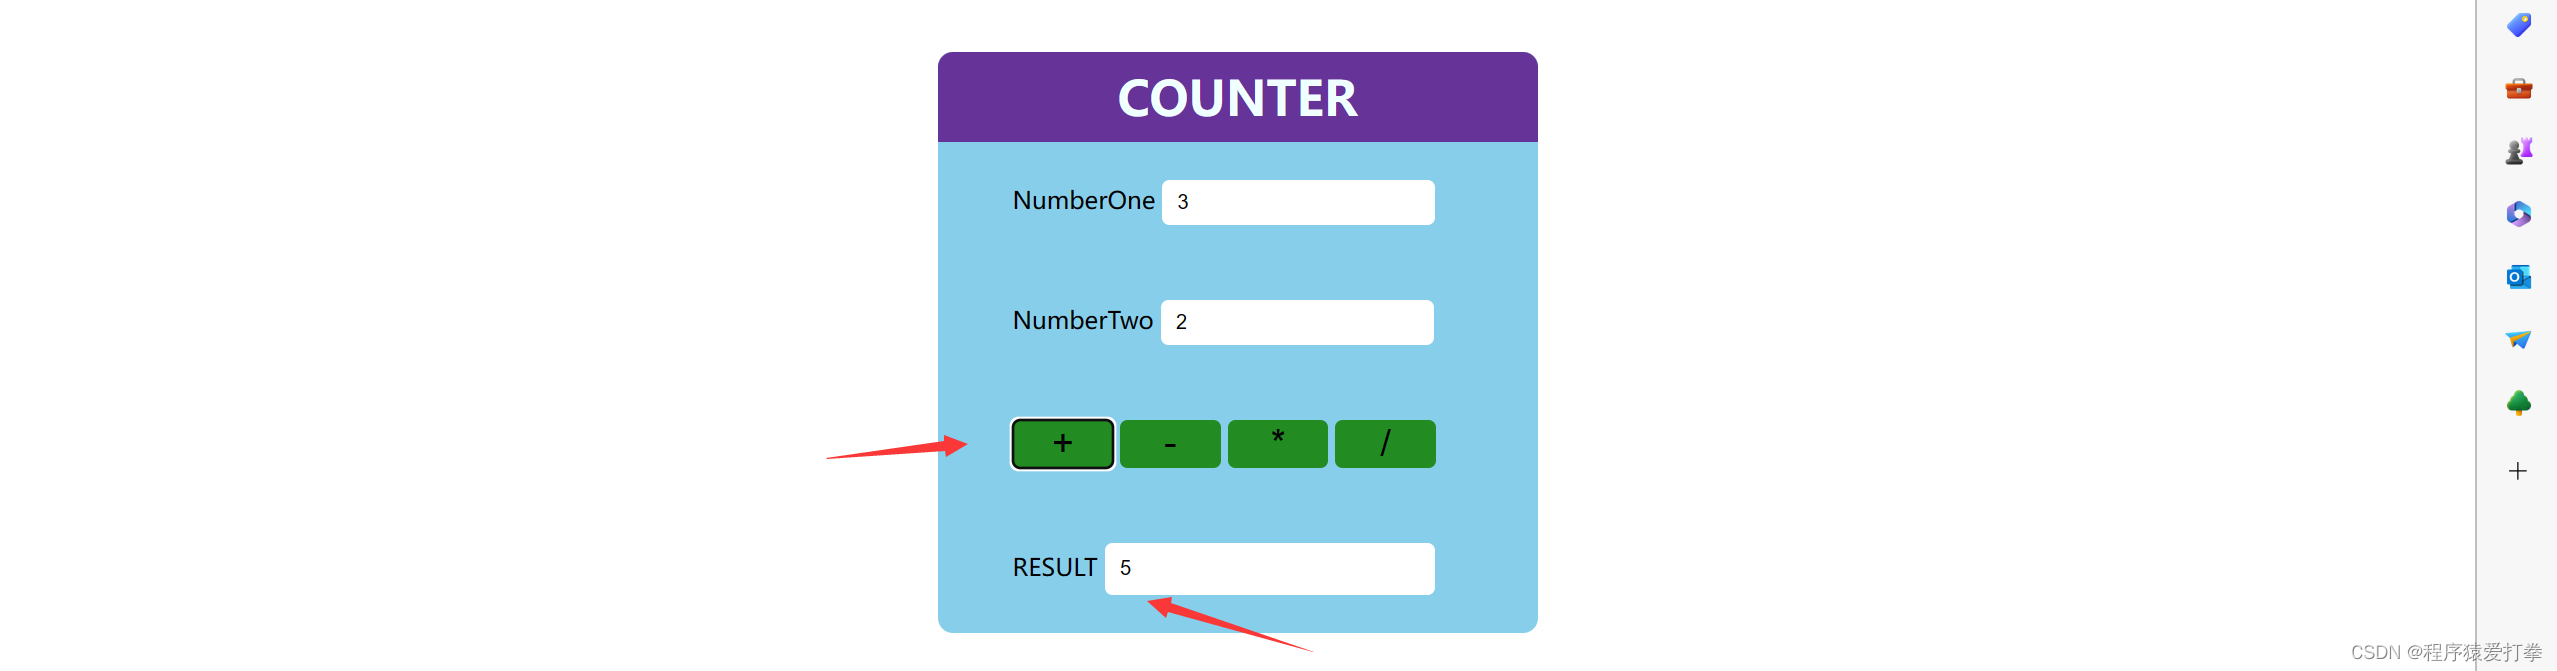
减法: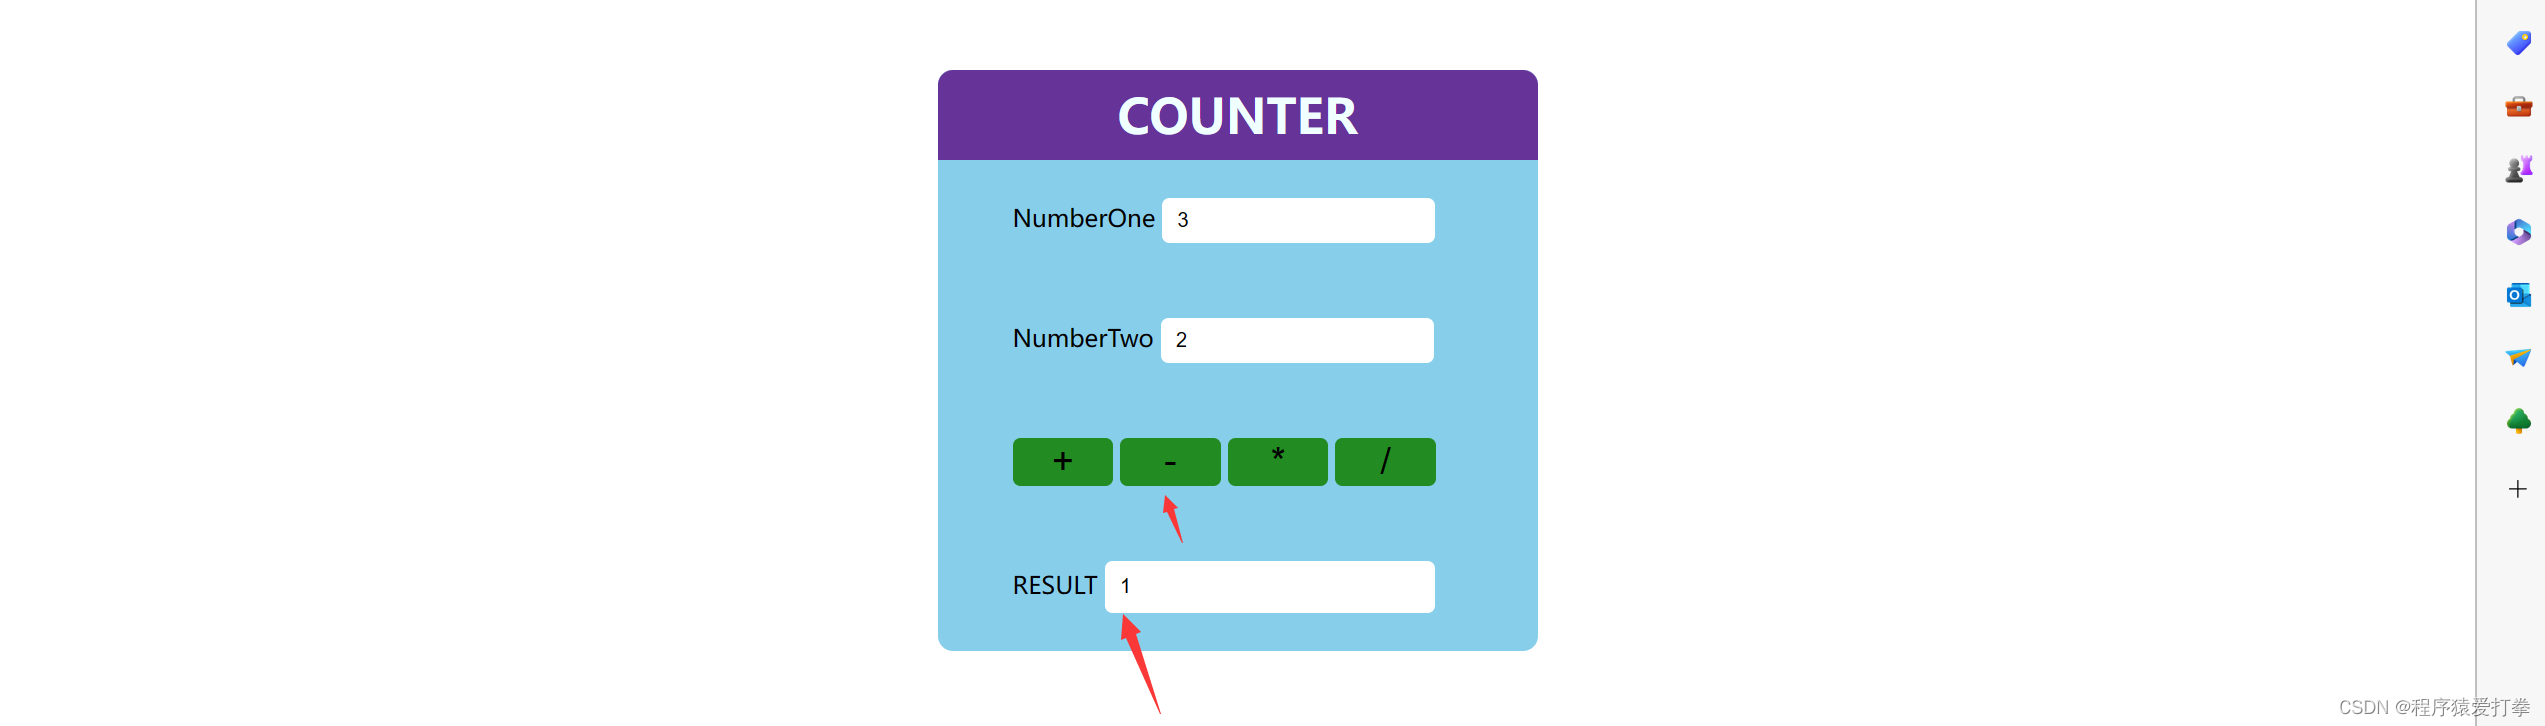
乘法: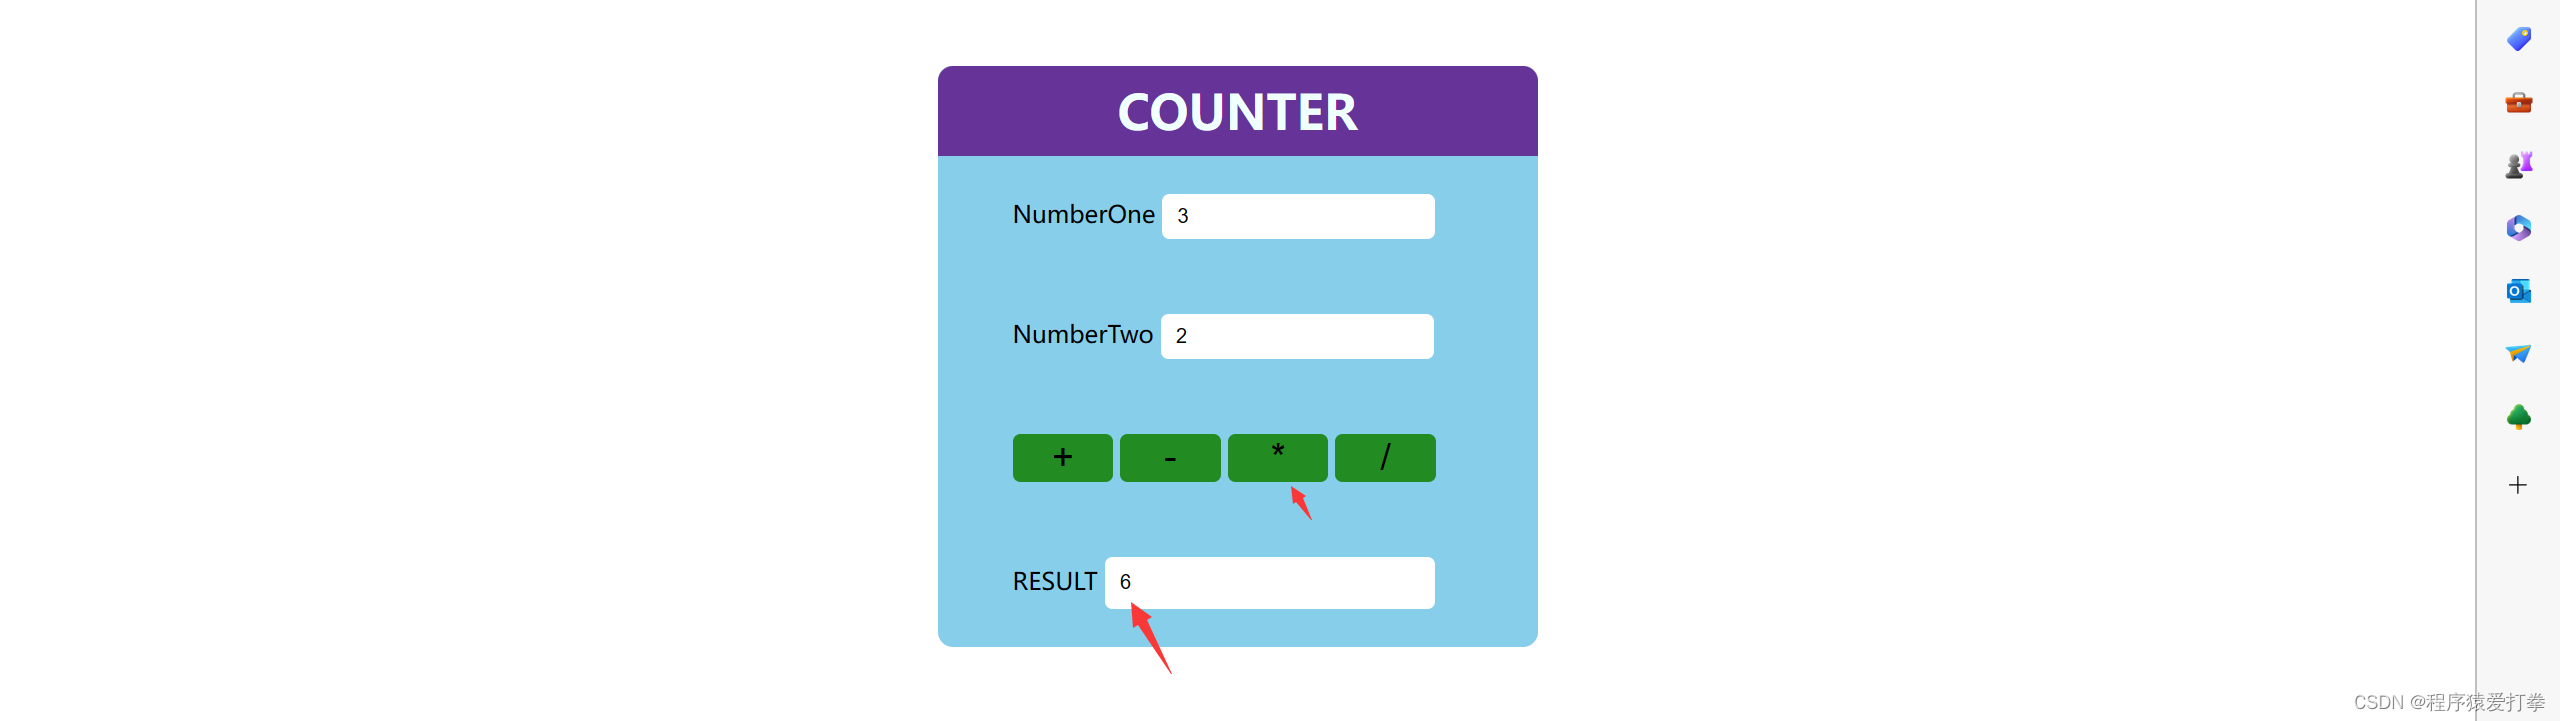
除法:
 除数为0:
除数为0:

2、源码
2.1HTML+CSS源码
<!DOCTYPE html>
<html><head><meta charset="utf-8"><title></title><script src="cal.js"></script><style>* {margin: 0;padding: 0;}.cal {width: 400px;background-color: skyblue;margin: 50px auto;border-radius: 10px;}.cal h1 {background-color: rebeccapurple;height: 60px;line-height: 60px;border-radius: 10px 10px 0  0;text-align: center;color: azure;}.from-control {padding: 25px 50px;}.form-control label {text-align: right;}.form-control,input {padding: 5px 10px;height: 20px;border: 1px black;border-radius: 5px;}.form-control,button{width: 67px;height: 32px;font-size: 25px;border-radius: 5px;border: none;background-color: forestgreen;}.result {height: 25px;width: 200px;}</style></head><body><div class="cal"><h1>COUNTER</h1><div class="from-control"><label>NumberOne</label><input type="text" id="num1"/></div><div class="from-control"><label>NumberTwo</label><input type="text" id="num2"/></div><div class="from-control"><button id="plus">+</button><button id="reduce">-</button><button id="mul">*</button><button id="dev">/</button></div><div class="from-control"><label >RESULT</label><input type="text" class="result"/></div></div></body>
</html>
2.2JS源码
window.addEventListener('load',function(){document.querySelector('#plus').onclick = function() {cal('+');}document.querySelector('#reduce').onclick = function() {cal('-');}document.querySelector('#mul').onclick = function() {cal('*');}document.querySelector('#dev').onclick = function() {cal('/');}function cal(symbom) {let num1 = document.getElementById('num1').value;let num2 = document.getElementById('num2').value;let result = document.querySelector('.result');if(symbom == '/') {if(num2 == 0) {result.value = "除数不能为零";}else {result.value = num1 / num2;}}else {result.value = eval(num1 + symbom + num2);}}
})
3、CSS属性
3.1width、height属性
width设置宽度,height设置高度。
<body><input type="button" value="按钮"/></body>原始的按钮大小:
 经过width、height修饰后:
<style>#but{height: 60px;width: 100px;}</style><body><input type="button" value="按钮" id="but"/></body>
3.2font-size属性
font-size是设置字体大小大小的属性,它的常见单位为px。如,将一段话的字体设置为30px:
<style>.title {font-size: 30px;}</style><body><a class="title">这是一段话</a></body>
经过font-size修饰后:

3.3margin属性
margin属性是修饰边距的一个属性,margin拥有四个参数值。因此,有四种边距情况。
情况1
margin:10px,15px,20px,30px;- 上外边距是 10px
- 右外边距是 15px
- 下外边距是 20px
- 左外边距是 30px
情况2
margin:20px,30px,15px- 上外边距是 20px
- 右外边距是 30px
- 下外边距是 15px
情况3
margin:10px,20px- 上外边距是 10px
- 右外边距是 20px
情况4
margin:50px- 四个边距都是 50px
我们拿四个边距的情况来展示效果:
<style>.ty {margin:50px ;}</style><body><div class="ty"><label>这是一个label:</label><input type="text" /></div></body>
3.4padding属性
上面我们知道了margin是设置外边距的,那么内边距是由padding来修饰的,也是有四种情况:
情况1
padding:10px,5px,15px,20px;- 上内边距是 10px
- 右内边距是 5px
- 下内边距是 15px
- 左内边距是 20px
情况2
padding:10px,5px,15px;- 上内边距是 10px
- 右内边距和左内边距是 5px
- 下内边距是 15px
情况3
padding:10px,5px;- 上内边距和下内边距是 10px
- 右内边距和左内边距是 5px
情况4
padding:100px;- 上、下、左、右内边距是 100px
我们情况4来举例:
<style>.test {padding: 50px;}</style><body><table border="1"><tr><td class="test"></td></tr></table></body>效果显示:

3.5background-color属性
background-color属性实现的效果就是背景颜色,如将一段文本的背景颜色设置为天蓝色:
<style>.title {background-color: skyblue;}</style><body><a class="title">这是一段话</a></body>
显示效果:

3.6border属性
border属性是修饰边框的一个属性,我们可以设置边框的大小以及边框的颜色。语法为:border: 大小 solid 颜色;如果我们只有大小没有solid值的话,默认颜色为黑色。
<style>.ty {border: 2px solid red;}</style><body><label>这是一个label:</label><input type="text" class="ty"/></body>
3.7border-radius属性
border-radius属性是修饰边框的“圆润程度”也就是为元素添加圆角边框,语法为:border-radius: 大小;如将一个边框设置圆角边框为10px程度。
<style>.ty {border-radius: 10px;}</style><body><label>这是一个label:</label><input type="text" class="ty"/></body> 效果显示:
3.8text-align属性
text-align属性是用来规定文本对齐方式的,对齐方式有left左对齐、center居中对齐、right右对齐。其中left左对齐是默认的对齐方式。
居中对齐:
<style>.test {text-align: center;}</style><body><h1 class="test">这是一个标题</h1></body>效果显示:

右对齐:
<style>.test {text-align: right;}</style><body><h1 class="test">这是一个标题</h1></body> 效果展示:
4、DOM
4.1根据id获取元素
document.getElementById是根据id来获取元素的,如下代码展示:
<body><div><label>Number:</label><input type="text" id="num1"/></div><div><button id="but">按钮</button></div><script>document.getElementById('but').onclick = function() {let num = document.getElementById('num1').value;console.log(num);} </script></body>当我输入55后,再点击按钮控制台就输出了55:

因此,在上述代码中document.getElementById后面加上.onclick代表着点击这个按钮就做出相应的操作,加上.value代表着获取这个id所对应的值。
4.2根据name获取元素
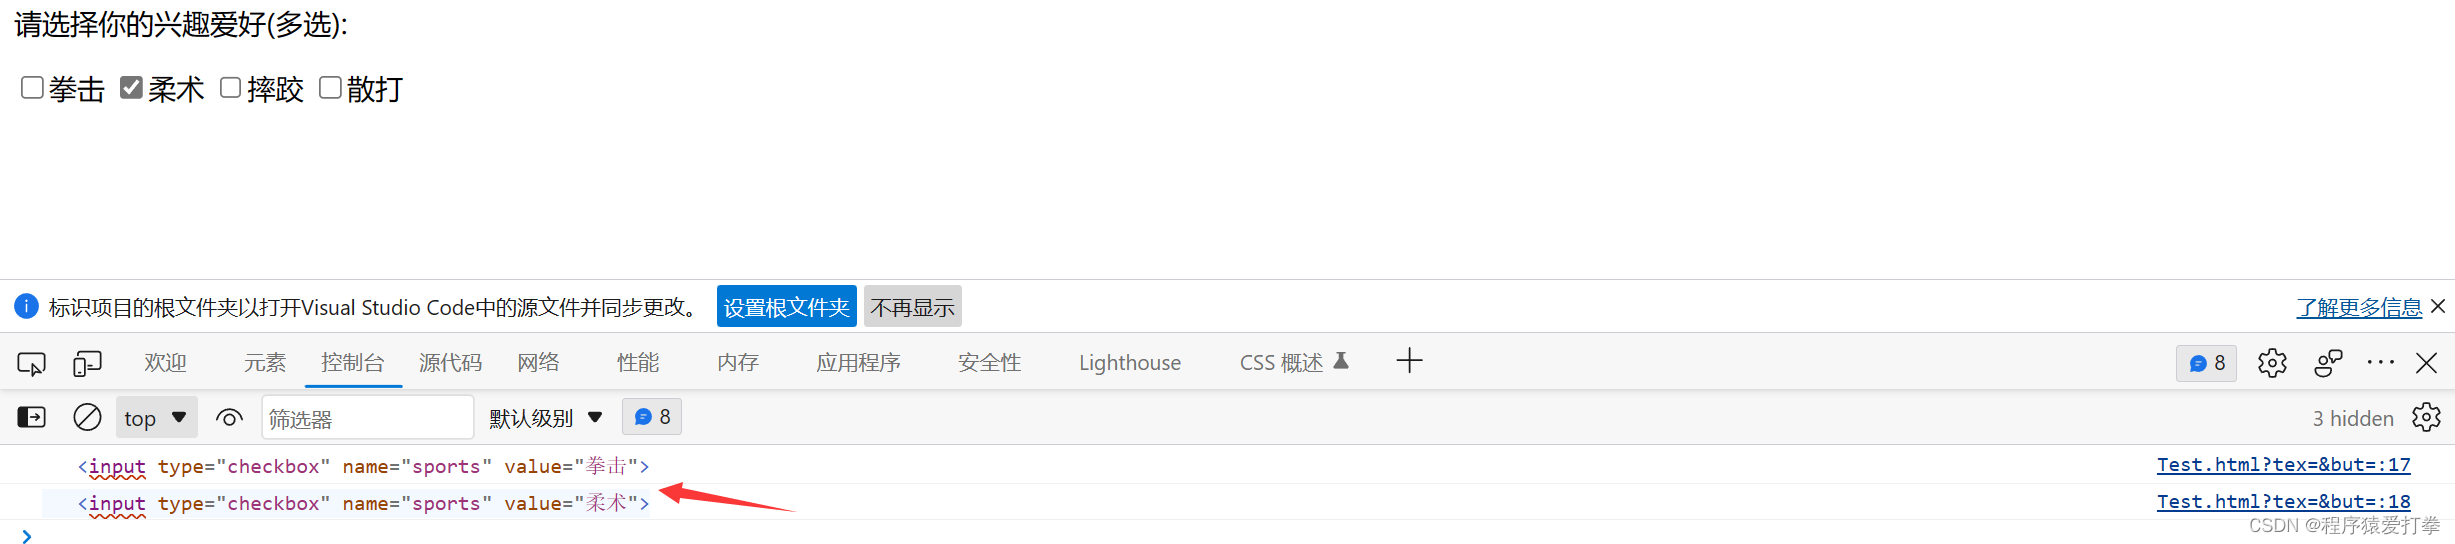
document.getElementByName是根据name来获取元素
<body><p>请选择你的兴趣爱好(多选):</p><input type="checkbox" name="sports" value="拳击"/>拳击<input type="checkbox" name="sports" value="柔术"/>柔术<input type="checkbox" name="sports" value="摔跤"/>摔跤<input type="checkbox" name="sports" value="散打"/>散打<script>var sports = document.getElementsByName('sports');console.log(sports[0]);console.log(sports[1]);</script></body>上述代码中,我们通过document.getElementsByName('sports')获取到了拳击和柔术这两个表单元素:
4.3根据类名获取元素
document.getElementByClassName是根据class来获取元素
<body><div><p class="person1">阿珍</p><p class="person2">阿强</p></div><script>let person1 = document.getElementsByClassName('person1');console.log(person1[0]);</script></body>
4.4根据css选择器获取元素
document.querySelector是根据css选择器来获取元素的,如下方代码:
<body><div class="mma">拳击</div><div class="mma">柔术</div><div class="mma">摔跤</div><script>//第一个divlet firstdiv = document.querySelector('.mma');console.log(firstdiv);//所有的divlet alldiv = document.querySelectorAll('.mma');console.log(alldiv);</script></body>
本编博文主要是对HTML中表单以及CSS属性加上JS中的DOM的一些讲解,文章中详细讲解了各个知识点的实现效果及用法。大家下来了一定要自己尝试去敲代码,只有我们实现了一些页面才能很好的理解这个知识点以及怎样实现某个效果。文章有也多处知识点未实现页面效果大家也可以自行测试一番,感受一下这些知识点的实现效果,加油!

本期博客到这里就结束啦,感谢您的阅读。如有收获还请给博主点个小小的关注,咱们下期再见。