springboot 上传文件/图片到本地文件夹,利用nginx可以采用地址打开该文件
步骤:
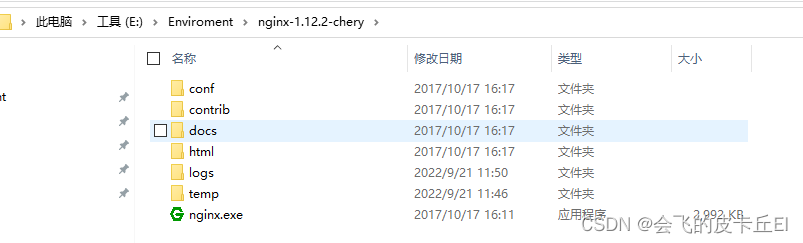
一、下载nginx
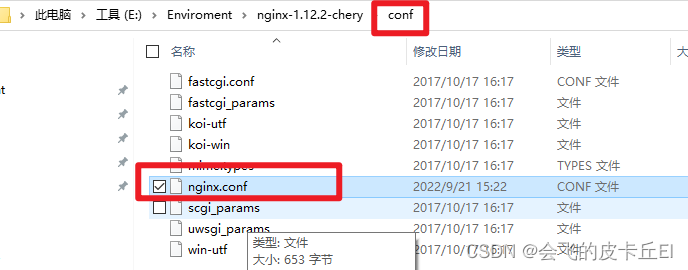
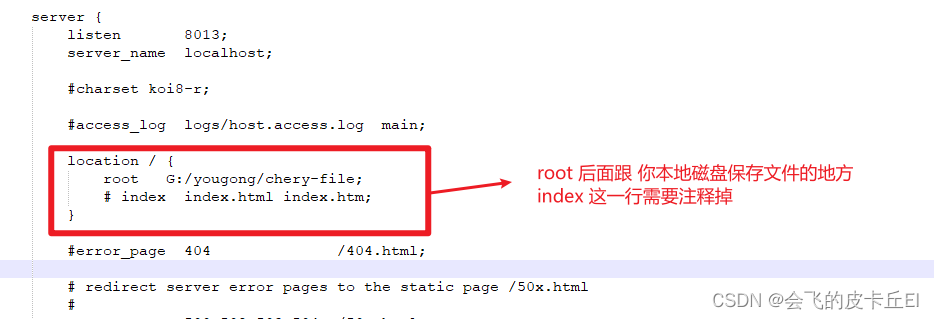
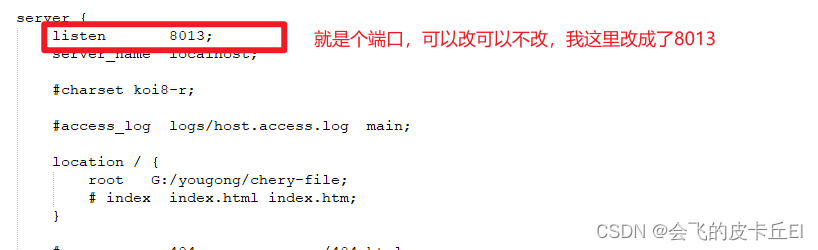
 打开nginx.conf 文件,配置nginx
启动nginx在nginx.exe文件所在的文件夹路径上直接cmd,输入nginx.exe即可启动nginx
注意:要是先启动了nginx,直接关了cmd窗口,你以为nginx关闭了,其实没有,这个时候如果修改了nginx.conf文件的内容,需要重新在nginx.exe所在的目录上输入cmd ,然后输入 nginx.exe -s reload即可!!!!
二、springboot 代码
1、application.yml
upload:path: G:\\yougong\\chery-file # 文件保存的路径 和 nginx.conf 保持一致reUrl: localhost:8013 # nginx的访问ip和端口 和 nginx.conf 保持一致
2、读取yml文件的内容
@Configuration
public class UploadConfig {public static String path;public static String reUrl;@Value("${upload.path}")public void setPath(String path) {UploadConfig.path = path;}@Value("${upload.reUrl}")public void setReUrl(String reUrl) {UploadConfig.reUrl = reUrl;}
}
3、写一个文件工具类
package com.yougong.admin.utils;import java.io.*;
import java.util.UUID;public class FileUtils {/*** 写入文件 未分块上传* 采用MultipartFile接收上传文件并使用FileOutputStream写入文件** @param target* @param src* @throws IOException*/public static void write(String target, InputStream src) throws IOException {OutputStream os = new FileOutputStream(target);byte[] buf = new byte[1024];int len;while (-1 != (len = src.read(buf))) {os.write(buf, 0, len);}os.flush();os.close();}/*** 分块写入文件* 采用MultipartFile接收上传文件的分块文件,上传参数包括:size:文件大小,chunk:分块号,chunks:总分块数** @param target* @param targetSize* @param src* @param srcSize* @param chunks* @param chunk* @throws IOException*/public static void writeWithBlcok(String target, Long targetSize, InputStream src, Long srcSize, Integer chunks, Integer chunk) throws IOException {RandomAccessFile randomAccessFile = new RandomAccessFile(target, "rw");randomAccessFile.setLength(targetSize);if (chunk == chunks - 1) {randomAccessFile.seek(targetSize - srcSize);} else {randomAccessFile.seek(chunk * srcSize);}byte[] buf = new byte[1024];int len;while (-1 != (len = src.read(buf))) {randomAccessFile.write(buf, 0, len);}randomAccessFile.close();}/*** 生成随机文件名** @return*/public static String generateFileName() {return UUID.randomUUID().toString();}
}
4、controller层
package com.yougong.admin.controller;
import com.yougong.admin.config.UploadConfig;
import com.yougong.admin.service.FileService;
import org.springframework.beans.factory.annotation.Autowired;
import org.springframework.web.bind.annotation.PostMapping;
import org.springframework.web.bind.annotation.RequestMapping;
import org.springframework.web.bind.annotation.RestController;
import org.springframework.web.multipart.MultipartFile;import java.io.IOException;@RestController
@RequestMapping("/file")
public class FileController {@Autowiredprivate FileService fileService;@PostMapping("/upload")public String upload(MultipartFile file) throws IOException {String fileExt = this.getExtName(file.getOriginalFilename());String fileName = System.currentTimeMillis() + "." + fileExt;fileService.upload(file, fileName);String filePath = "/" + fileName;String url = UploadConfig.reUrl + filePath;System.out.println("返回地址:"+url);//一次性上传多张的时候最好加上这个//Thread.sleep(500);return url;}private String getExtName(String fileName) {String fullName = fileName.toLowerCase();int dotIndex = fullName.lastIndexOf(".");return dotIndex == -1 ? "" : fileName.substring(dotIndex + 1);}
}
5、service层:
package com.yougong.admin.service;import org.springframework.web.multipart.MultipartFile;import java.io.IOException;public interface FileService {void upload(MultipartFile file, String fileName) throws IOException;
}
实现类:
package com.yougong.admin.service.impl;import cn.hutool.core.io.FileUtil;
import com.yougong.admin.config.UploadConfig;
import com.yougong.admin.service.FileService;
import com.yougong.admin.utils.FileUtils;
import org.springframework.stereotype.Service;
import org.springframework.web.multipart.MultipartFile;import java.io.IOException;@Service
public class FileServiceImpl implements FileService {@Overridepublic void upload(MultipartFile file, String fileName) throws IOException {System.out.println("UploadConfig.path + path:"+ UploadConfig.path );//创建目录FileUtil.mkdir(UploadConfig.path );String newPath = UploadConfig.path  + "\\"+fileName;FileUtils.write(newPath, file.getInputStream());}
}
6、测试:
postman发送文件进行测试:
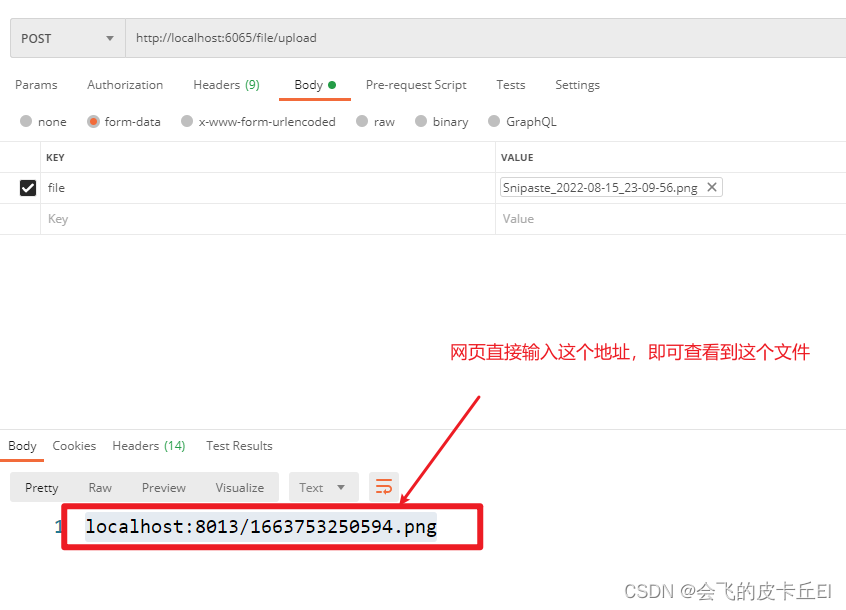
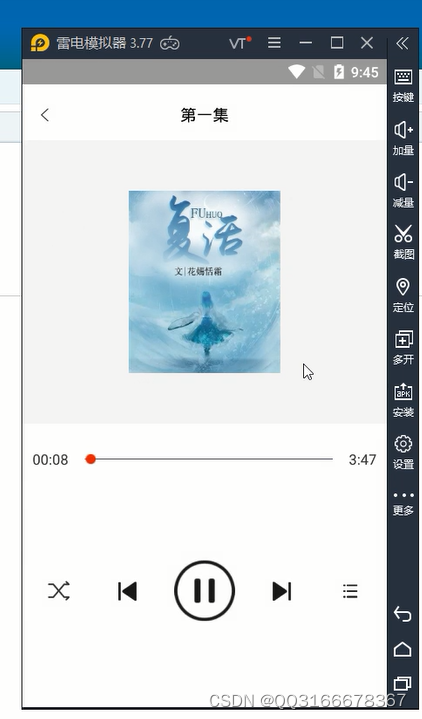
网页查看:
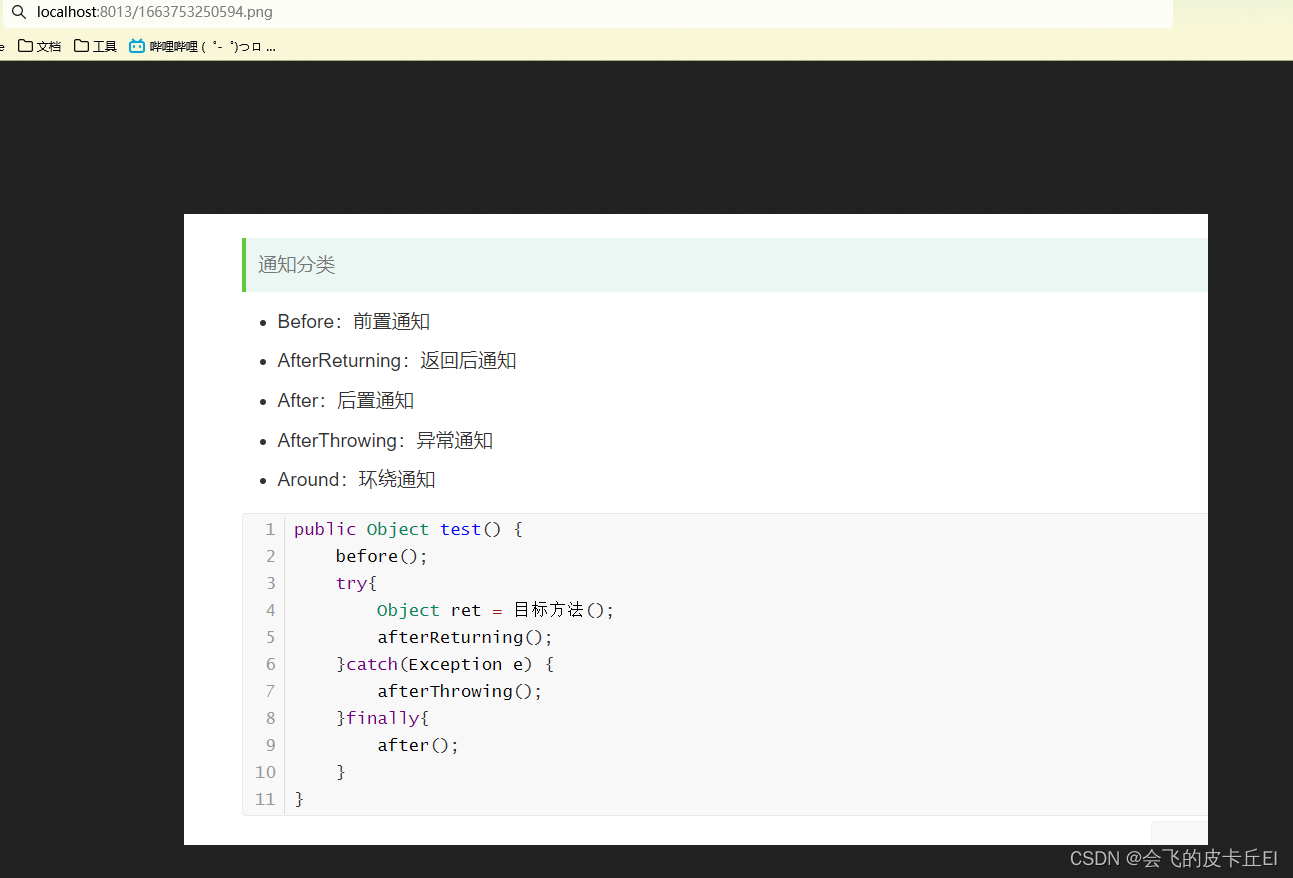 成功!!!
成功!!!
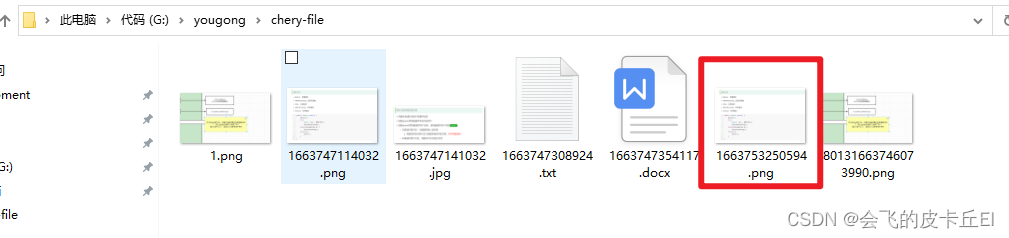
文件夹查看:这个就是我们在nginx.conf文件里面配置的路径
 成功!!!
成功!!!