文章目录
- 1.yolov5预训练模型推理
- 2. opencv边缘检测
- 结果展示
yolov5训练数据集时,需要对数据进行打标签,可以通过两种方法进行半自动化打标签。
1.yolov5预训练模型推理
yolov5预训练模型:将待打标签的图片输入预训练模型中进行推理,将推理结果保存在txt文件中,然后将txt文件转化为xml文件,最后导入labelimg中进行校准和校证。
具体txt转xml流程在本人之前的博客已经展示,链接如下;
https://blog.csdn.net/qq_42754919/article/details/129436134
上述方法需要有预训练模型,有一定的局限性,若首次训练模型,则无法使用。
针对上述问题,本博客提供了第二种方法。
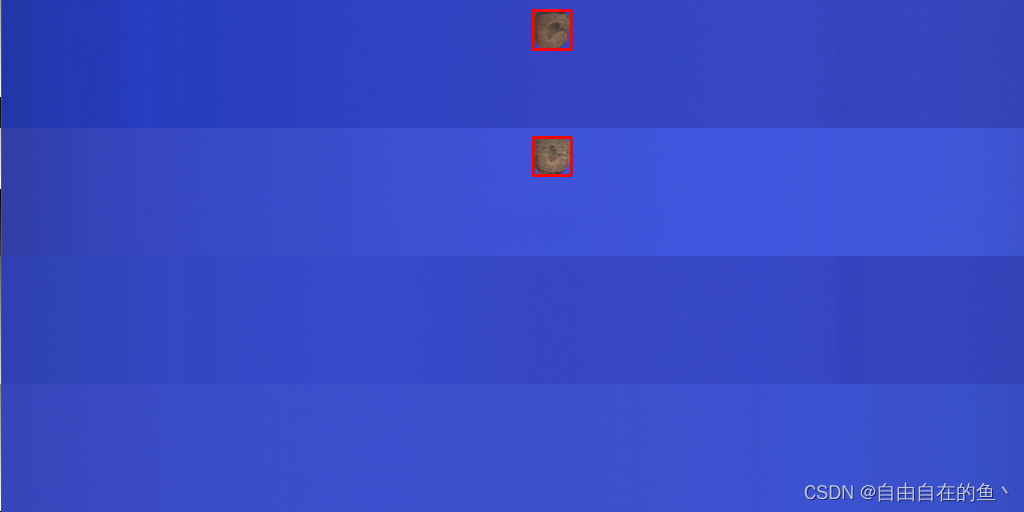
2. opencv边缘检测
使用opencv进行边缘检测,然后找到外接矩形框,根据返回的坐标信息写入xml文件。
缺点:只能针对目标画一个完整的框,识别相互独立的物体,无法应对复杂场景。
import cv2
import os
from concurrent.futures import ThreadPoolExecutor
import timedict = ["dark"]def process_image(img_file, xml_path, anchor_img):img = cv2.imread(img_file)img_h, img_w, img_c = img.shapeimg_name = os.path.basename(img_file)print(img_name)HSV_img = cv2.cvtColor(img, cv2.COLOR_BGR2HSV)b, g, r = cv2.split(HSV_img)ret, b = cv2.threshold(b, 95, 255, cv2.THRESH_BINARY_INV)'''cv2.imshow("img", b)cv2.waitKey(0)'''# ret, mask_img = cv2.threshold(img[:, :, 0], 95, 255, cv2.THRESH_BINARY_INV)contours, hierarchy = cv2.findContours(b, cv2.RETR_EXTERNAL, cv2.CHAIN_APPROX_NONE)if len(contours) > 1:xml_file = xml_path + img_name.split(".")[0] + ".xml"xml = open((xml_file), 'w')xml.write('<?xml version="1.0" encoding="utf-8"?>\n')xml.write('<annotation>\n')for i in range(len(contours)):x, y, w, h = cv2.boundingRect(contours[i])if w * h > 150:ret = cv2.rectangle(img, (x, y), (x + w, y + h), (0, 0, 255), 2)cv2.imwrite(anchor_img + img_name, ret)xml.write(' <folder>yolov5_img</folder>\n')xml.write(' <filename>' + str(img_name) + '</filename>\n')xml.write(' <path>' + str(img_file) + '</path>\n')xml.write(' <size>\n')xml.write(' <width>' + str(img_w) + '</width>\n')xml.write(' <height>' + str(img_h) + '</height>\n')xml.write(' <depth>' + str(img_c) + '</depth>\n')xml.write(' </size>\n')xml.write(' <object>\n')xml.write(' <name>' + str(dict[0]) + '</name>\n')xml.write(' <pose>Unspecified</pose>\n')xml.write(' <truncated>0</truncated>\n')xml.write(' <difficult>0</difficult>\n')xml.write(' <bndbox>\n')xml.write(' <xmin>' + str(int(x)) + '</xmin>\n')xml.write(' <ymin>' + str(int(y)) + '</ymin>\n')xml.write(' <xmax>' + str(int(x + w)) + '</xmax>\n')xml.write(' <ymax>' + str(int(y + h)) + '</ymax>\n')xml.write(' </bndbox>\n')xml.write(' </object>\n')# xml.close()xml = open((xml_file), 'a')xml.write('</annotation>')xml.close()def find_anchor(img_path, xml_path, anchor_img):img_files = [os.path.join(img_path, name) for name in os.listdir(img_path)]with ThreadPoolExecutor() as executor:for _ in executor.map(lambda x: process_image(x, xml_path, anchor_img), img_files):passif __name__ == '__main__':img_path = "D:/test/anchor_xml/img/"xml_path = "D:/test/anchor_xml/xml1/"anchor_img = "D:/test/anchor_xml/anchor_img/"if not os.path.isdir(xml_path):os.makedirs(xml_path)if not os.path.isdir(anchor_img):os.makedirs(anchor_img)start_time = time.time()find_anchor(img_path, xml_path, anchor_img)end_time = time.time()dura_time = (end_time - start_time) * 1000print("代码运行时间为:%.2f 毫秒" % dura_time)- 在代码种使用dict = [“dark”]表示物体的类别,使用统一打标签,需要手动更改标签的类型。若提前分好类别,一键打标签还是非常方便的。
- 在代码中加入了线程池,速度更快。
- 在代码中使用了if w * h > 150 : 判断识别物体的大小,因为findContours可能会画一些小框,用户可以根据自己的需求和数据集修改面积大小。
结果展示
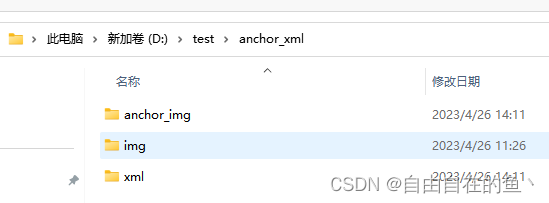
- anchor_img存放画框的图片
- img存放原图
- xml存放xml文件
 xml文件内容如下:
<?xml version="1.0" encoding="utf-8"?>
<annotation><folder>yolov5_img</folder><filename>20230426094013124_0.bmp.jpg</filename><path>D:/test/anchor_xml/img/</path><source><database>Peaunt</database></source><size><width>1024</width><height>512</height><depth>3</depth></size><segmented>0</segmented><object><name>dark</name><pose>Unspecified</pose><truncated>0</truncated><difficult>0</difficult><bndbox><xmin>533</xmin><ymin>137</ymin><xmax>571</xmax><ymax>175</ymax></bndbox></object><folder>yolov5_img</folder><filename>20230426094013124_0.bmp.jpg</filename><path>D:/test/anchor_xml/img/</path><source><database>Peaunt</database></source><size><width>1024</width><height>512</height><depth>3</depth></size><segmented>0</segmented><object><name>dark</name><pose>Unspecified</pose><truncated>0</truncated><difficult>0</difficult><bndbox><xmin>533</xmin><ymin>10</ymin><xmax>571</xmax><ymax>49</ymax></bndbox></object>
</annotation>
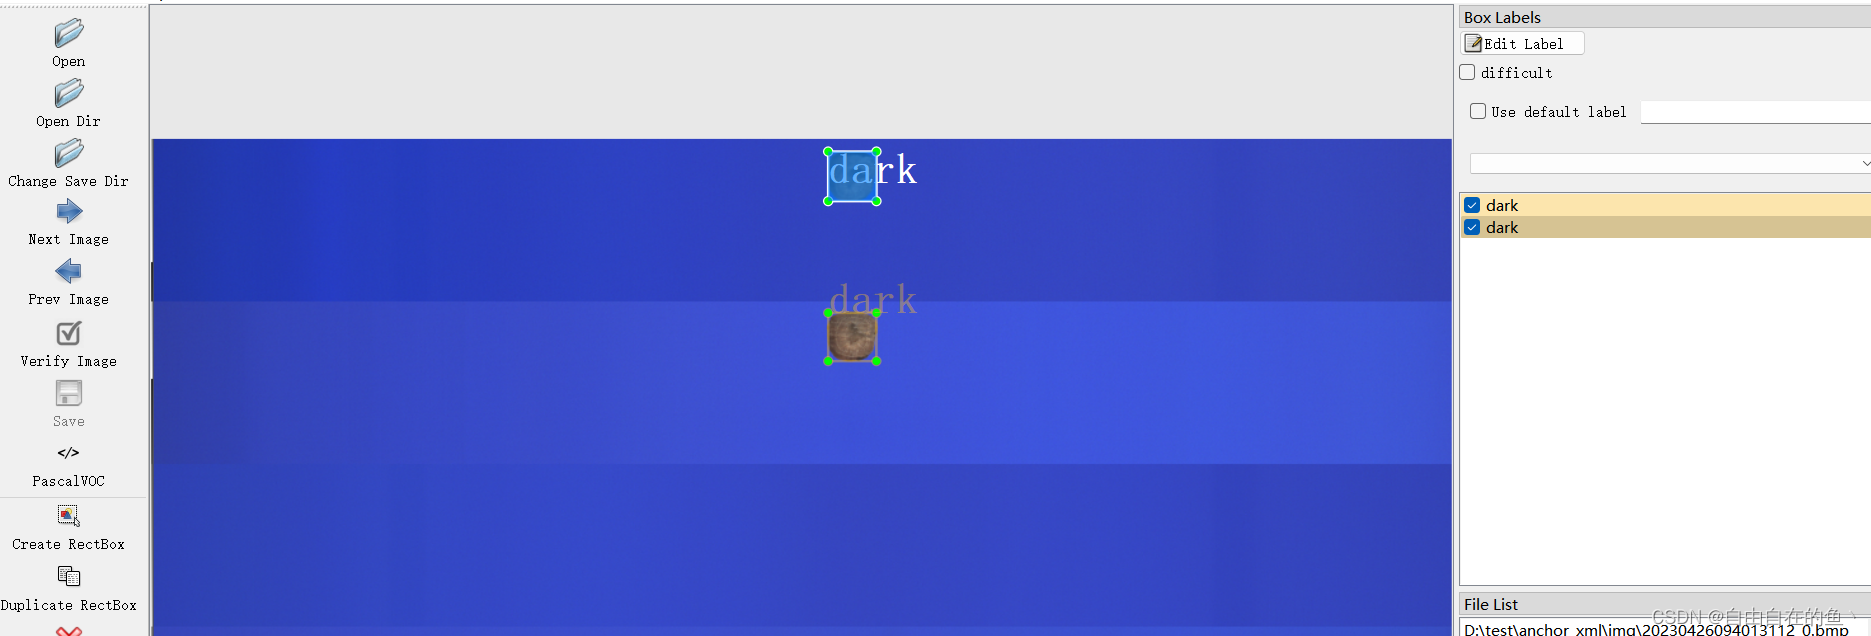
labelimg打开如下所示:


![C++入门基础知识[博客园长期更新......]](https://img-blog.csdnimg.cn/img_convert/8c0abe7909d6dbf89a64da484f27a450.png)